3. Configuration
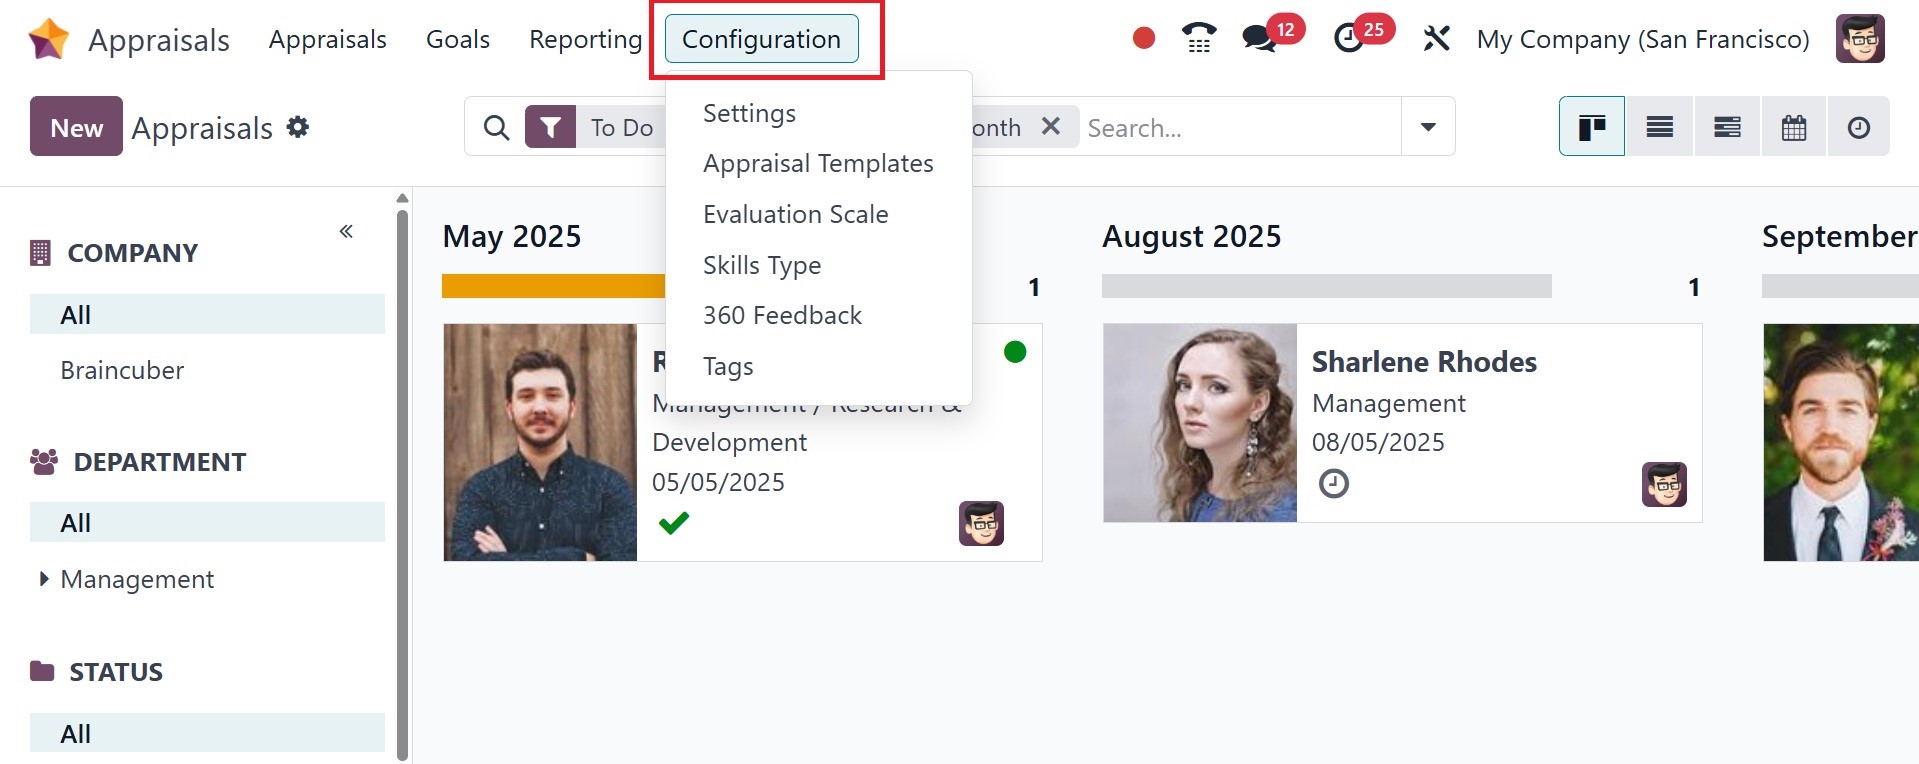
The Configuration feature of Odoo 18 makes managing all company needs easy. You can
adjust the evaluation scale and settings on the Odoo 18 Appraisal Configuration
page. Let's have a peek at each menu below.
3.1 Settings
Feedback forms are available for employees to fill out in order to answer questions
regarding their work. These inquiries can be preset and selected in response to
calls for feedback. Use the Configuration tab's Settings menu to alter these
templates.
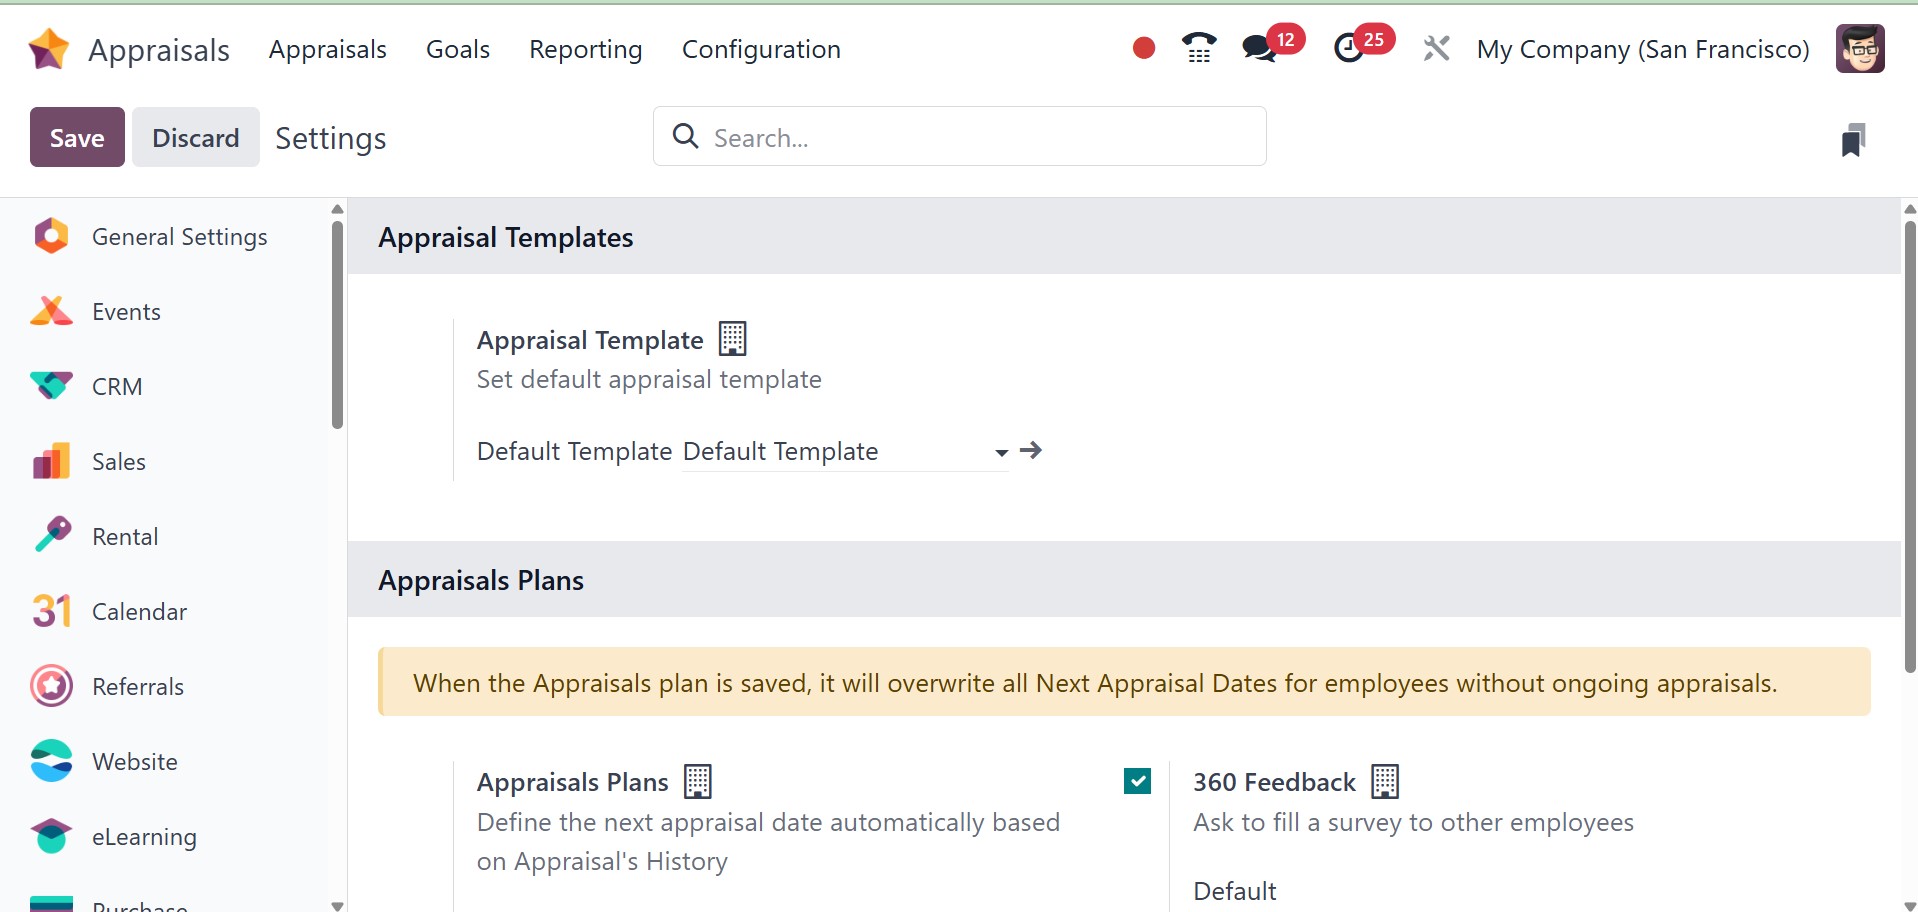
We can choose the appraisal template from the Appraisal Templates menu. Asking
managers and employees questions in the right places is easy.
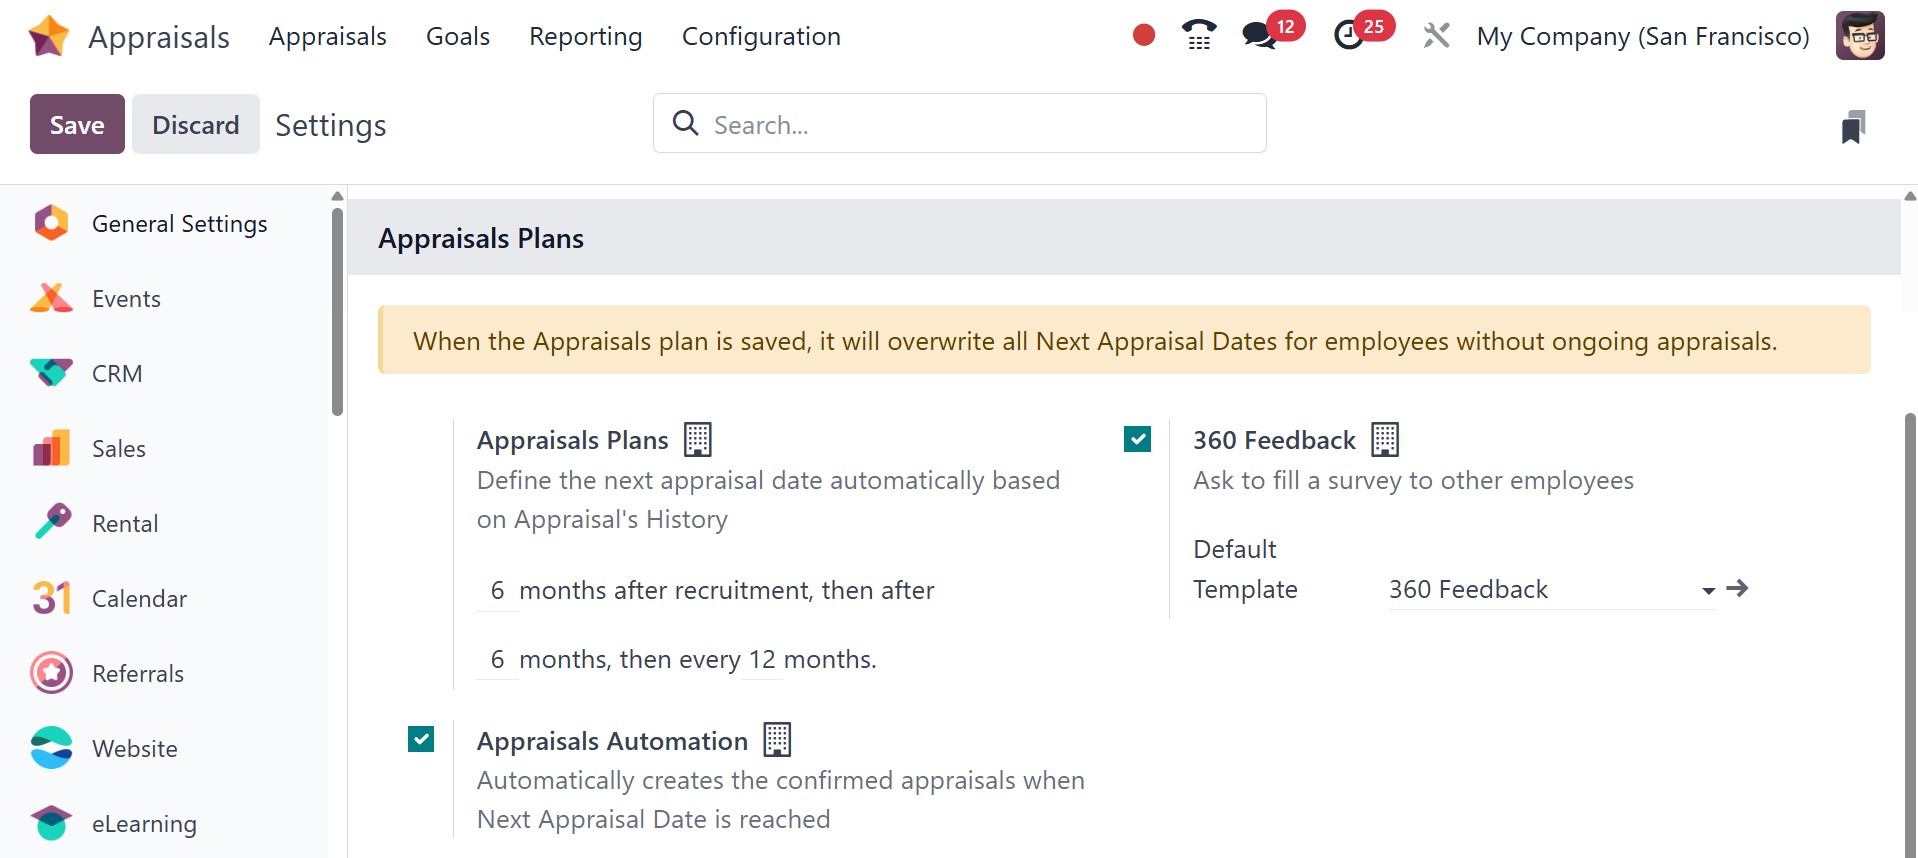
In the Settings panel, we can then manage employee evaluations. Making appraisals
automatically is easy if the Appraisals Plans option in the Appraisals section is
enabled. Under the appraisal area, you can specifically specify the months after
hiring.
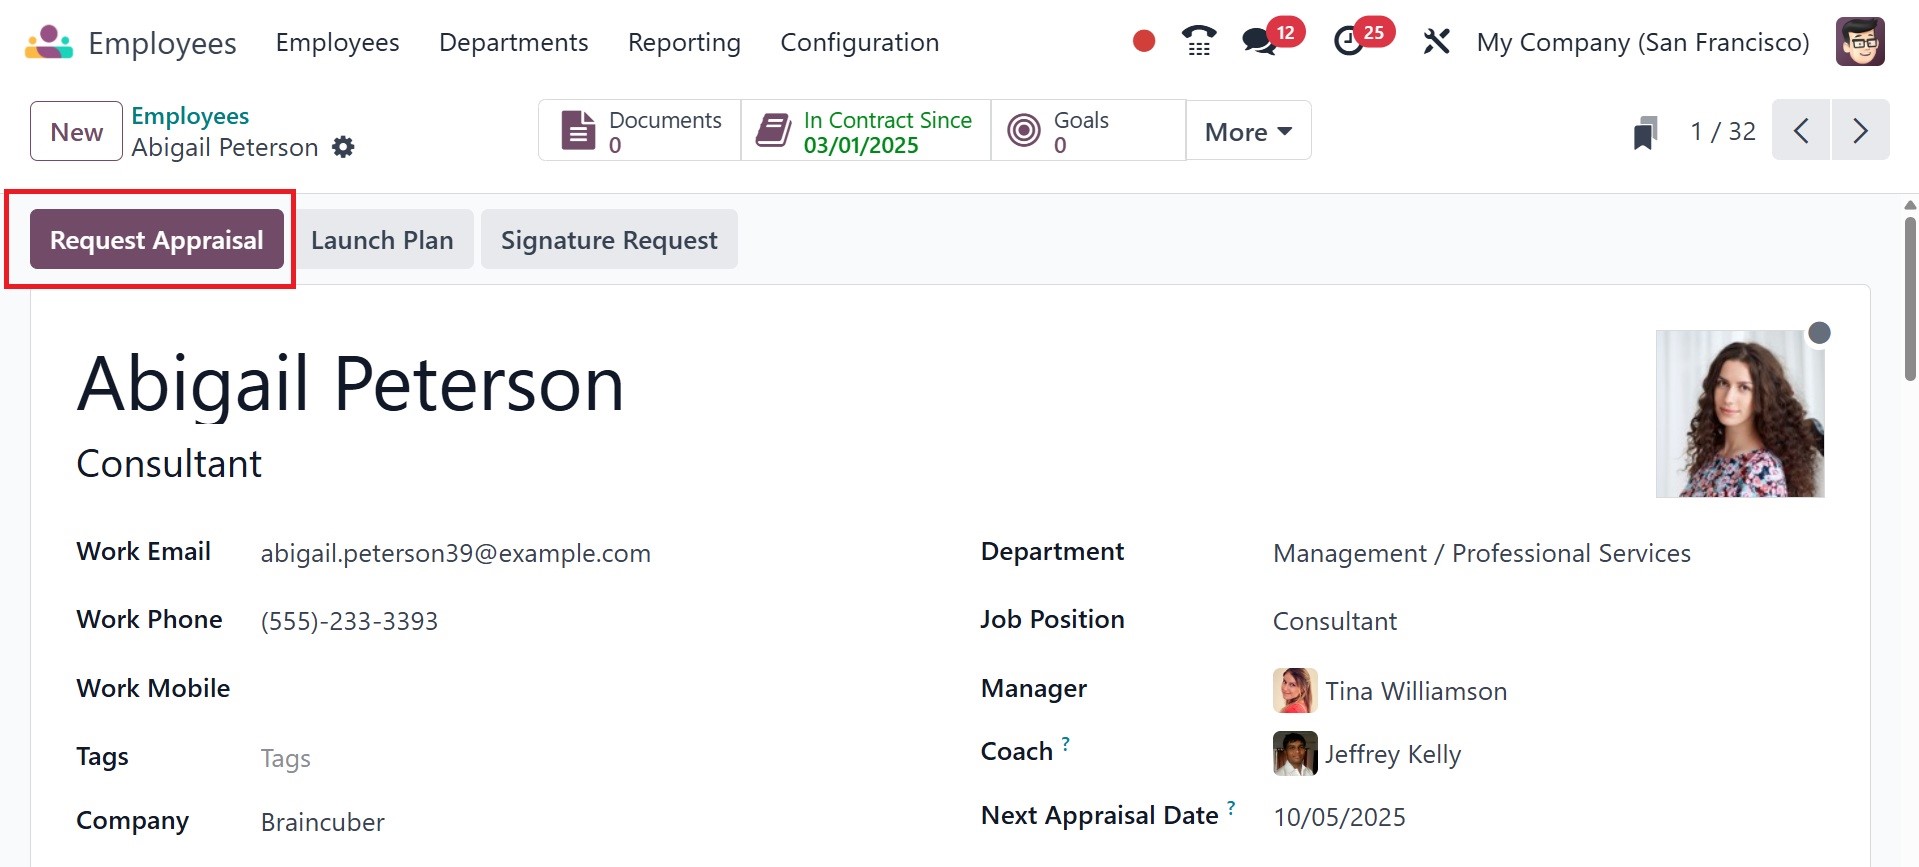
This will instantly update the employee's next appraisal date in the Employees
module's employee form. By clicking the "Request Appraisal" button, employees can
easily request the next appraisal.
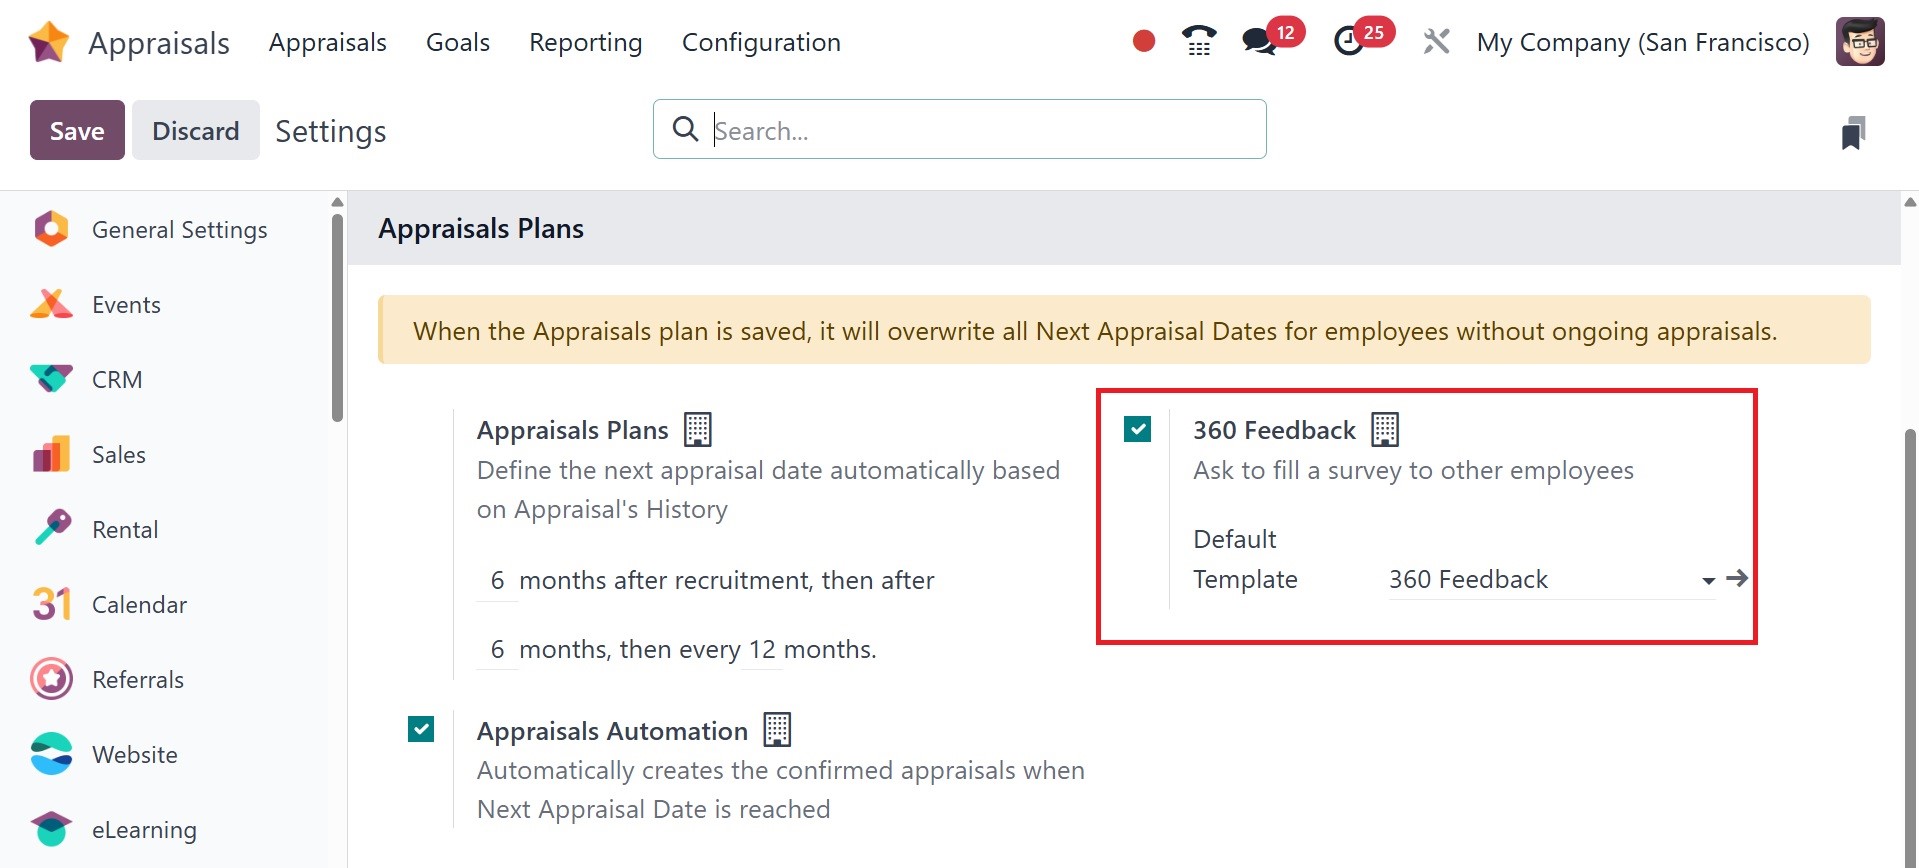
Once 360 Feedback is enabled, you can also ask employees to fill out a survey. After
enabling the required settings, click the SAVE button in the Settings window.
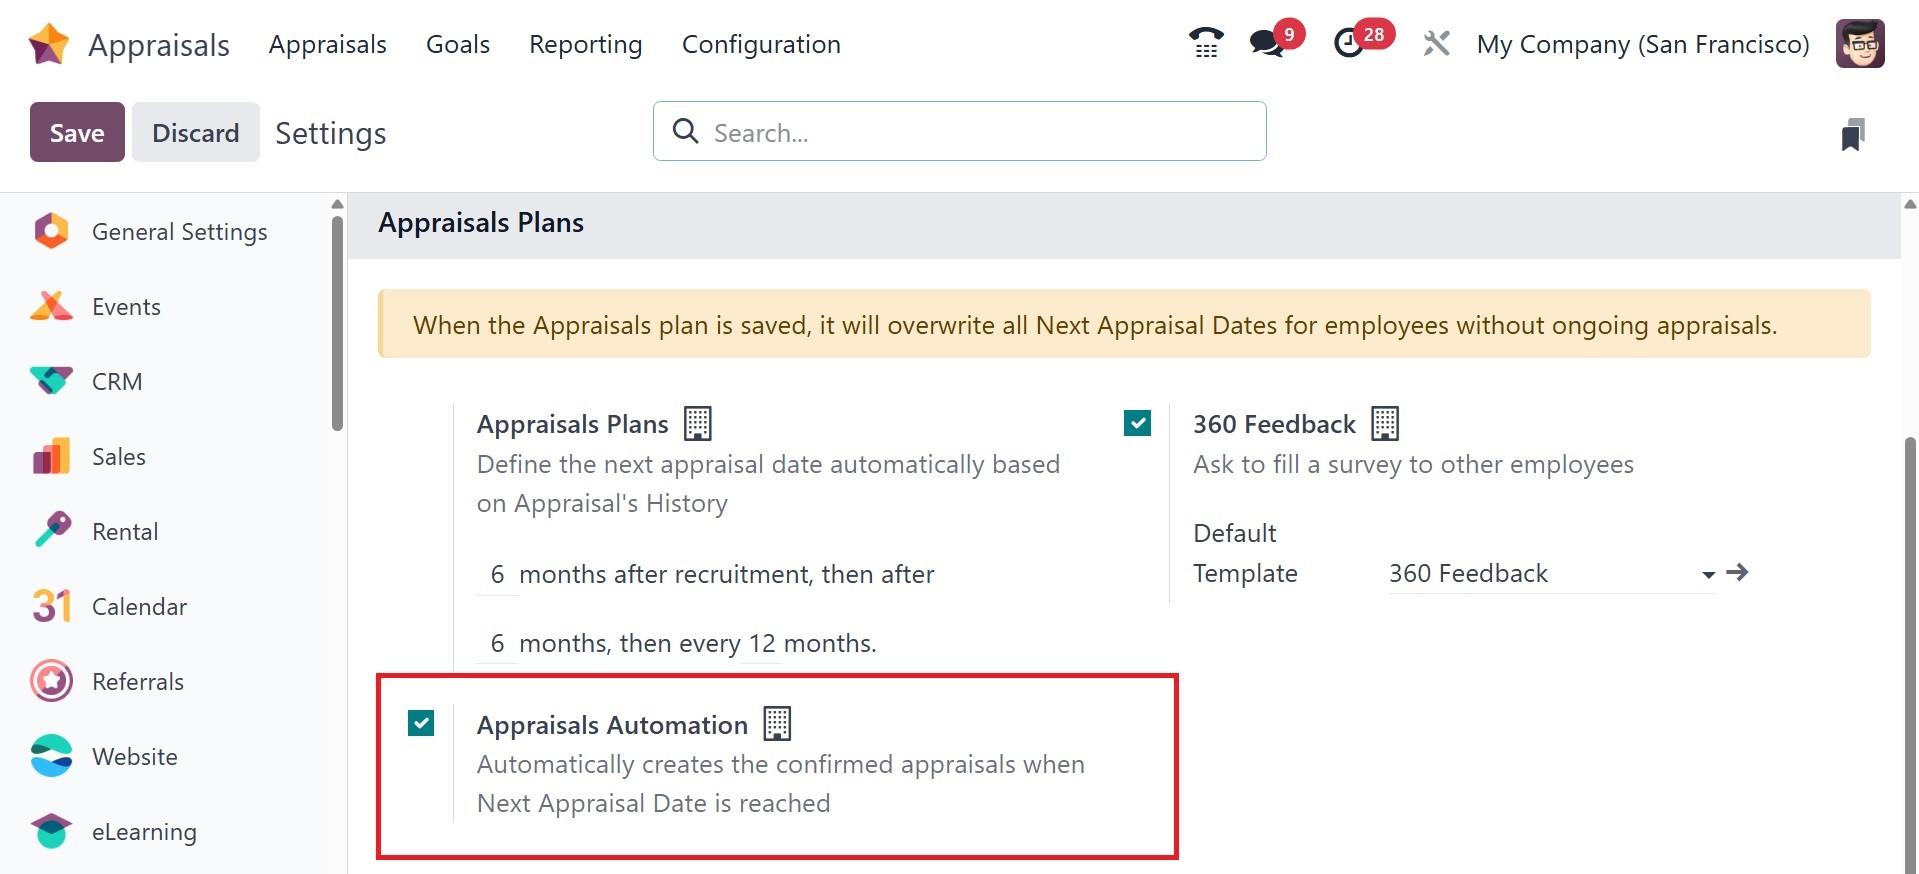
Next, you have the appraisal automation, as shown in the image below. It
automatically creates the confirmed appraisals when the next appraisal date is
reached.
3.2 Appraisal Template
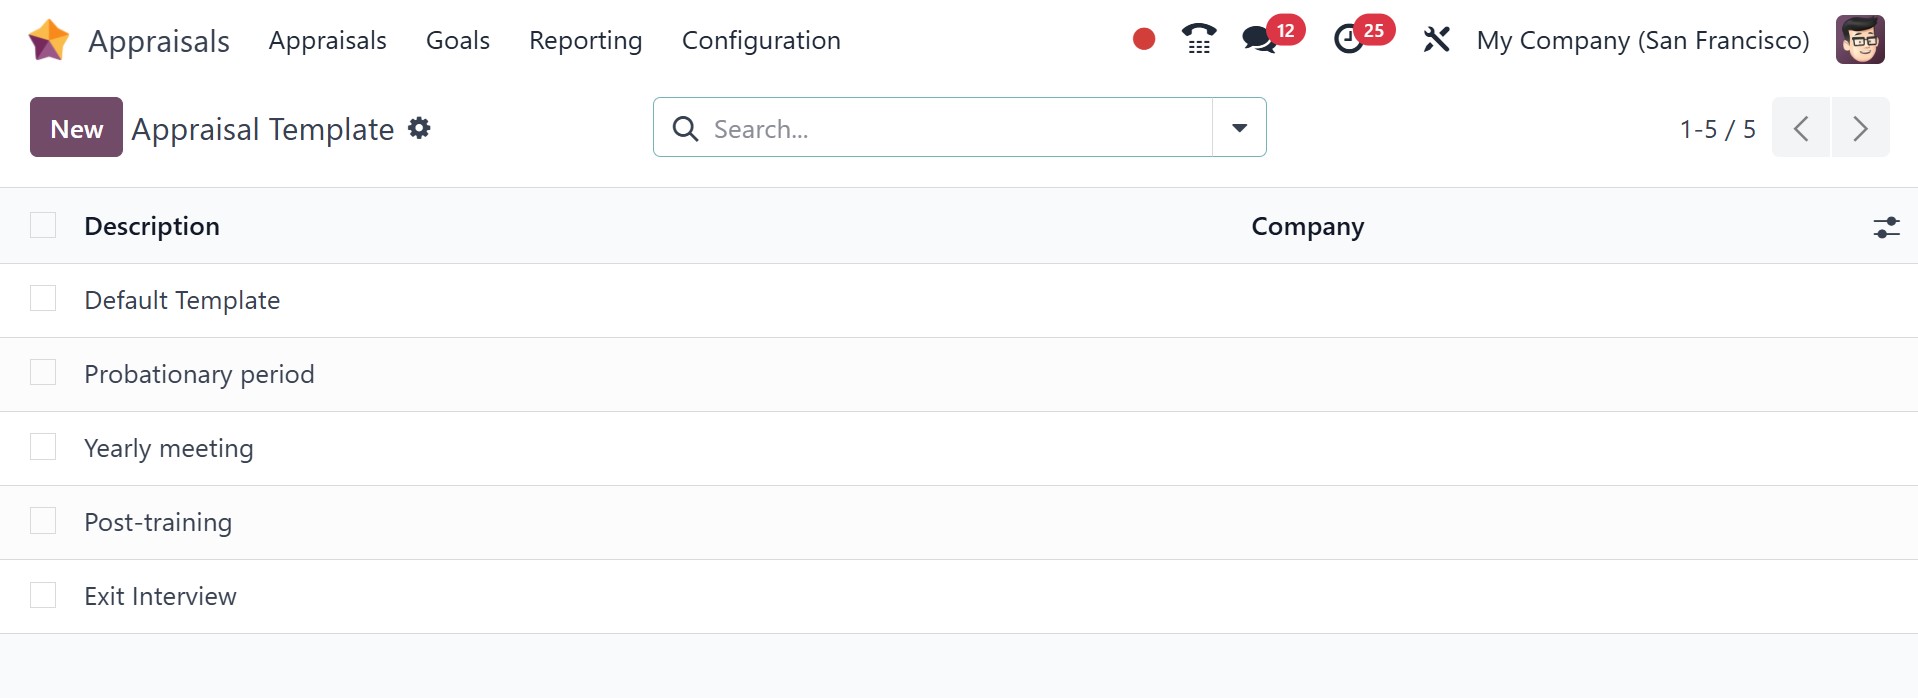
Under the appraisal template option in the configuration, you can have the
pre-configured appraisal templates, as in the image below.
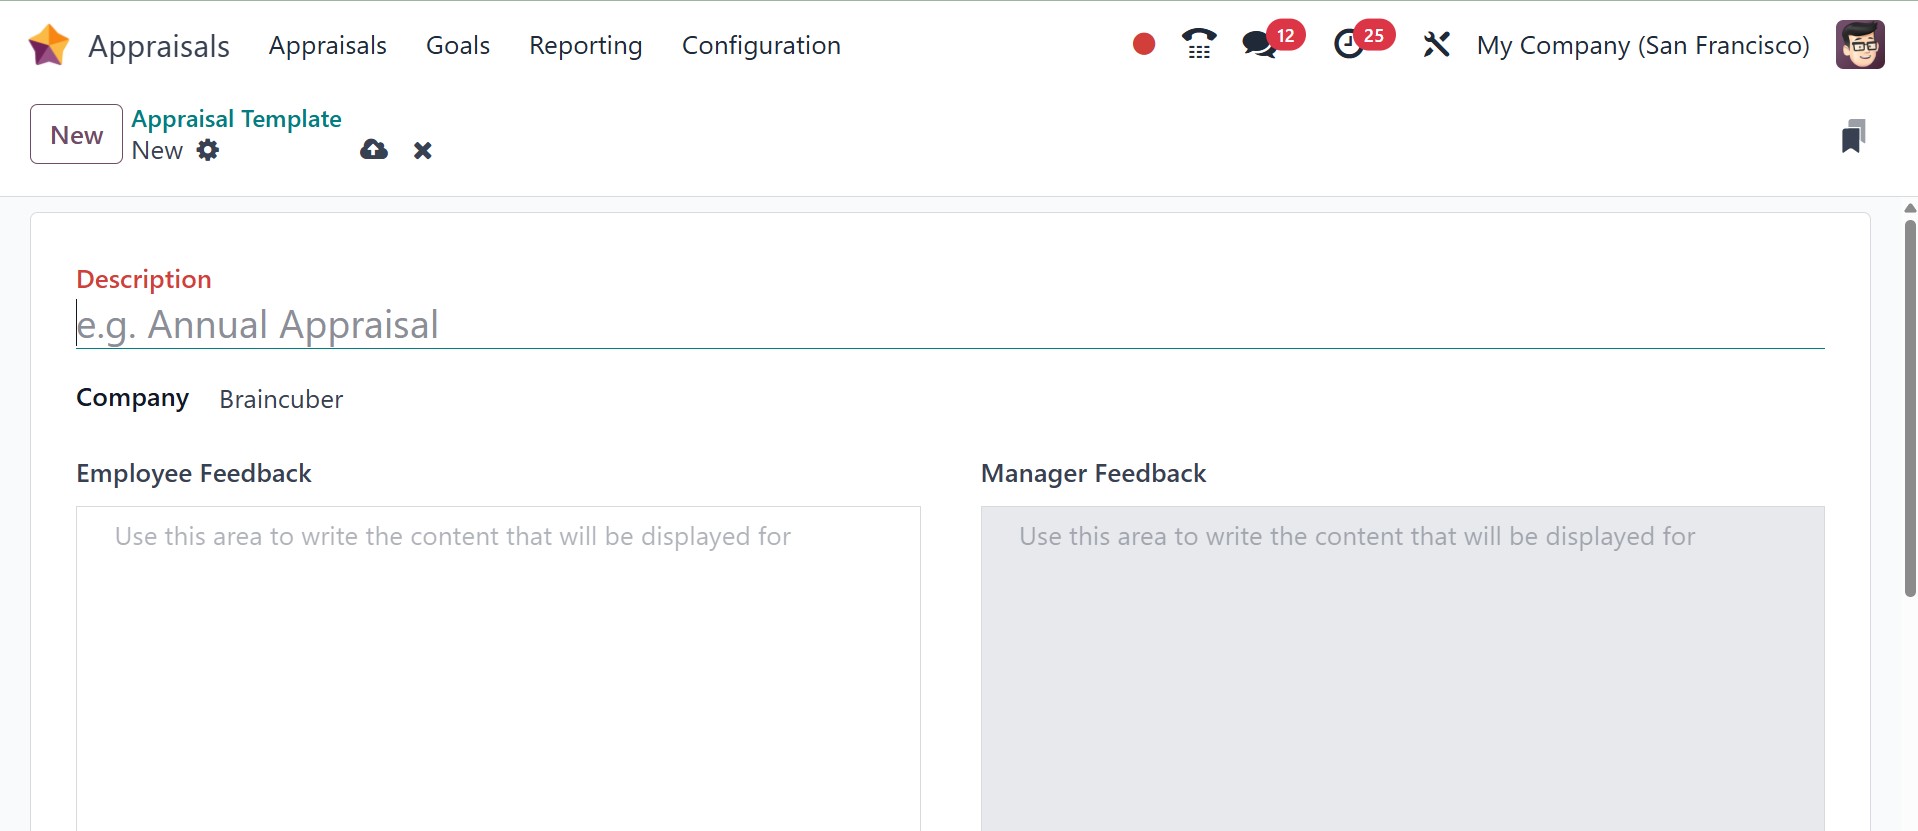
Using the NEW option, you can add the description, company, employee feedback, and
manager feedback, as in the image below.
3.3 Evaluation Scale
You can offer your final thoughts on an employee's work following a performance
review. It is easy to complete the employee profile's final rating selection when
the appraisal process is finished.
To assist with that, you may set a few evaluation scales under the Configuration tab.
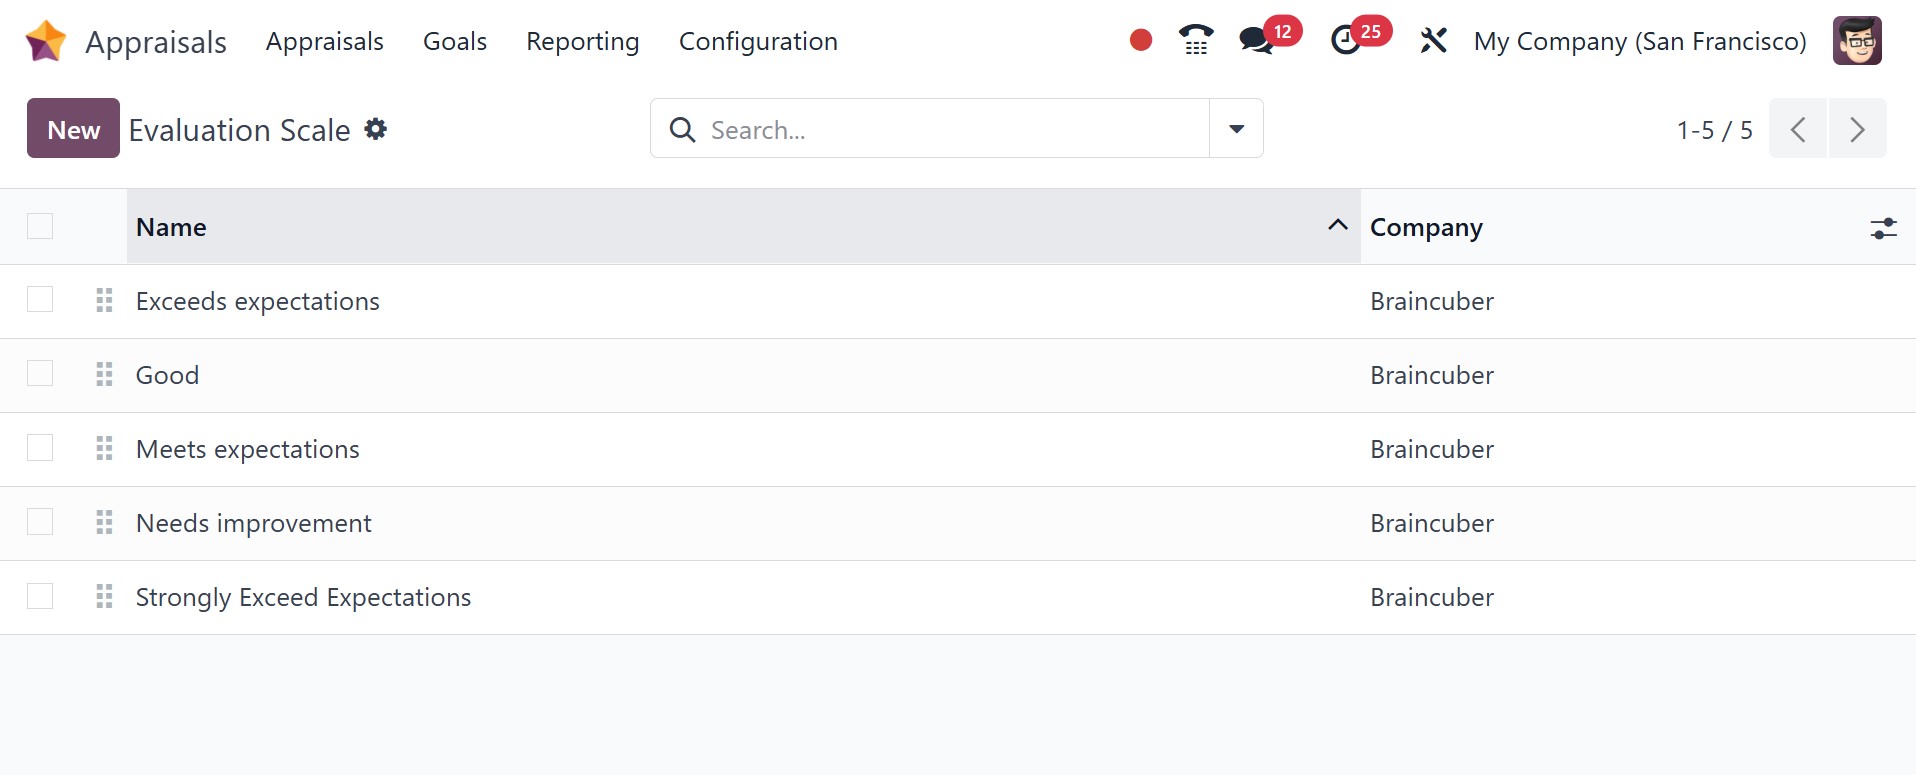
By choosing the Evaluation scale menu in Configuration, a user can get a list of all
current rates. The Evaluation Scale pane displays the Company and Name data. In the
Evaluation Scale window, choose the New icon to create a new one.
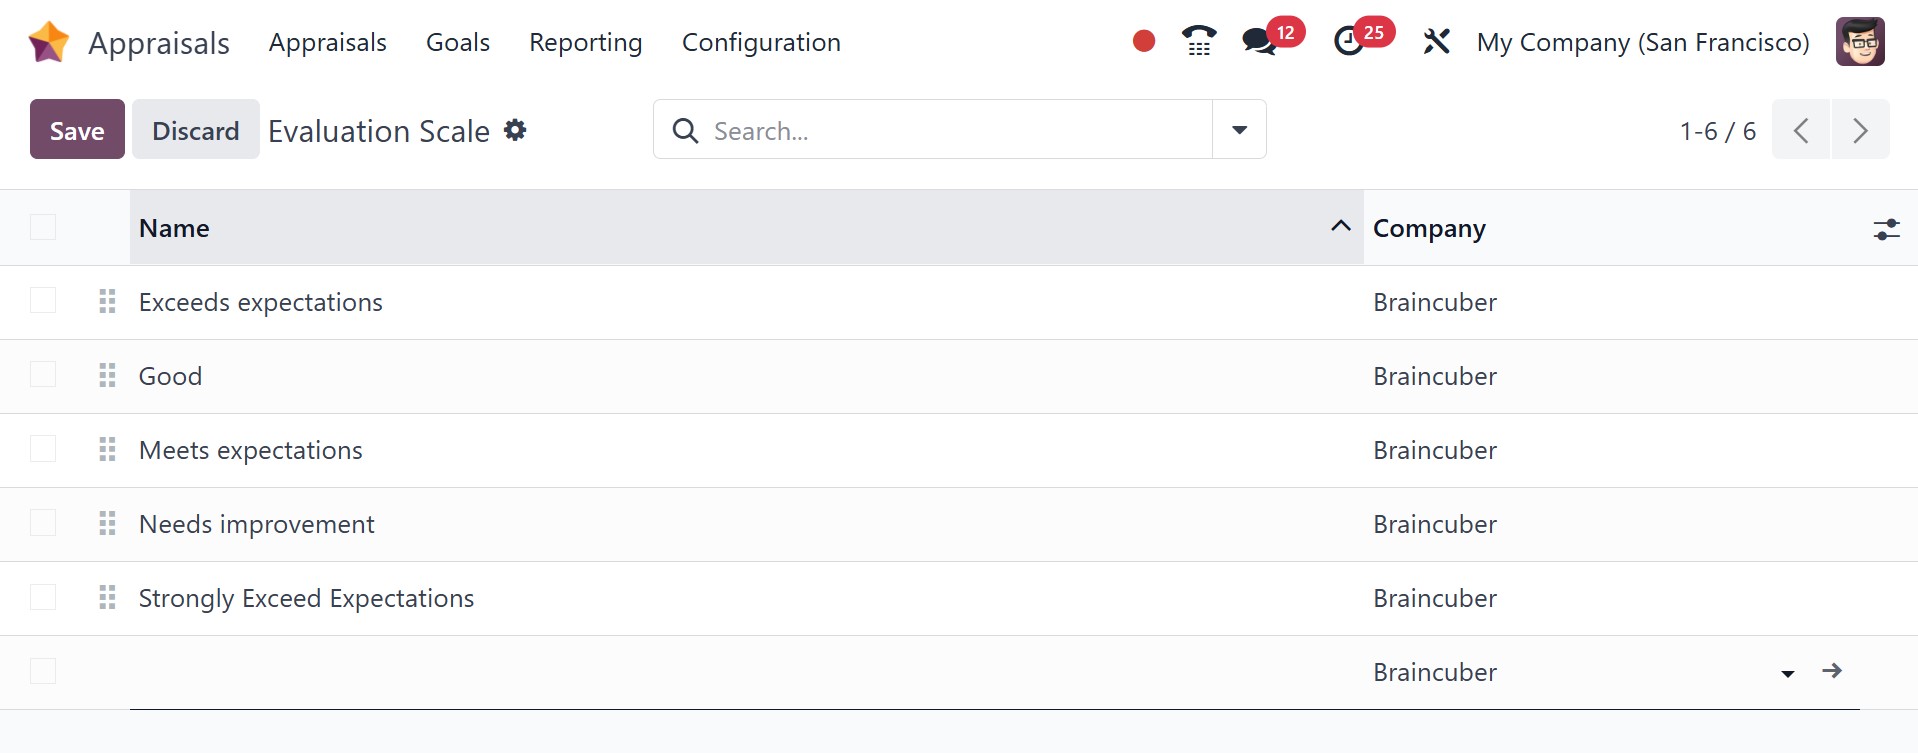
A new bar shows up at the bottom after you click the New button. Click the Save icon
after entering your name and company details in the blank space.
As a result, it is easy to administer the employee evaluation scale.
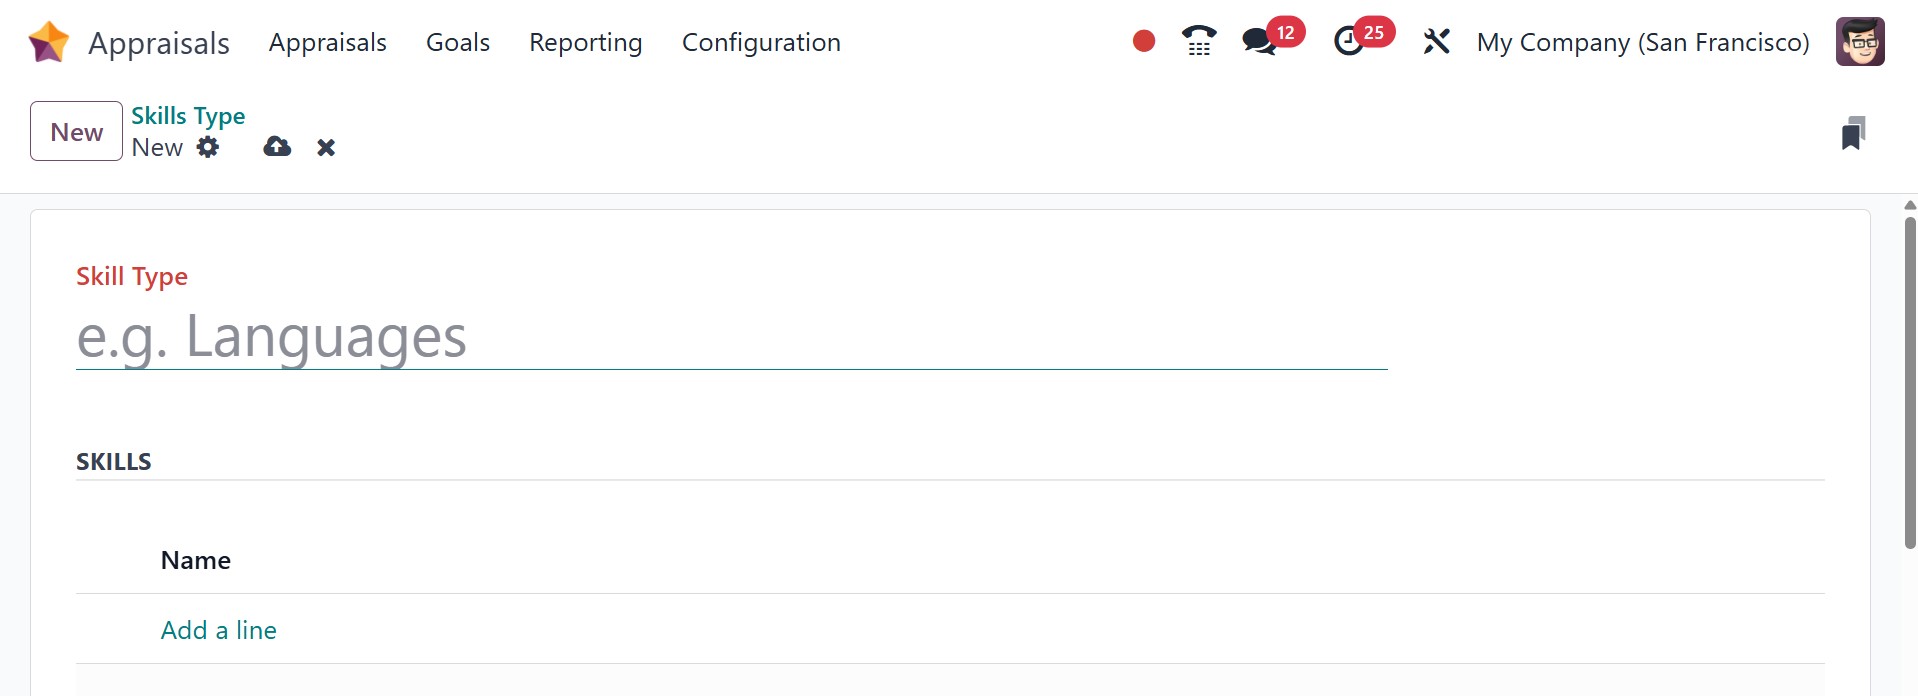
3.4 Skills Type
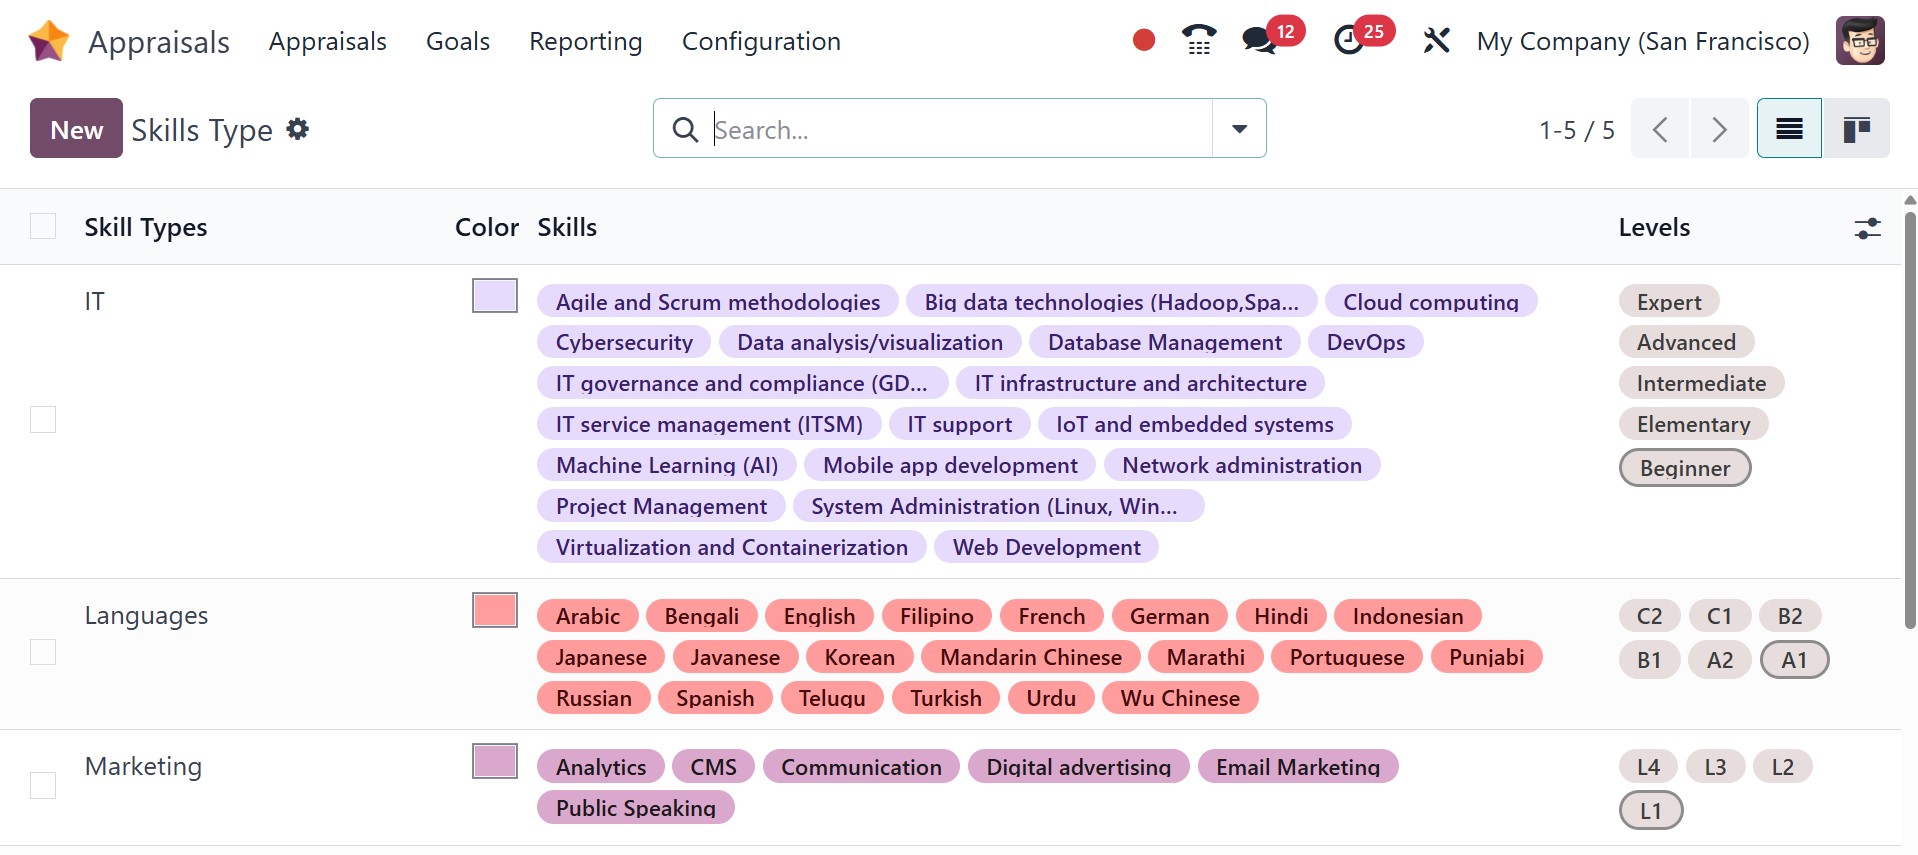
Related skills are grouped together using a classification method called a Skills
Type. It aids in the systematic organization of employee competencies and is
commonly employed in performance reviews to assess and monitor staff growth. The
page will be, as in the image below.
Using the NEW option, you can easily add a new skill, as in the screenshot below.
3.5 360 Feedback
A company's staff performance can be evaluated using a number of questionnaires. a
comprehensive evaluation of the business's overall performance and employee
satisfaction quickly obtained from surveys. To provide employees access to the 360
Feedback menu, you must enable the 360 Feedback option in the Settings. After the
data is stored, the Surveys option shows up in the Configuration tab.
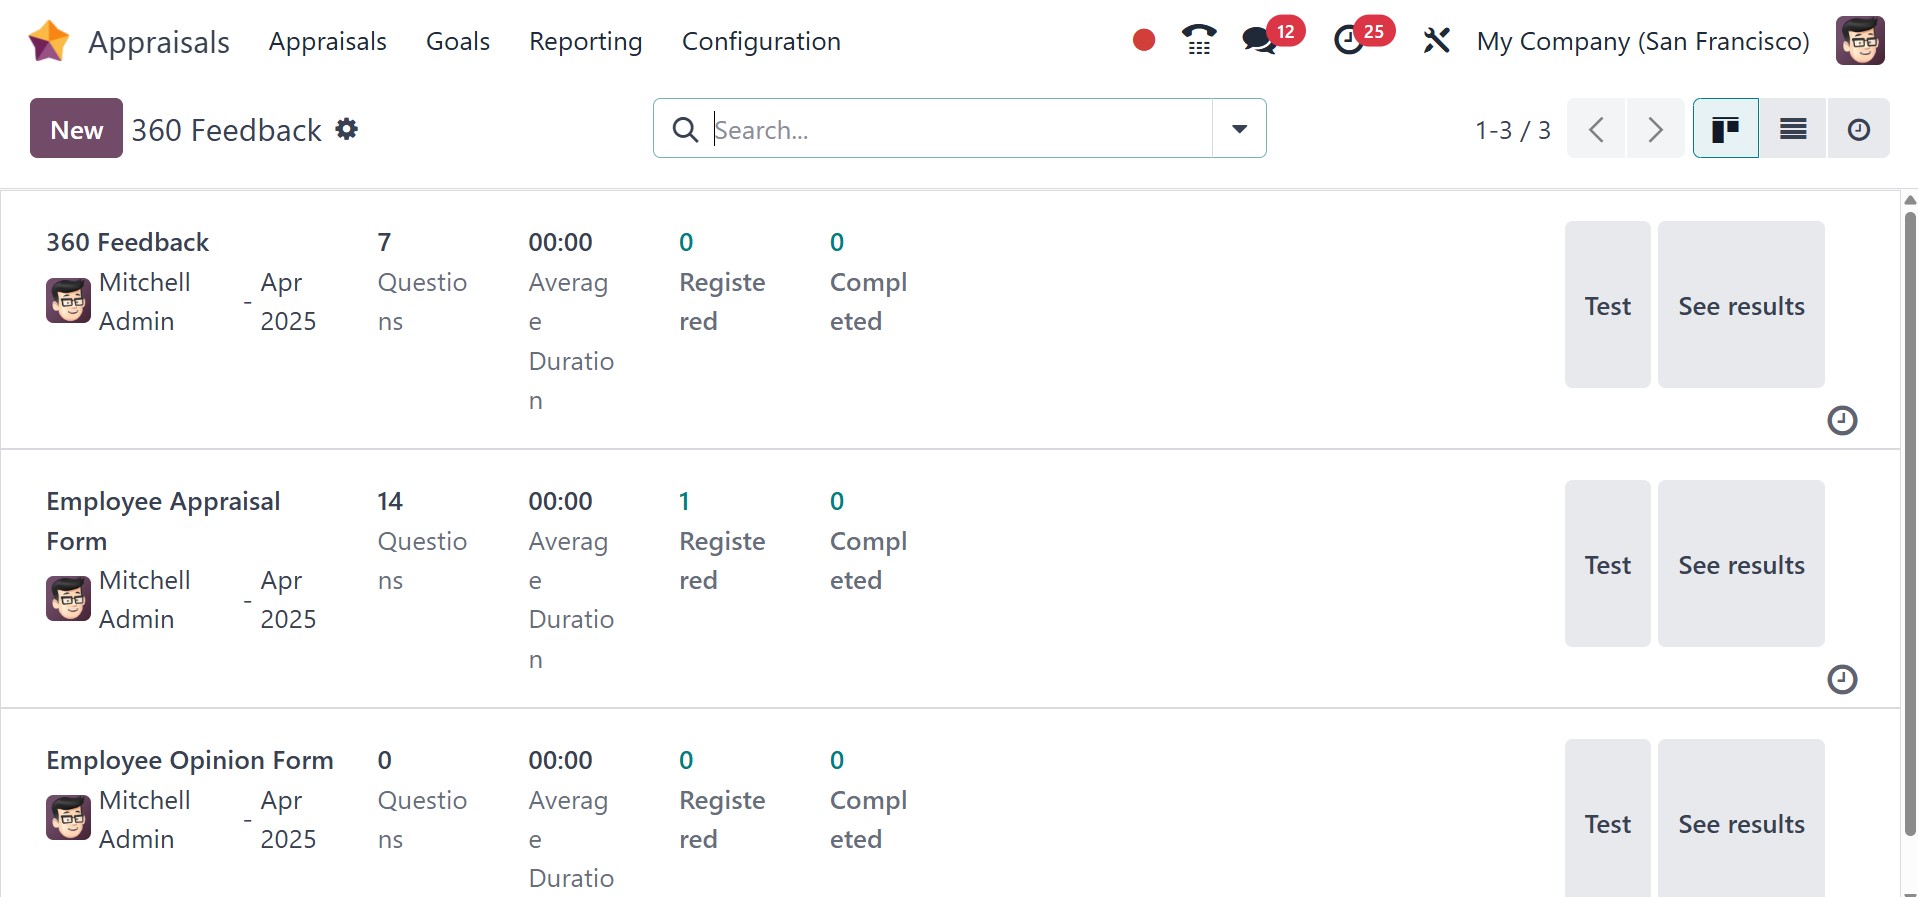
In the 360 Feedback, we can see details about each survey, including its average
duration, questions, registered, completed, and more. The Surveys window can also be
used to plan activities, test, share, start a live session, and view results. You
can describe a company's brand-new employee survey by choosing the New icon.
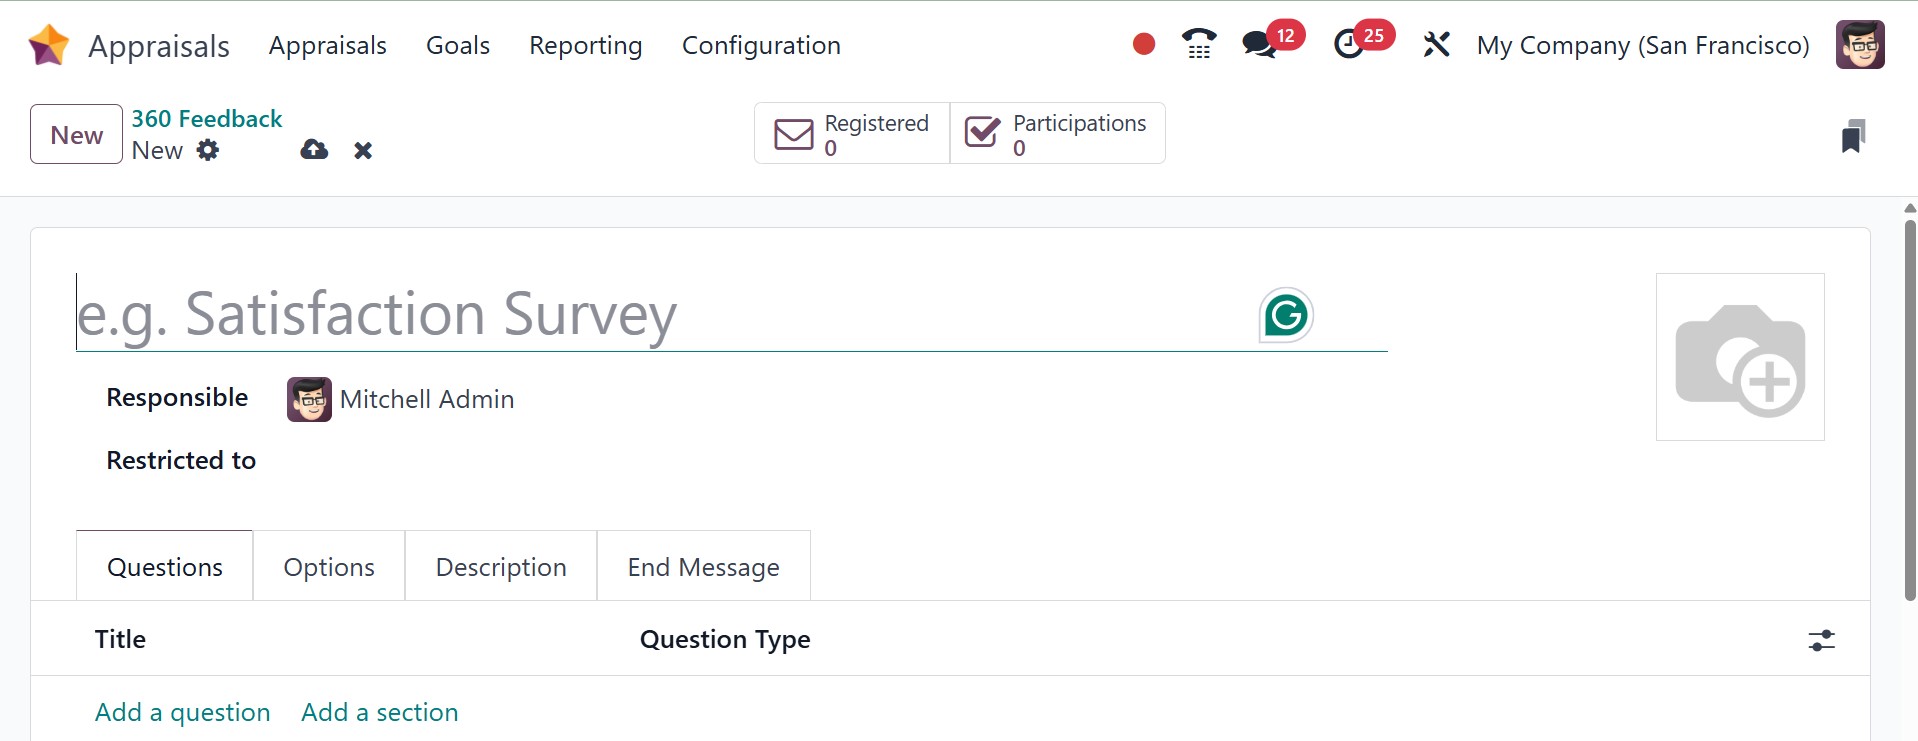
- Survey Name: The name of the specific survey.
- Responsible: the employee responsible for the survey, including the month and
year they were given that designation. You can also restrict it to a particular
person, using the restricted to option. Below that, you have the questions,
options, description, and end message tabs as well.
Inside the Question tab, you can see the Title and Question Type for the survey. A
new question is created by selecting the Add a question icon at the end. You can add
details about the survey inside the Description tab. We can see that description on
the survey's homepage, and it is a guideline for participants. Later, add the
message inside the End Message tab, and it displays after the survey is completed.
Inside the Options tab, you can manage the Questions, Live Sessions, Candidates, and
Scoring. Click on the Save icon after entering all details about the survey.
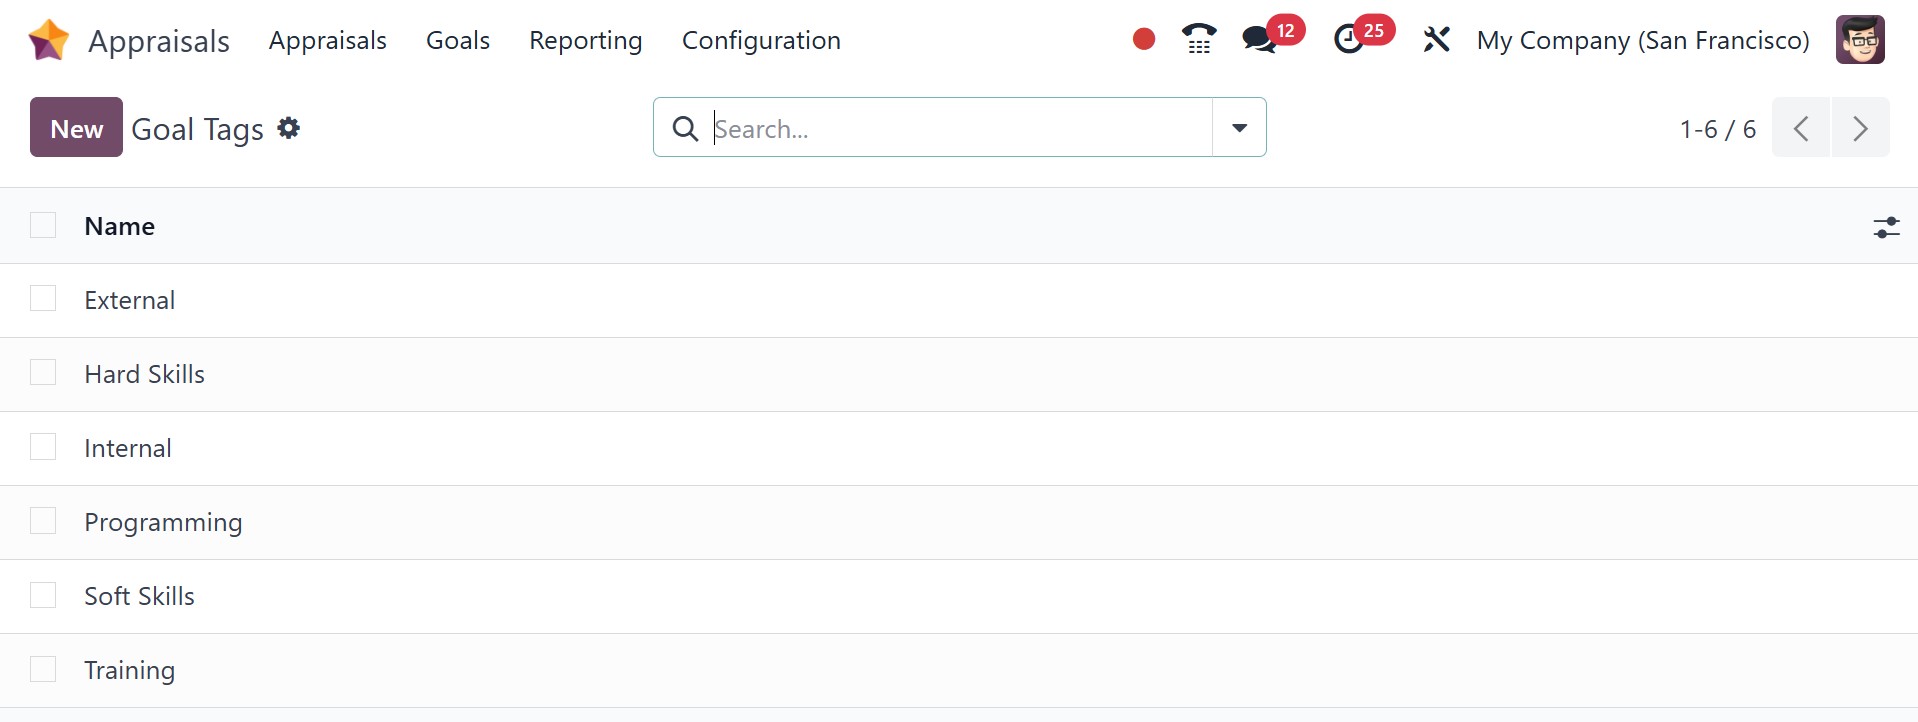
3.6 Goal Tags
Tags used in the Goal are generated in the Tags menu, which is part of the
Configuration menu. Click the New button to add a new tag.