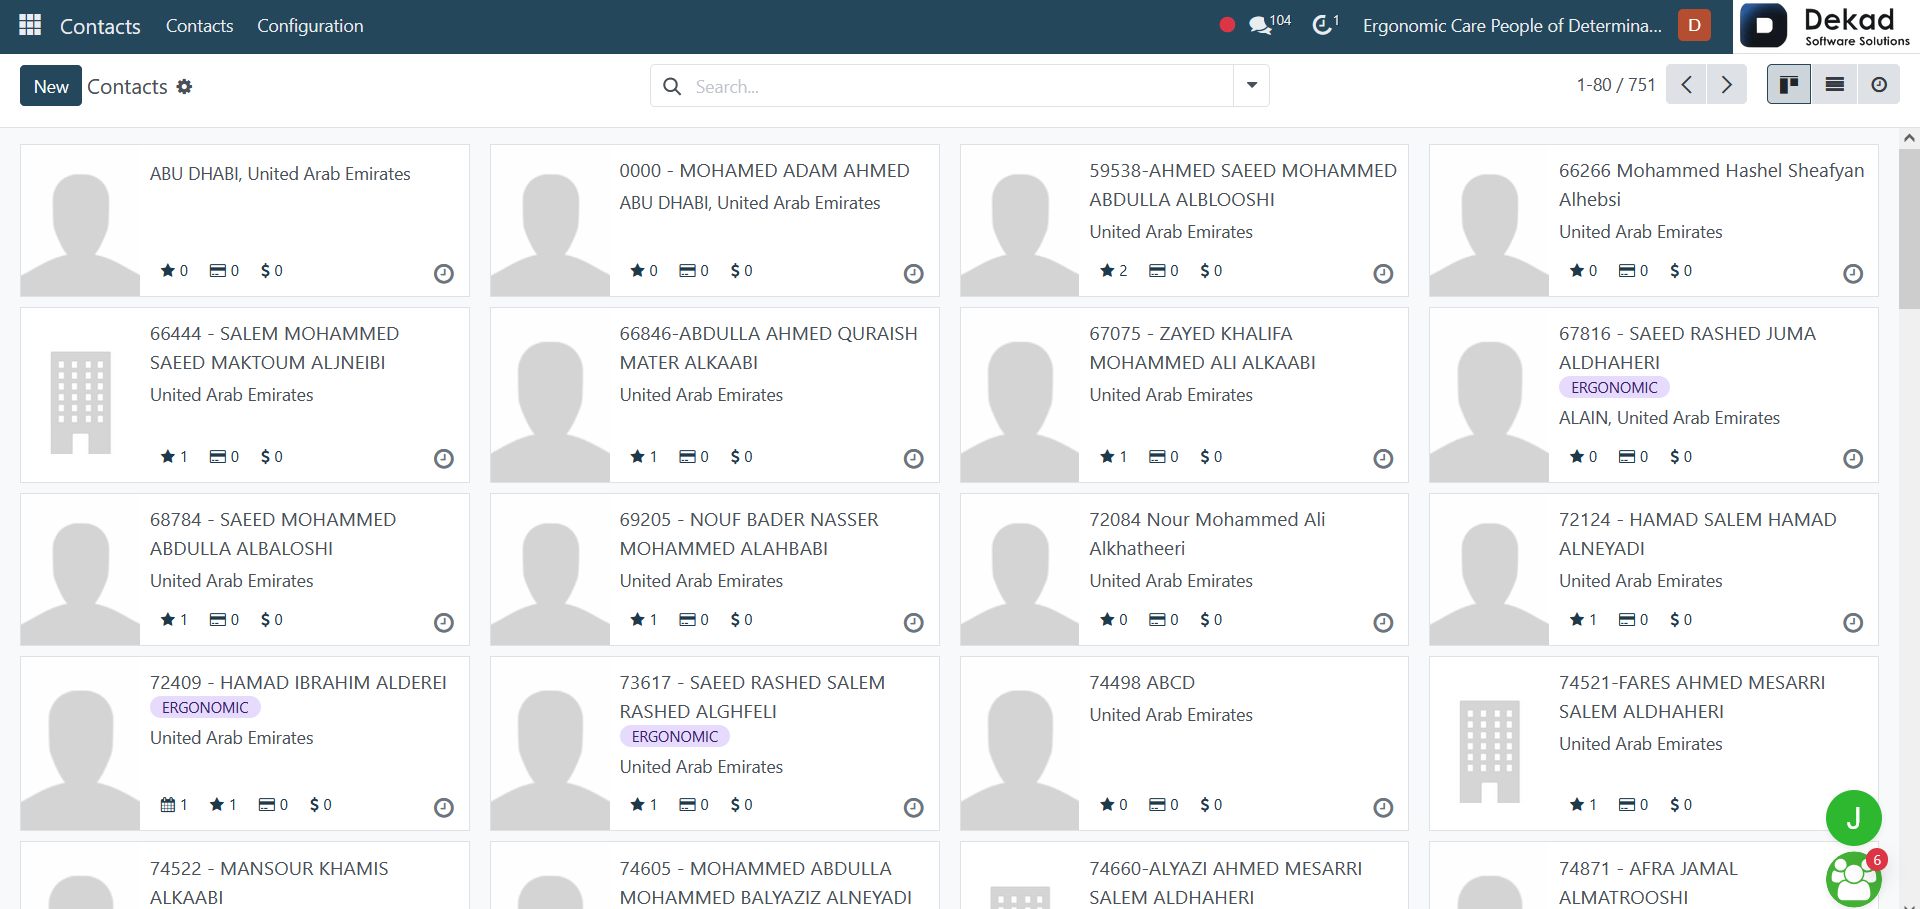
The Contacts module is used to manage all
customer and partner information in a
centralized place. It stores important
details such as names, addresses, phone
numbers, email addresses, and other
related information.
This module helps users maintain organized
contact records, improve communication,
and quickly access the information needed
for sales, purchasing, and other
business operations.
1. Contacts Management
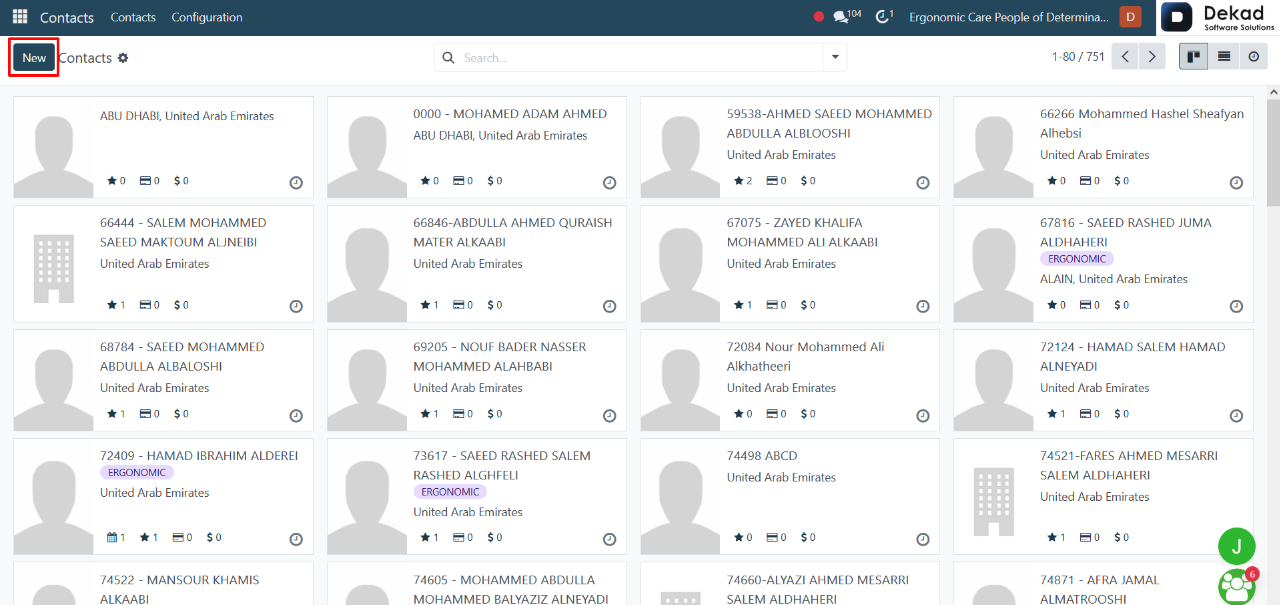
By clicking on the New button, users
can create a new contact record by
entering the required information
such as the contact name, address,
phone number, email, and other
related details.
This allows users to add and maintain
accurate contact information within the system.
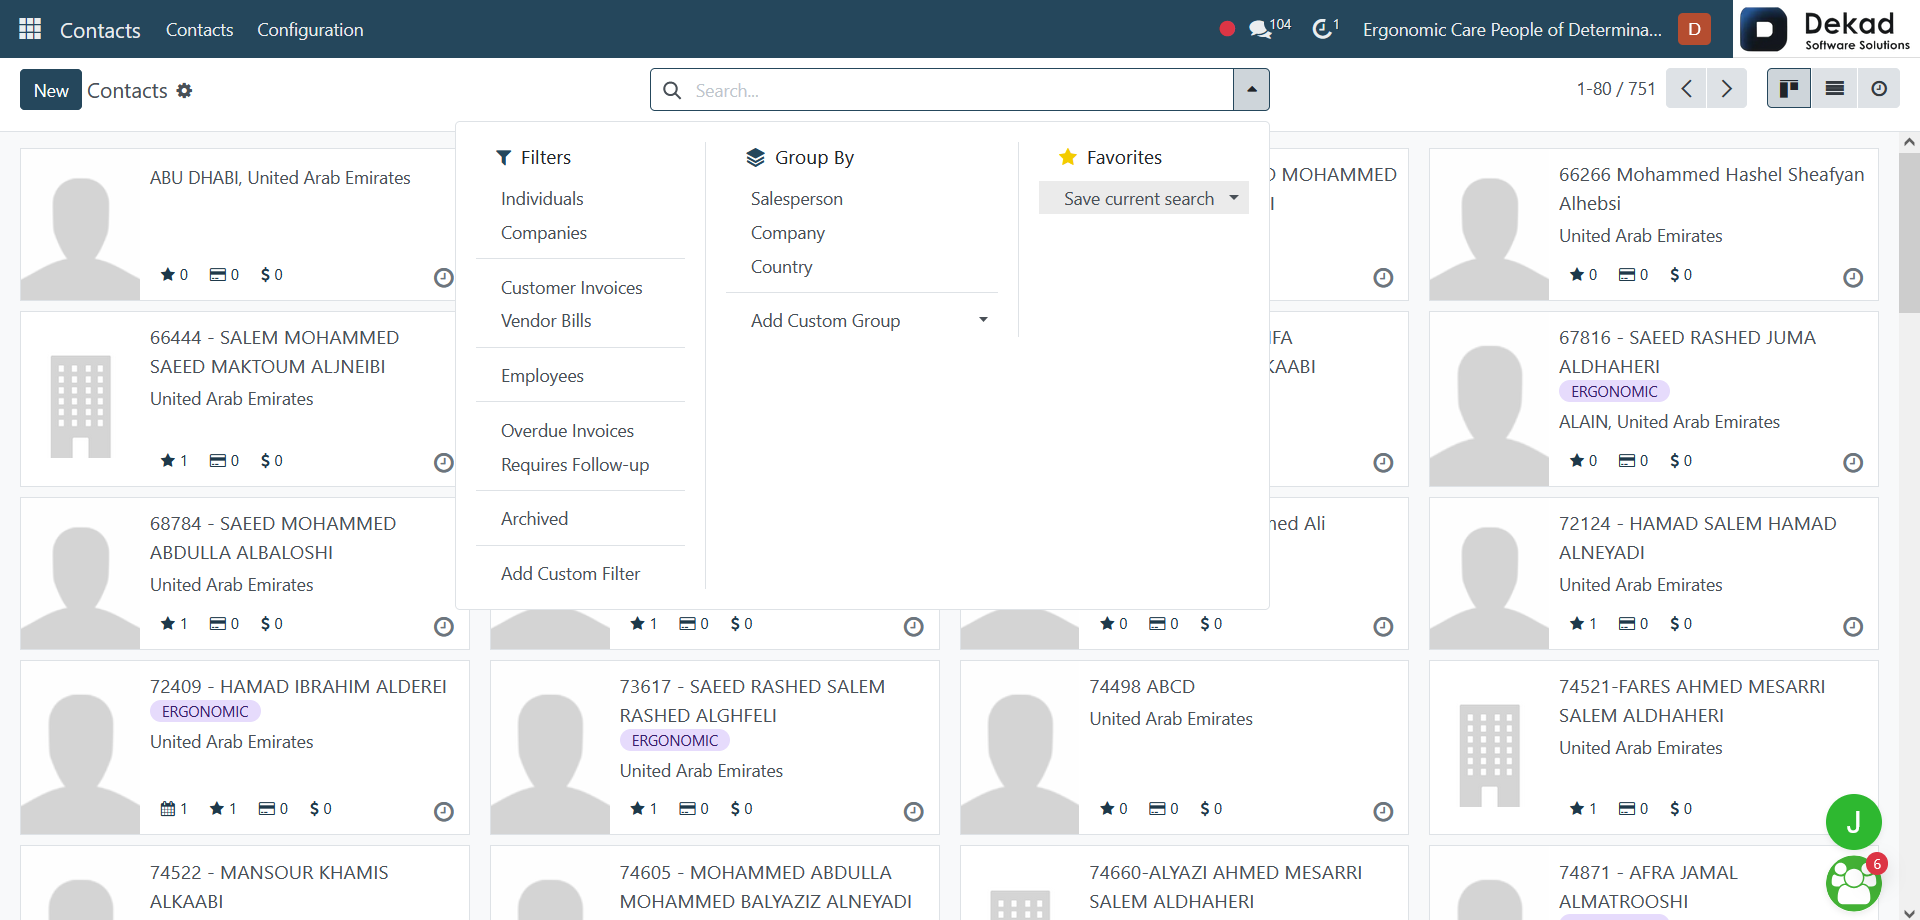
Search and Filtering
By using the Search bar, users can apply
different filters to refine the
displayed contact records. This
allows users to quickly find specific
contacts and display only the information
that matches their selected criteria.
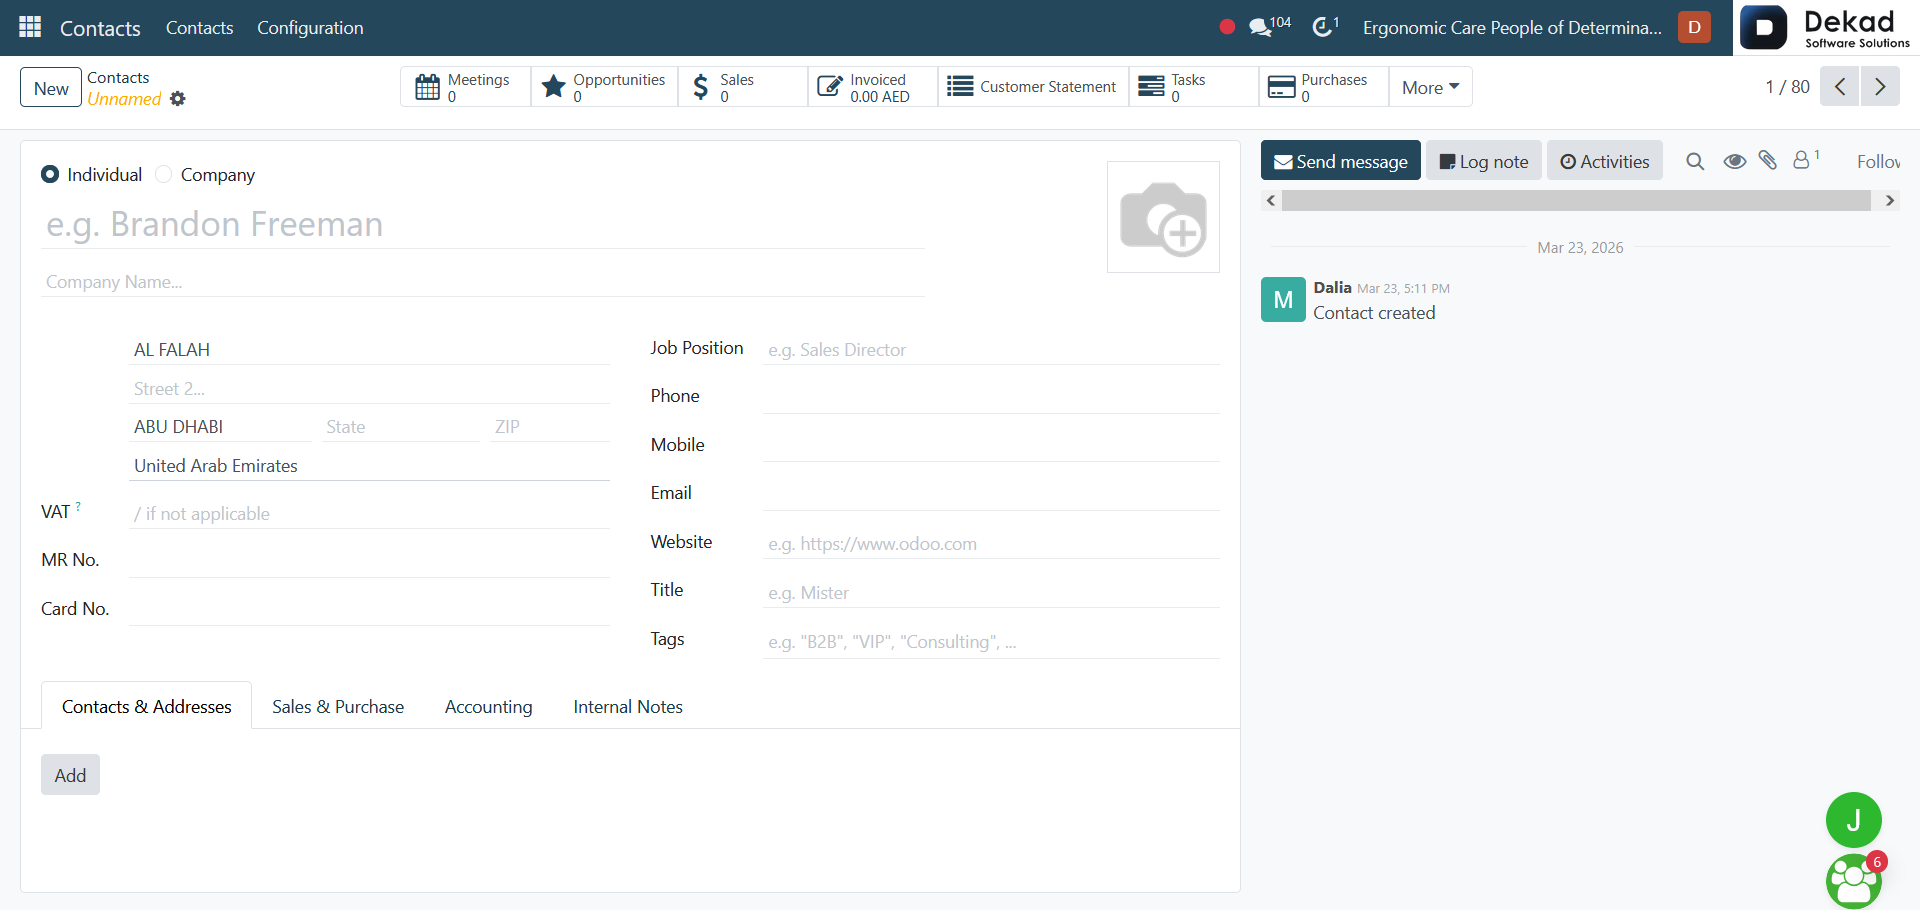
Contact Details
By clicking on a specific contact, users can
view all related information and
manage the contact record in detail.
Individual / Company determines whether
the contact is a person or a business organization.
VAT, MR No., and Card No. are used to
store official identification and
registration details related to the contact.
Job Position specifies the contact’s
role or position within a company.
Phone, Mobile, Email, and Website
contain the contact’s communication
information, allowing users to easily
reach the person or organization.
Title is used to define the contact’s
professional or personal title.
Tags help categorize and organize contacts
based on specific labels for easier
searching and filtering.
Contacts & Addresses contains additional
contact persons and different addresses
associated with the contact, such as
billing or delivery addresses.
Sales & Purchase includes information
related to sales and purchasing operations,
such as pricing rules and transaction preferences.
Accounting contains financial details
related to the contact, including payment
terms and invoicing information.
Internal Notes is used to store private
notes and additional information visible
only to internal users.
Chatter Panel allows users to track
all activities related to the contact, view
communication history, send messages, schedule
activities, and add internal notes. It helps
keep all updates and interactions organized
in one place.
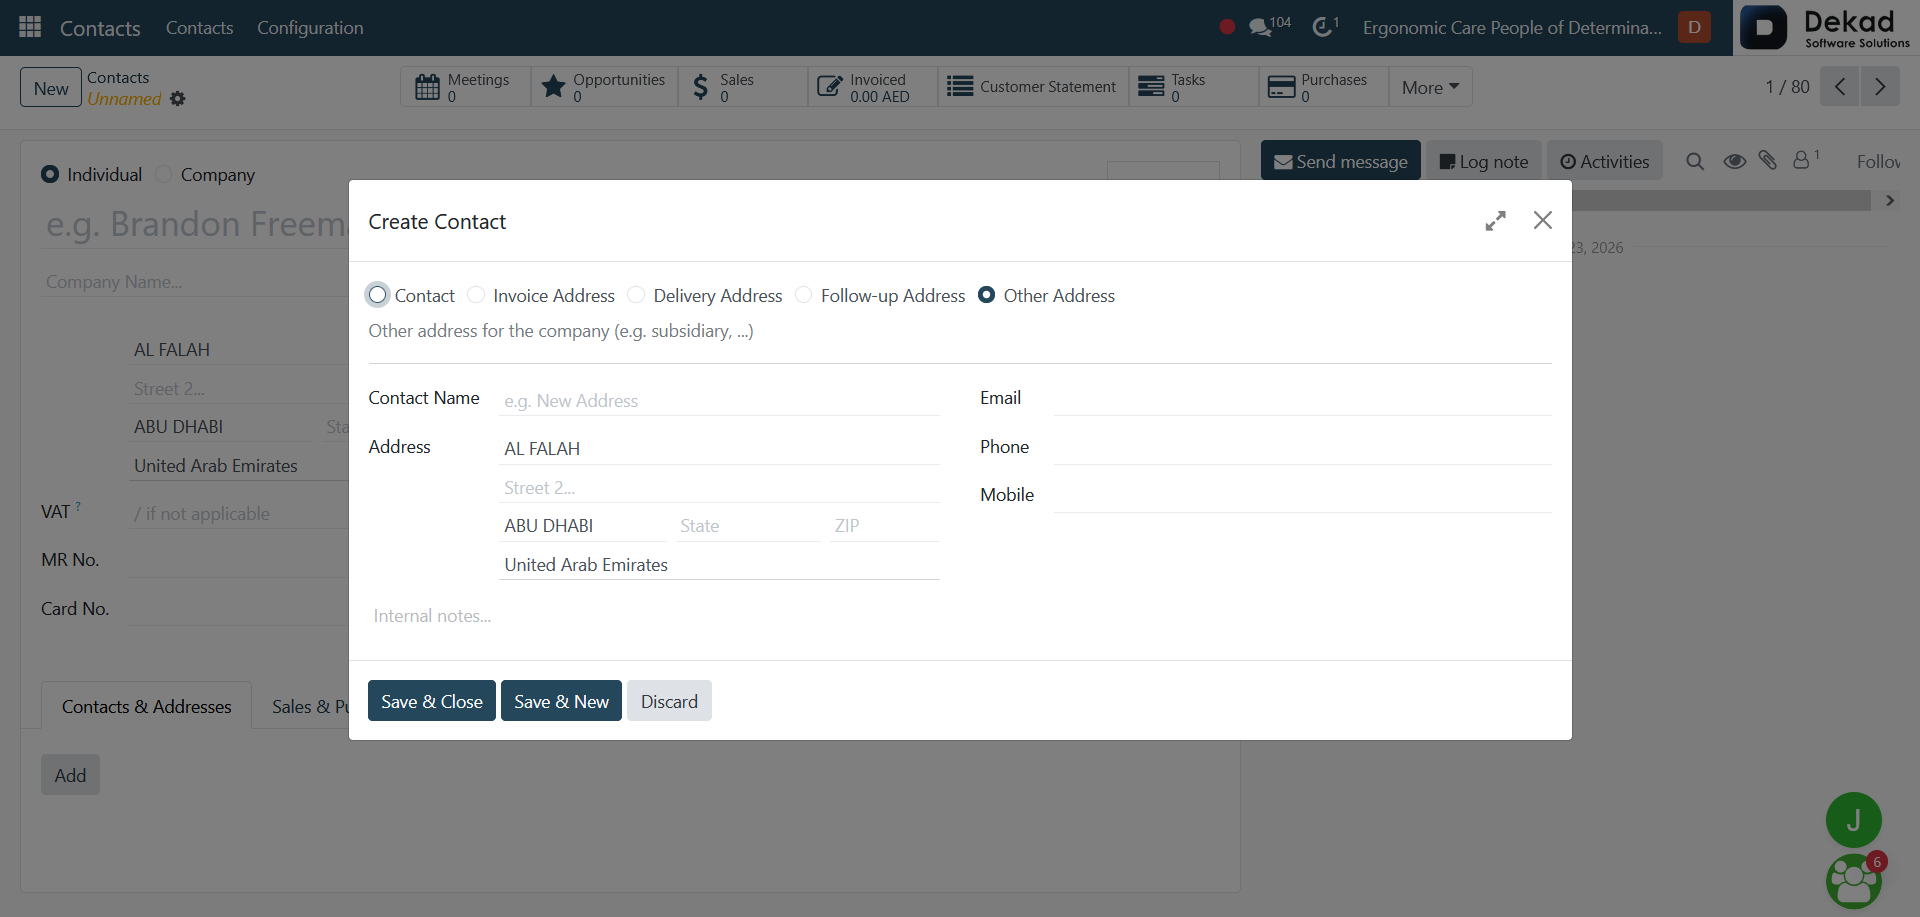
Add Contact Details
When clicking the Add button, users
can create a new related contact or
address and specify its type.
Contact is used to add a general
contact person associated with the company.
Invoice Address specifies the address
used for sending invoices and billing documents.
Delivery Address defines the location
where products or orders will be delivered.
Follow-up Address is used for payment
reminders and follow-up communications.
Other Address allows users to add additional
addresses related to the company, such as
subsidiaries or other branches.
Users can also enter essential information
such as Contact Name, Address, Email, Phone,
and Mobile to complete the contact details.
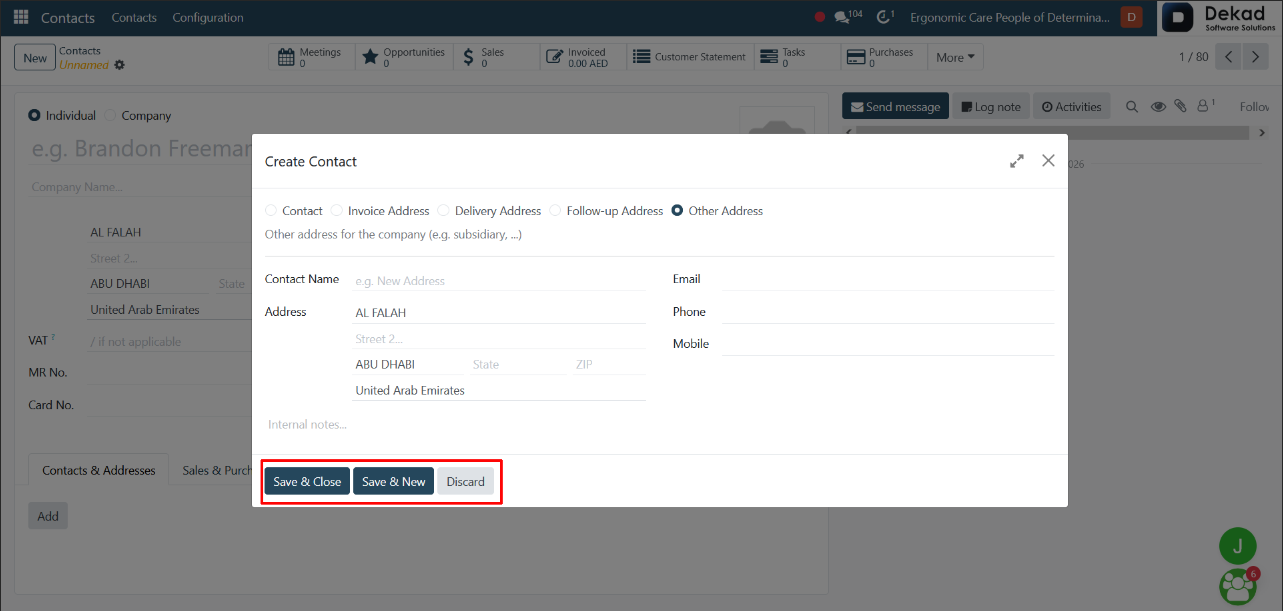
After entering the contact details,
users can choose one of the available actions:
• Save & Close saves the entered information
and closes the current window.
• Save & New saves the current contact information
and opens a new form to create another
contact directly.
• Discard cancels the creation process
and closes the form without saving
any changes.
2. Configuration
The Configuration page allows users to
define and manage contact-related
settings and options. It helps organize
contact information, customize contact
management preferences, and ensure that
contact records are maintained according
to the organization's requirements.
2.1 Contact Tags
The Contact Tags page is used to create
and manage labels that can be assigned
to contacts. These tags help categorize
contacts based on specific characteristics,
making it easier to organize records,
search for contacts, and apply filters
when needed.
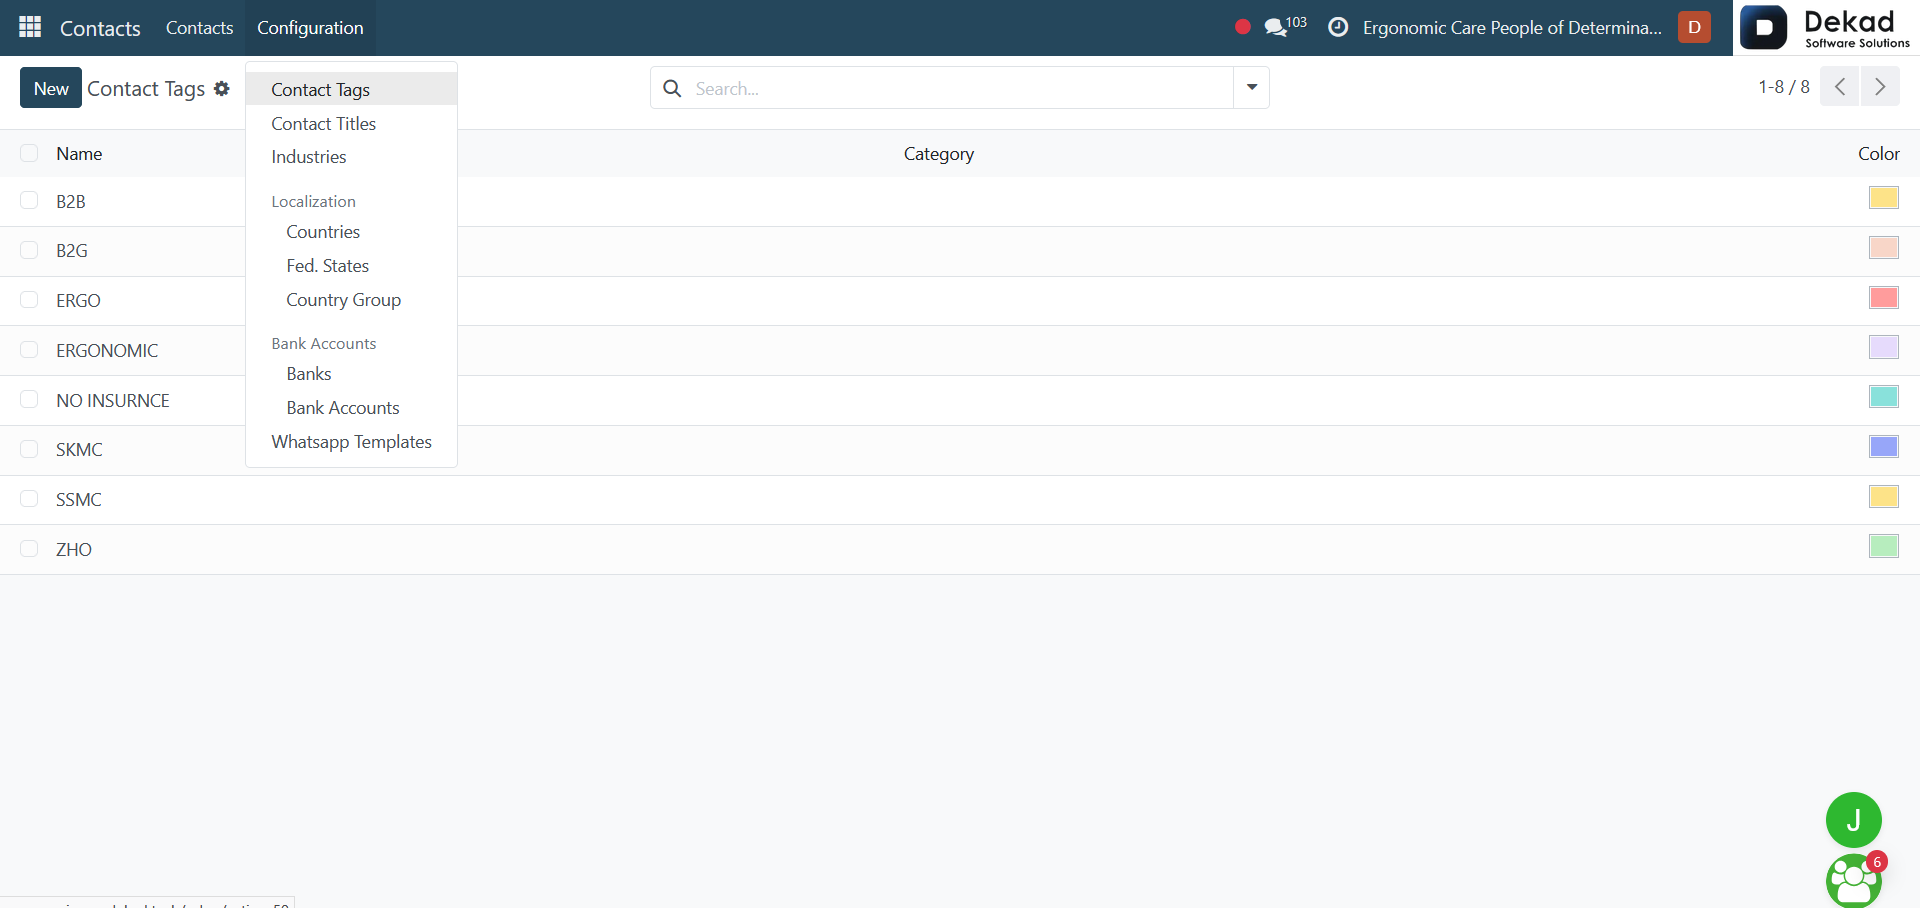
Contact Tags Overview
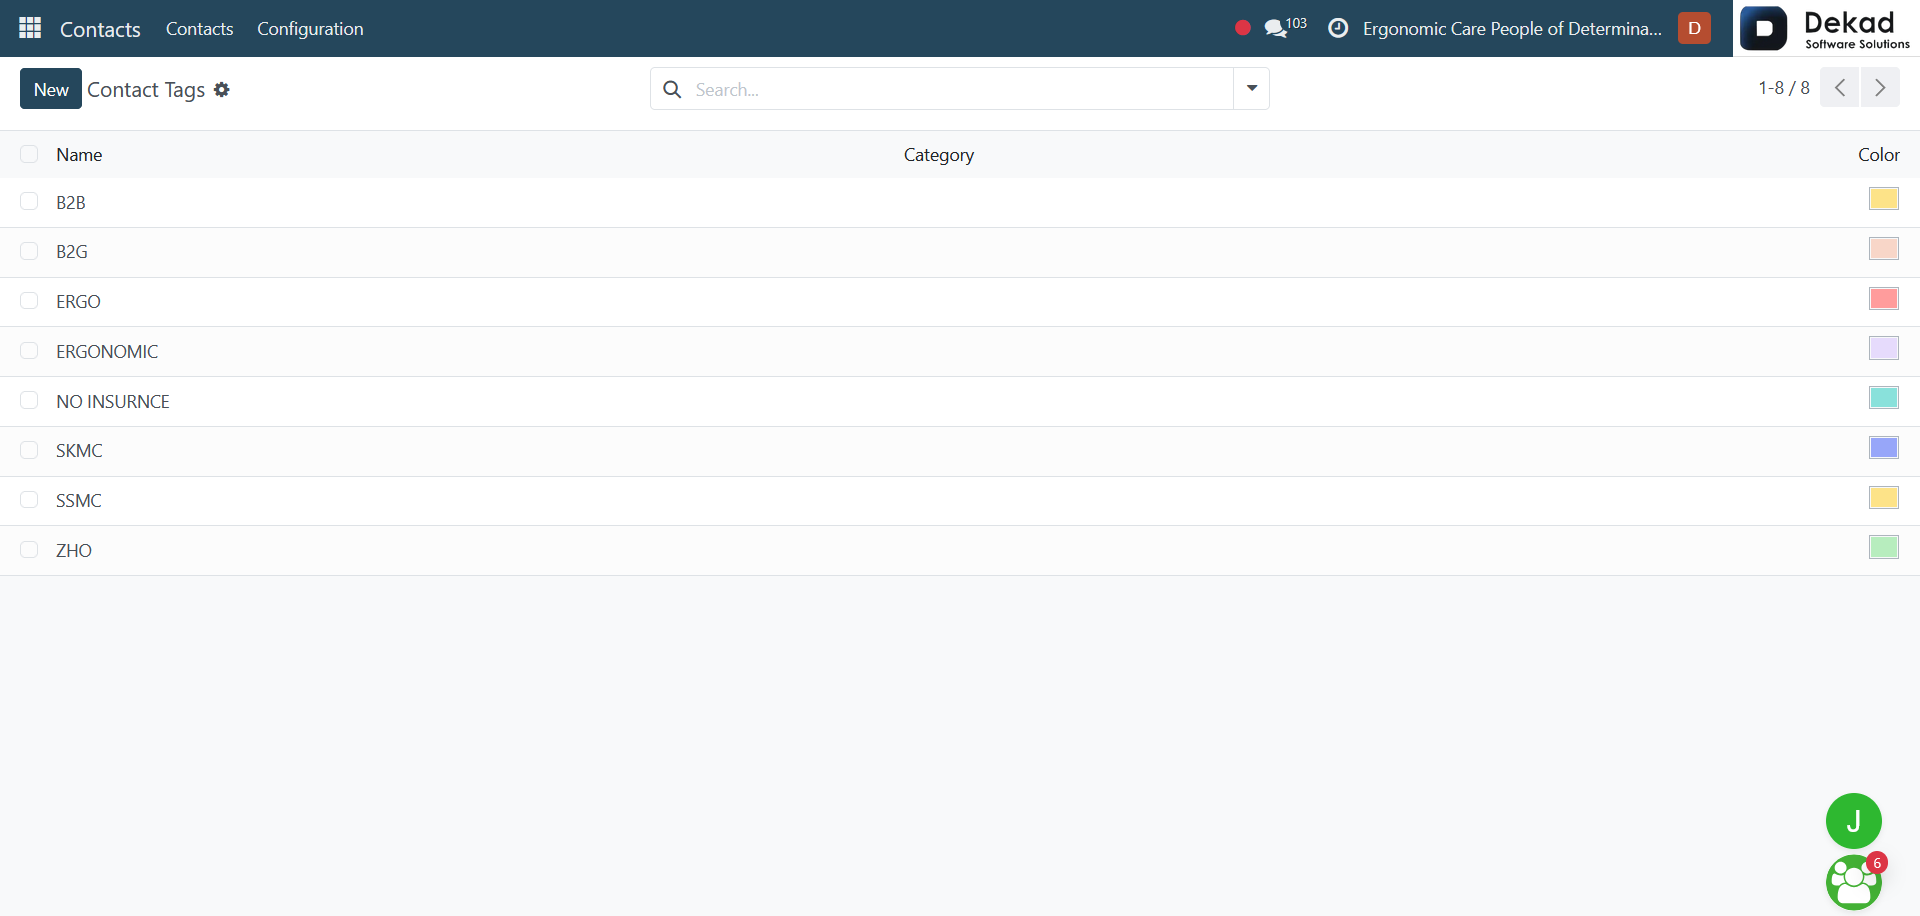
When opening the Contact Tags page,
users can view a list of existing tags
along with their Name, Category, and
assigned Color. The color helps visually
distinguish between different tags,
making contacts easier to identify
and organize.
Search and Filtering
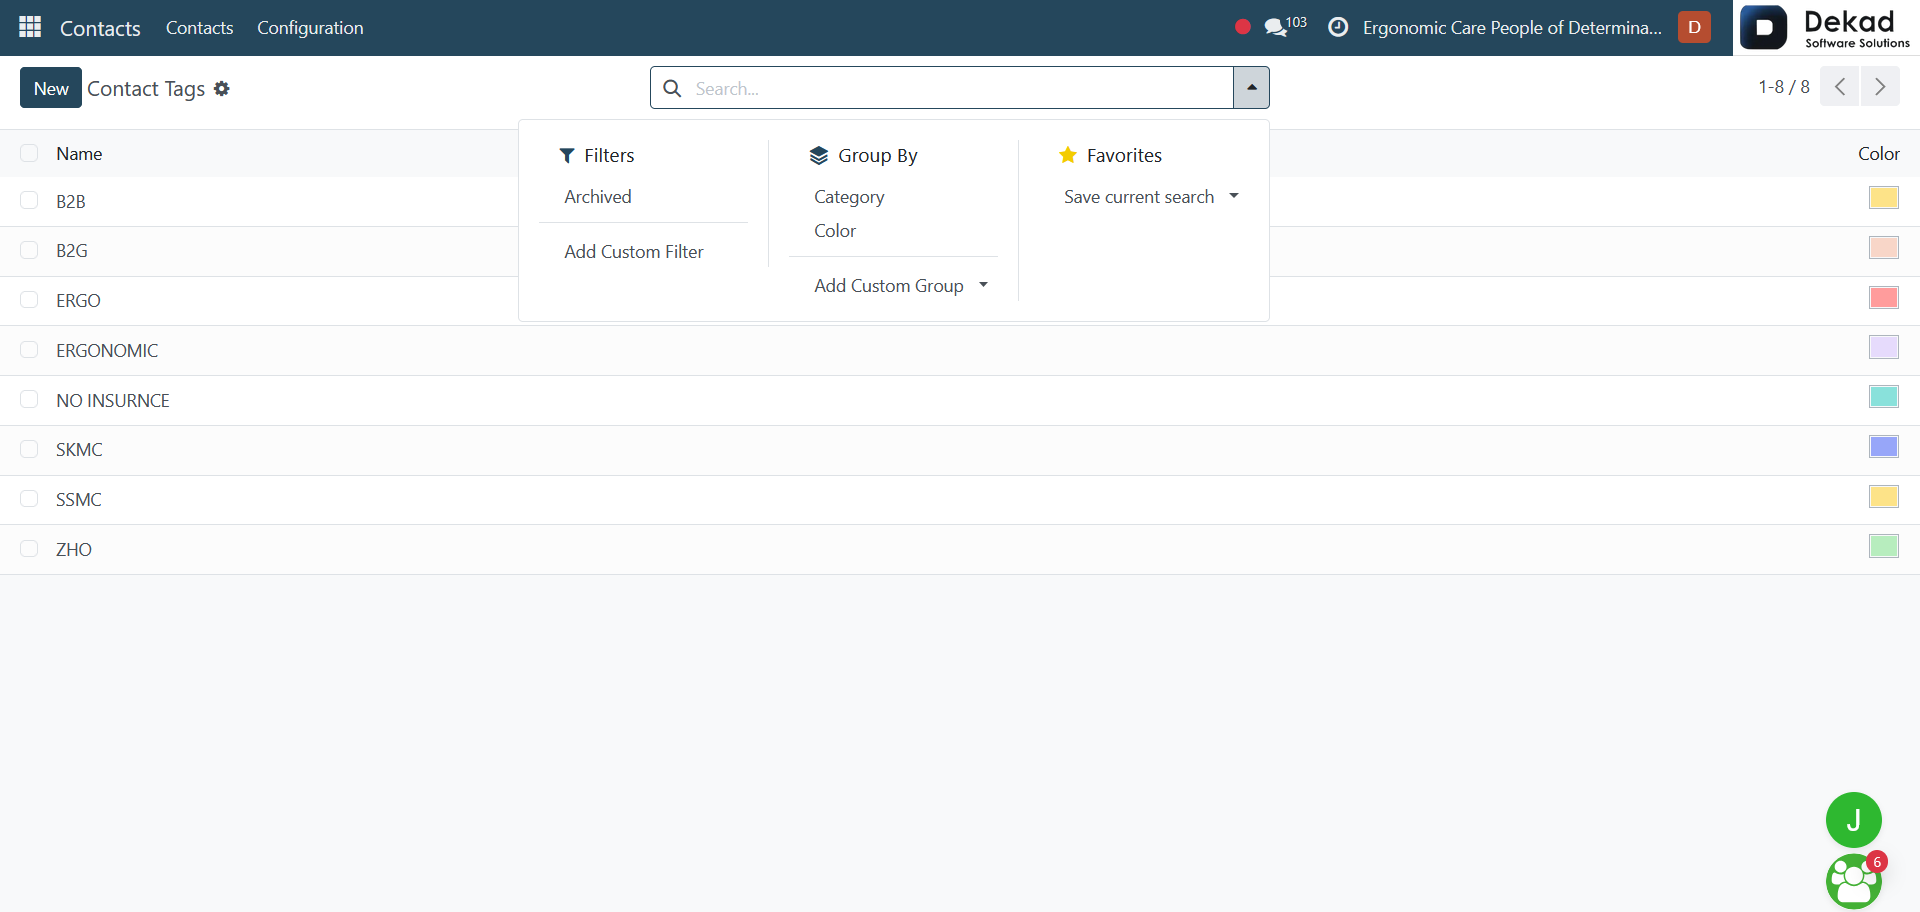
By using the Search bar, users can
apply different filters to refine the
displayed contact tags based on their
needs. This helps users quickly locate
specific tags and display only the
relevant information.
New Contact Tag
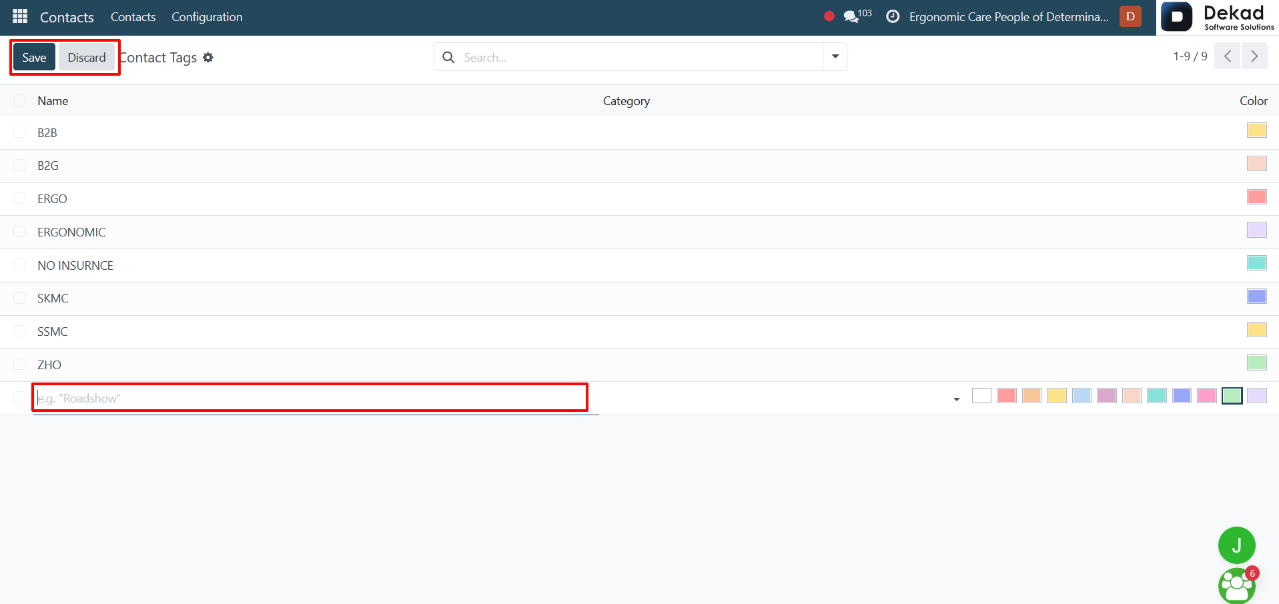
By clicking on the New button, users
can create a new contact tag by entering
the required information such as the
Tag Name, Category, and selecting a
Color to visually identify it. After
filling in the details, the user can
either Save to store the new tag and
add it to the list, or Discard to
cancel the process without saving
any changes. The new contact tag is
then displayed in the list with its
name, category, and color.
2.2 Contact Titles
The Contact Titles page displays the
available titles that can be assigned
to contacts. These titles are used to
identify a person’s role, designation,
or form of address, helping organize
contact information in a more
structured way.
Users can view and manage different titles
according to the organization’s requirements.
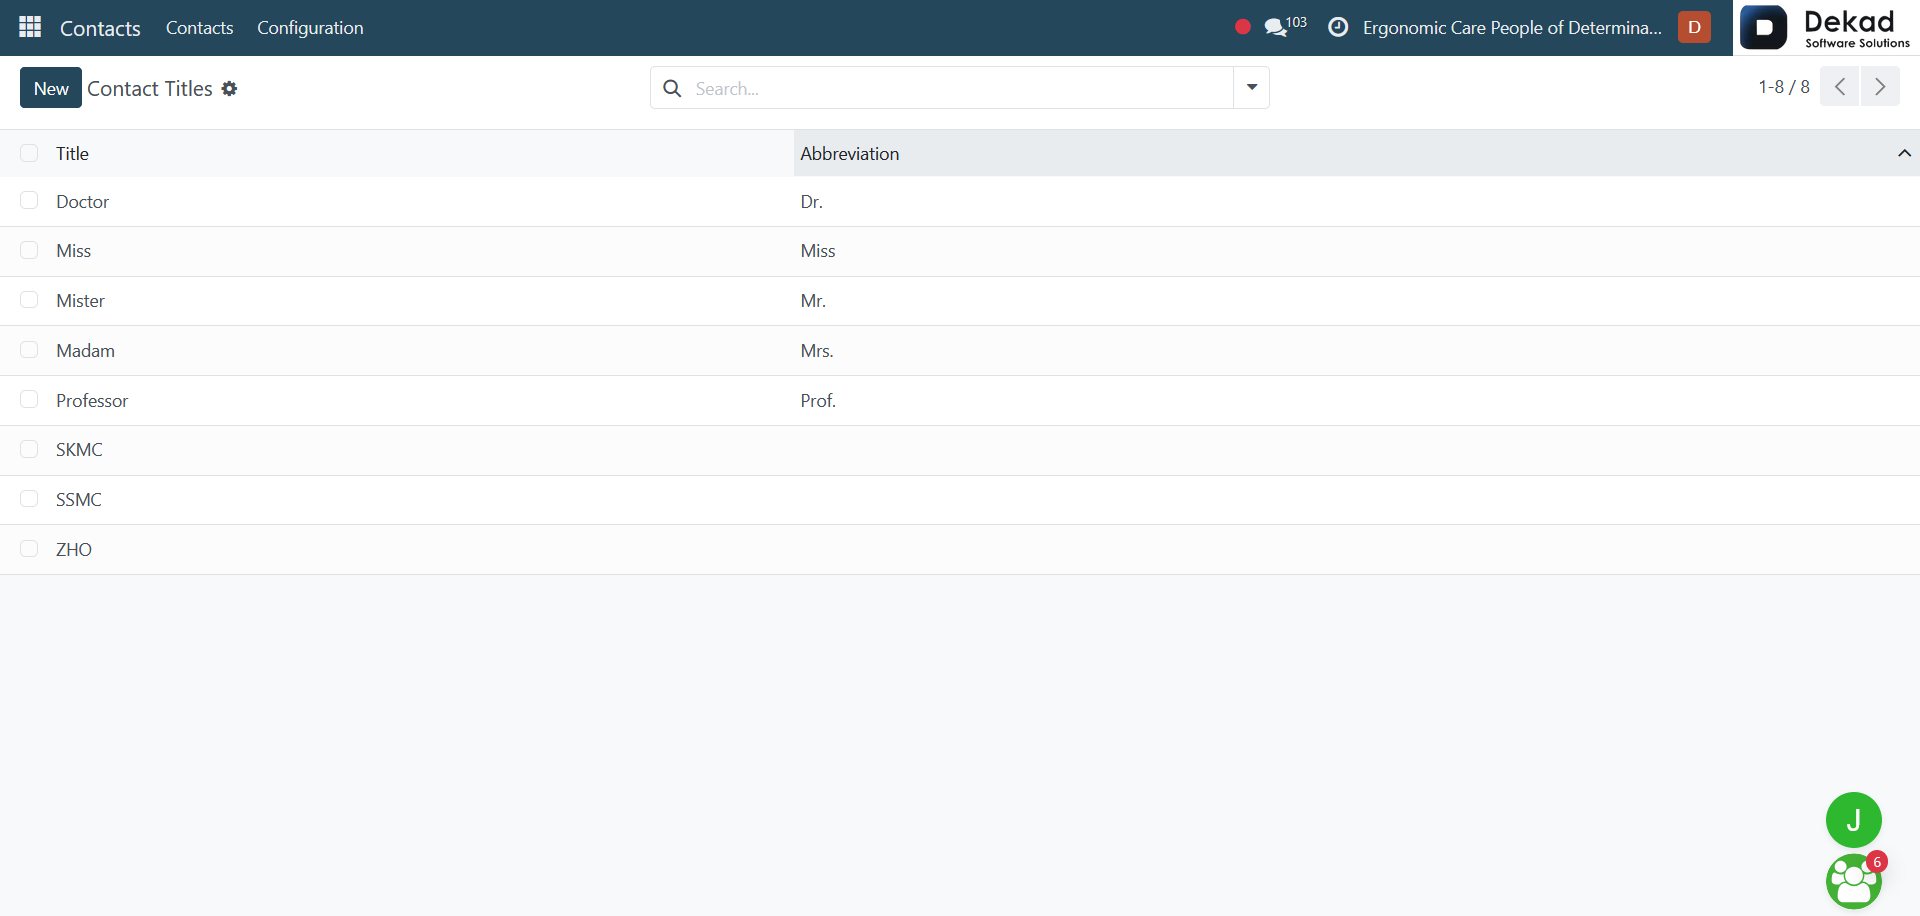
Contact Titles Overview
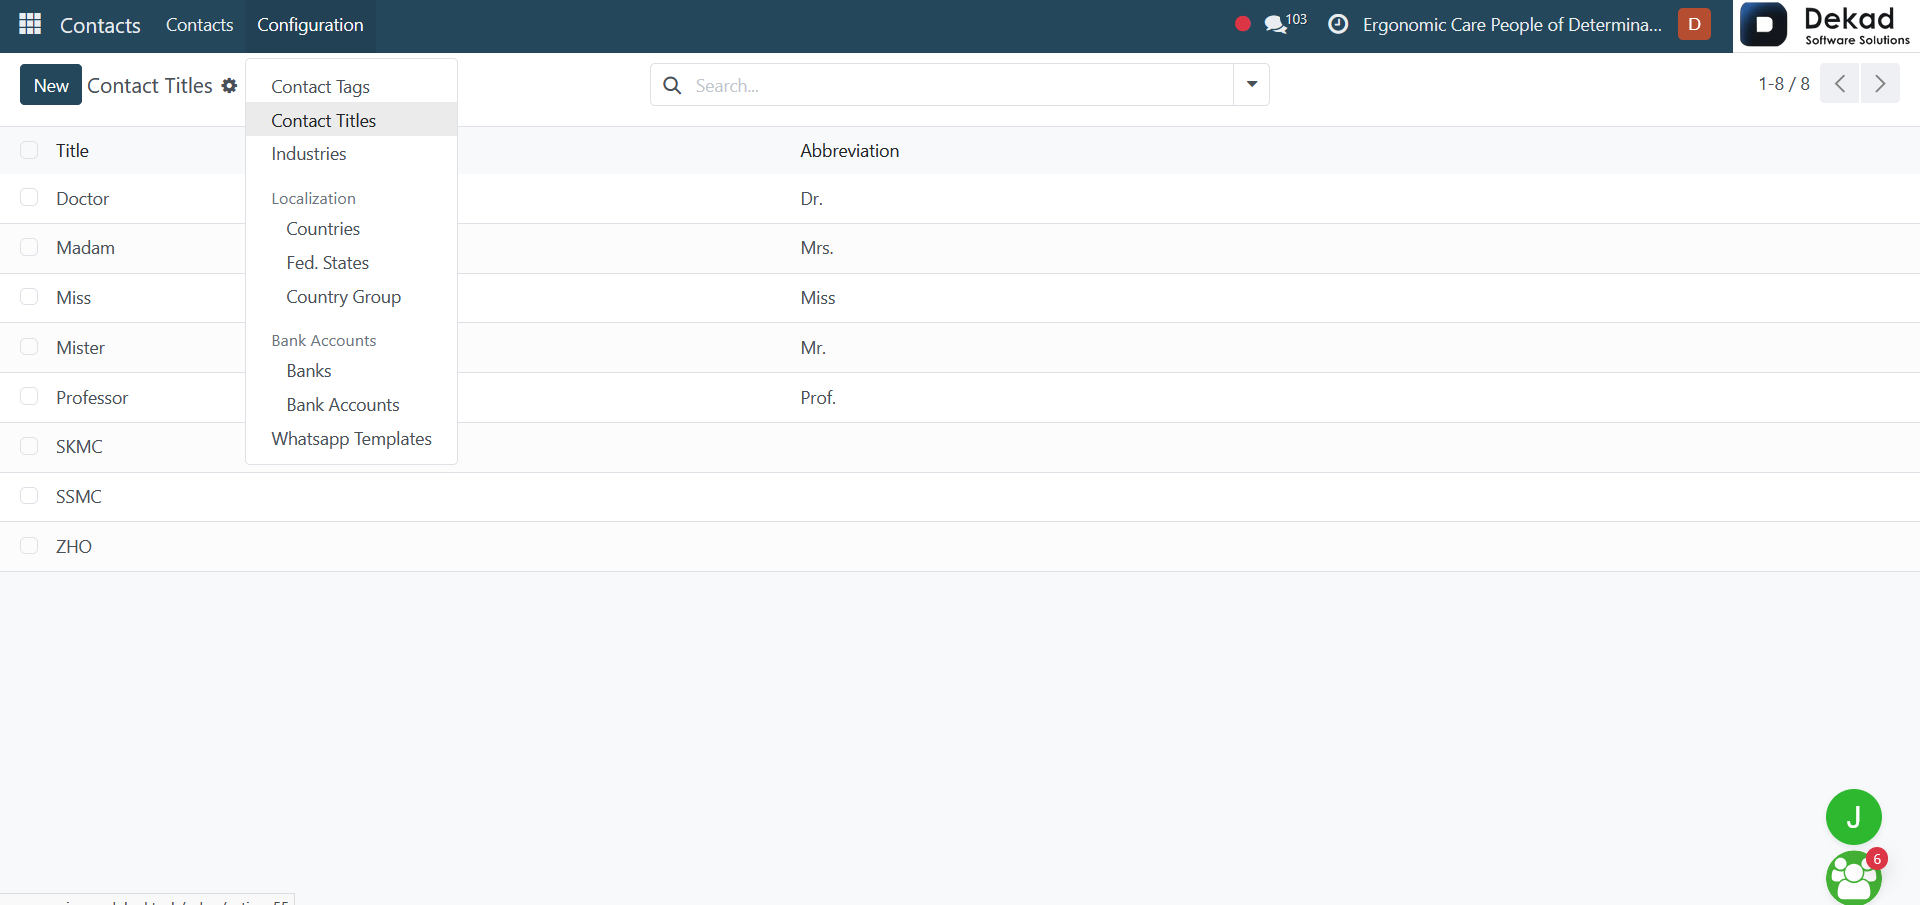
When opening the Contact Titles page,
users can view a list of available contact
titles along with their Title and Abbreviation.
This helps organize and identify the different
titles that can be assigned to contacts.
Search and Filtering
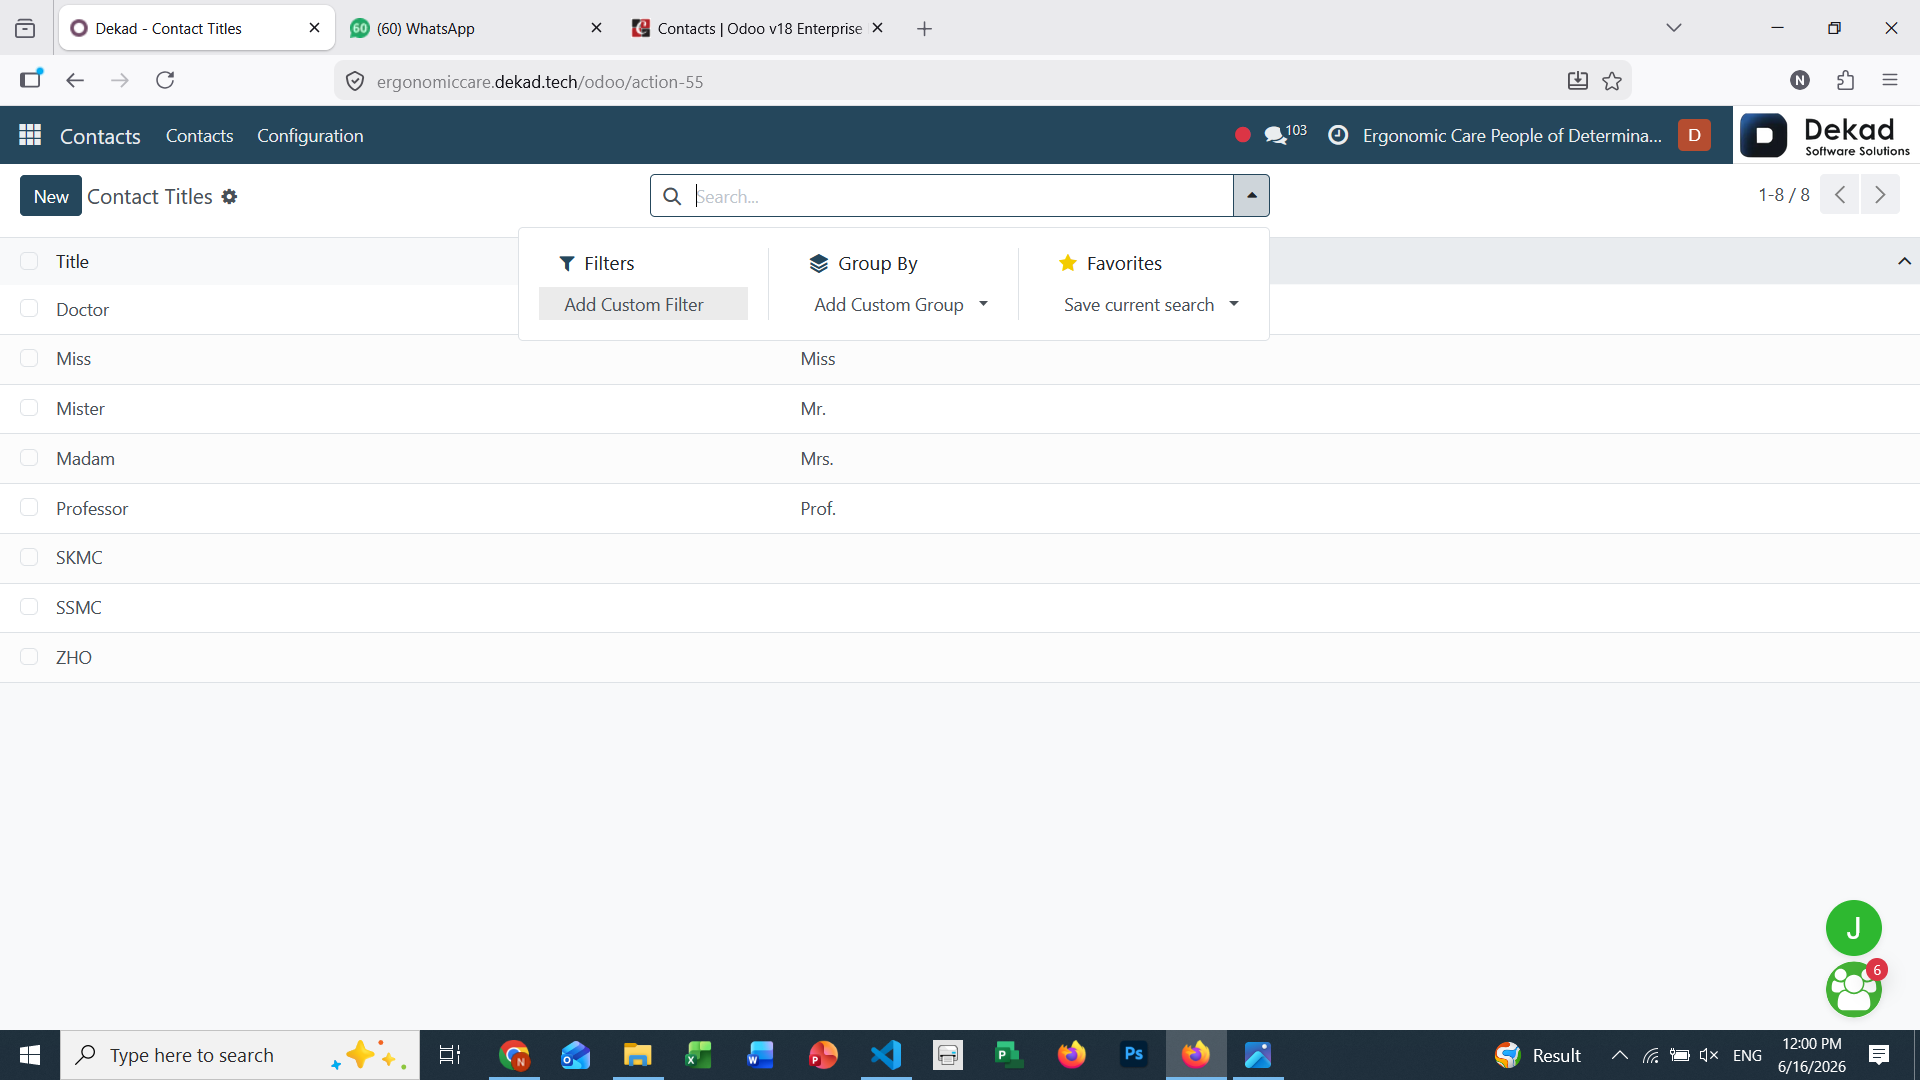
By using the Search bar, users can
apply different filters to refine the
displayed contact titles based on their
needs. This allows users to quickly
find specific titles and display only
the relevant information.
New Contact Title
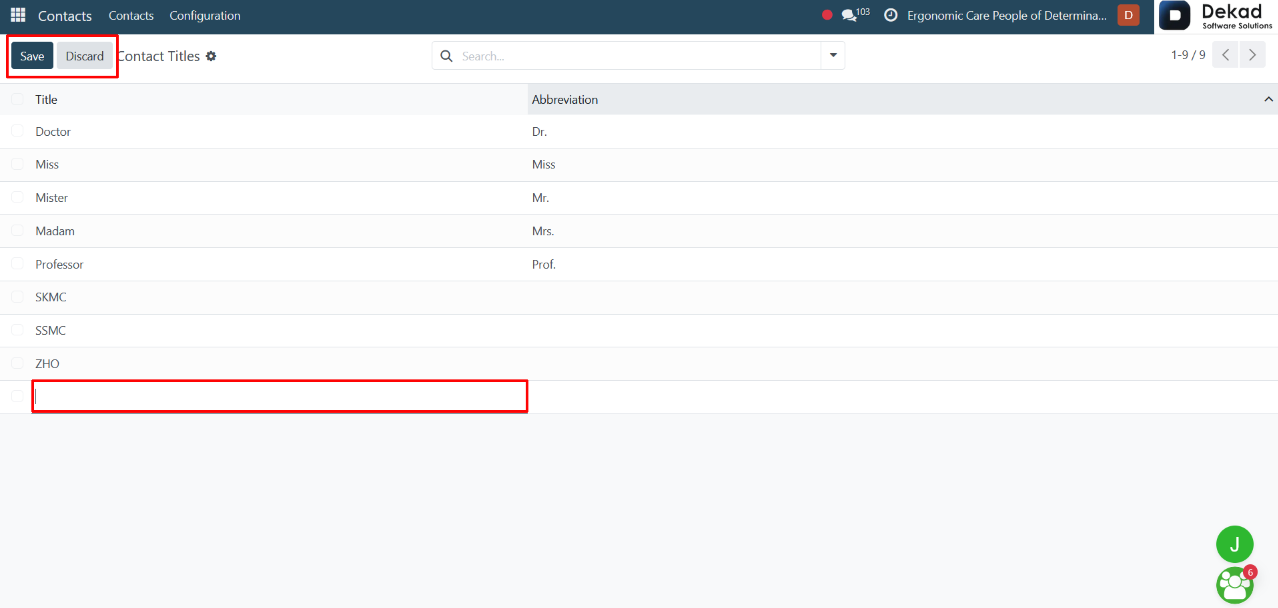
By clicking on the New button, users
can create a new contact title by
entering the required information such
as the Title and its Abbreviation. After
filling in the details, the user can
either Save to store the new title and
add it to the list, or Discard to cancel
the process without saving any changes.
The new contact title is then displayed
in the list at the bottom of the page.
2.3 Industries
The Industries page is used to define
and manage different business sectors
related to contacts. It helps categorize
customers or companies based on their
industry type, making it easier to
organize and analyze contact data.
Users can view and assign industries
to contacts to better understand their
business background and segment records
more effectively.
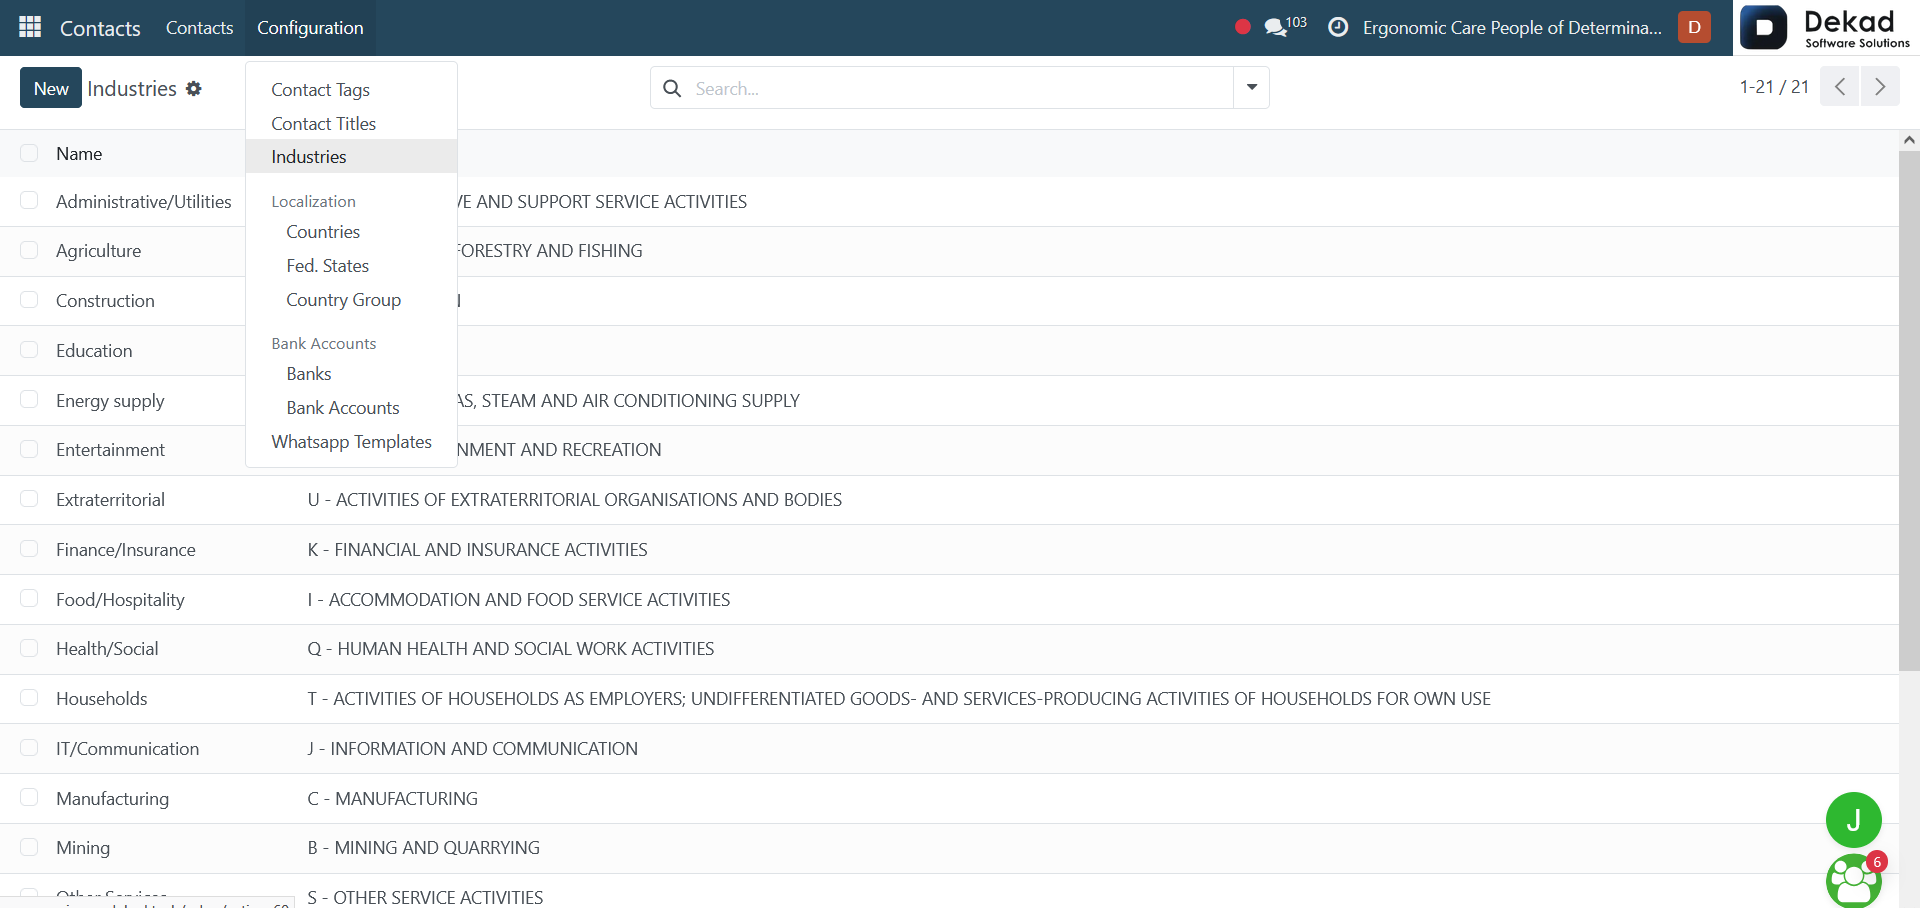
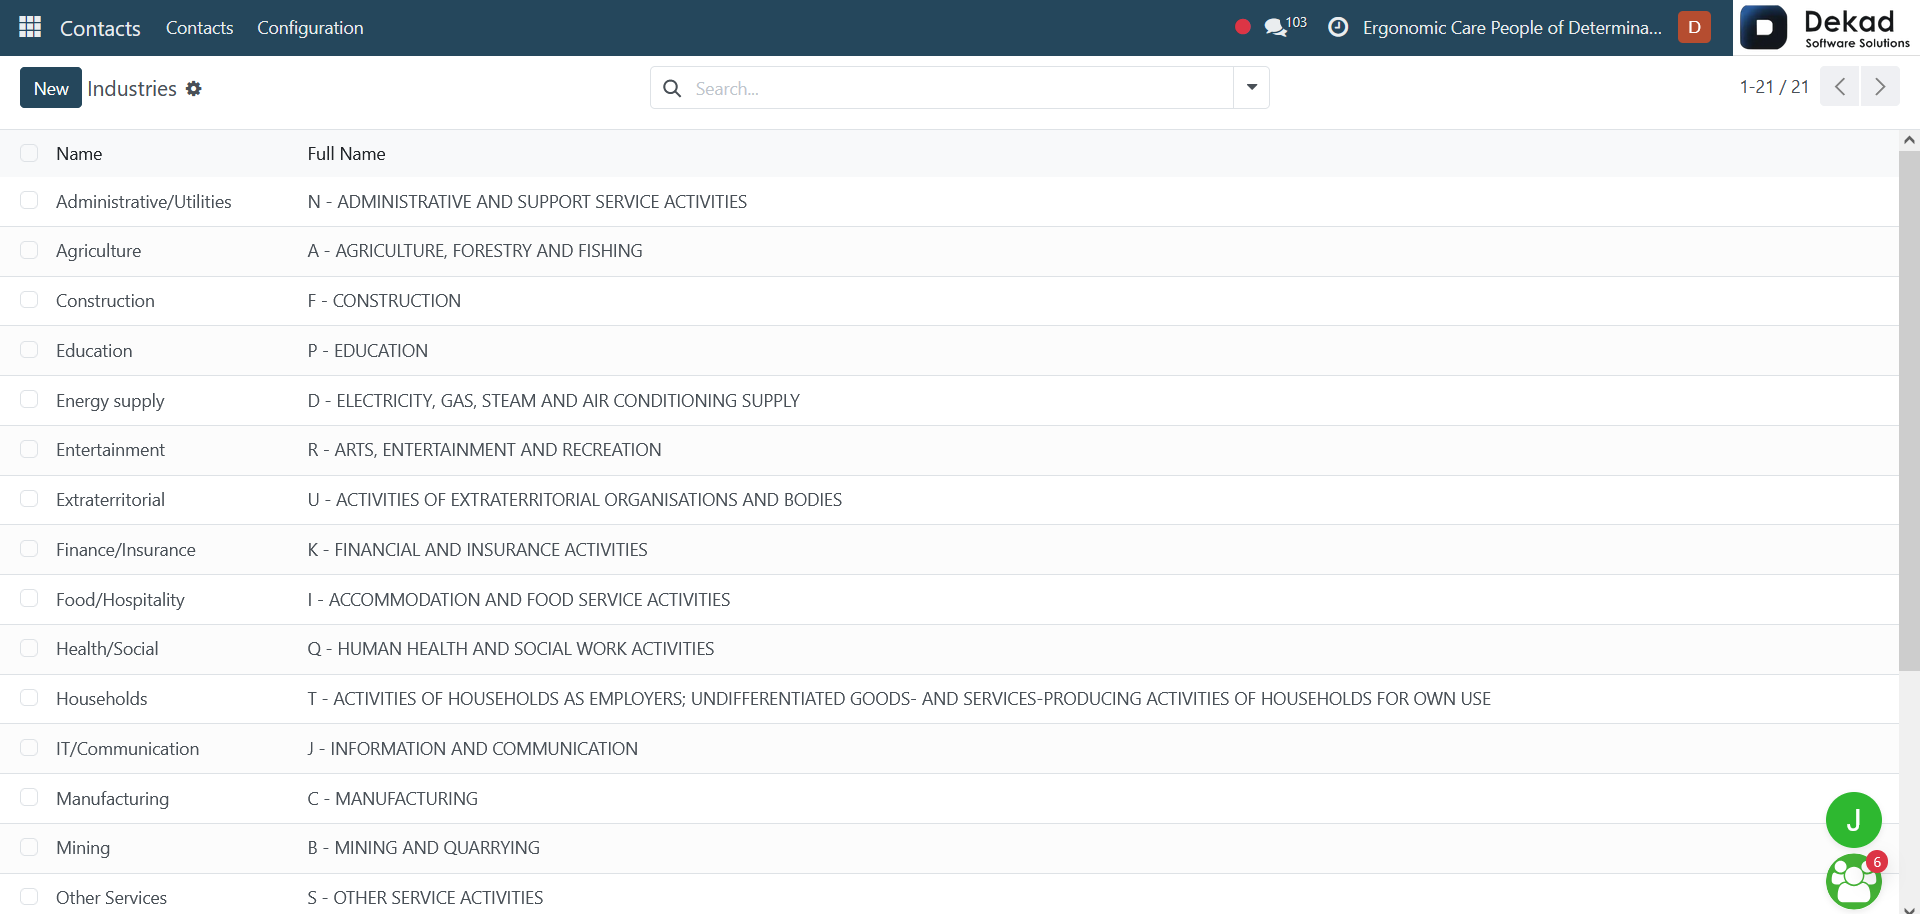
When opening the page, users can view
a list that includes the Name and Full
Name of each industry, helping to clearly
identify and distinguish between different
industry entries.
Search and Filtering
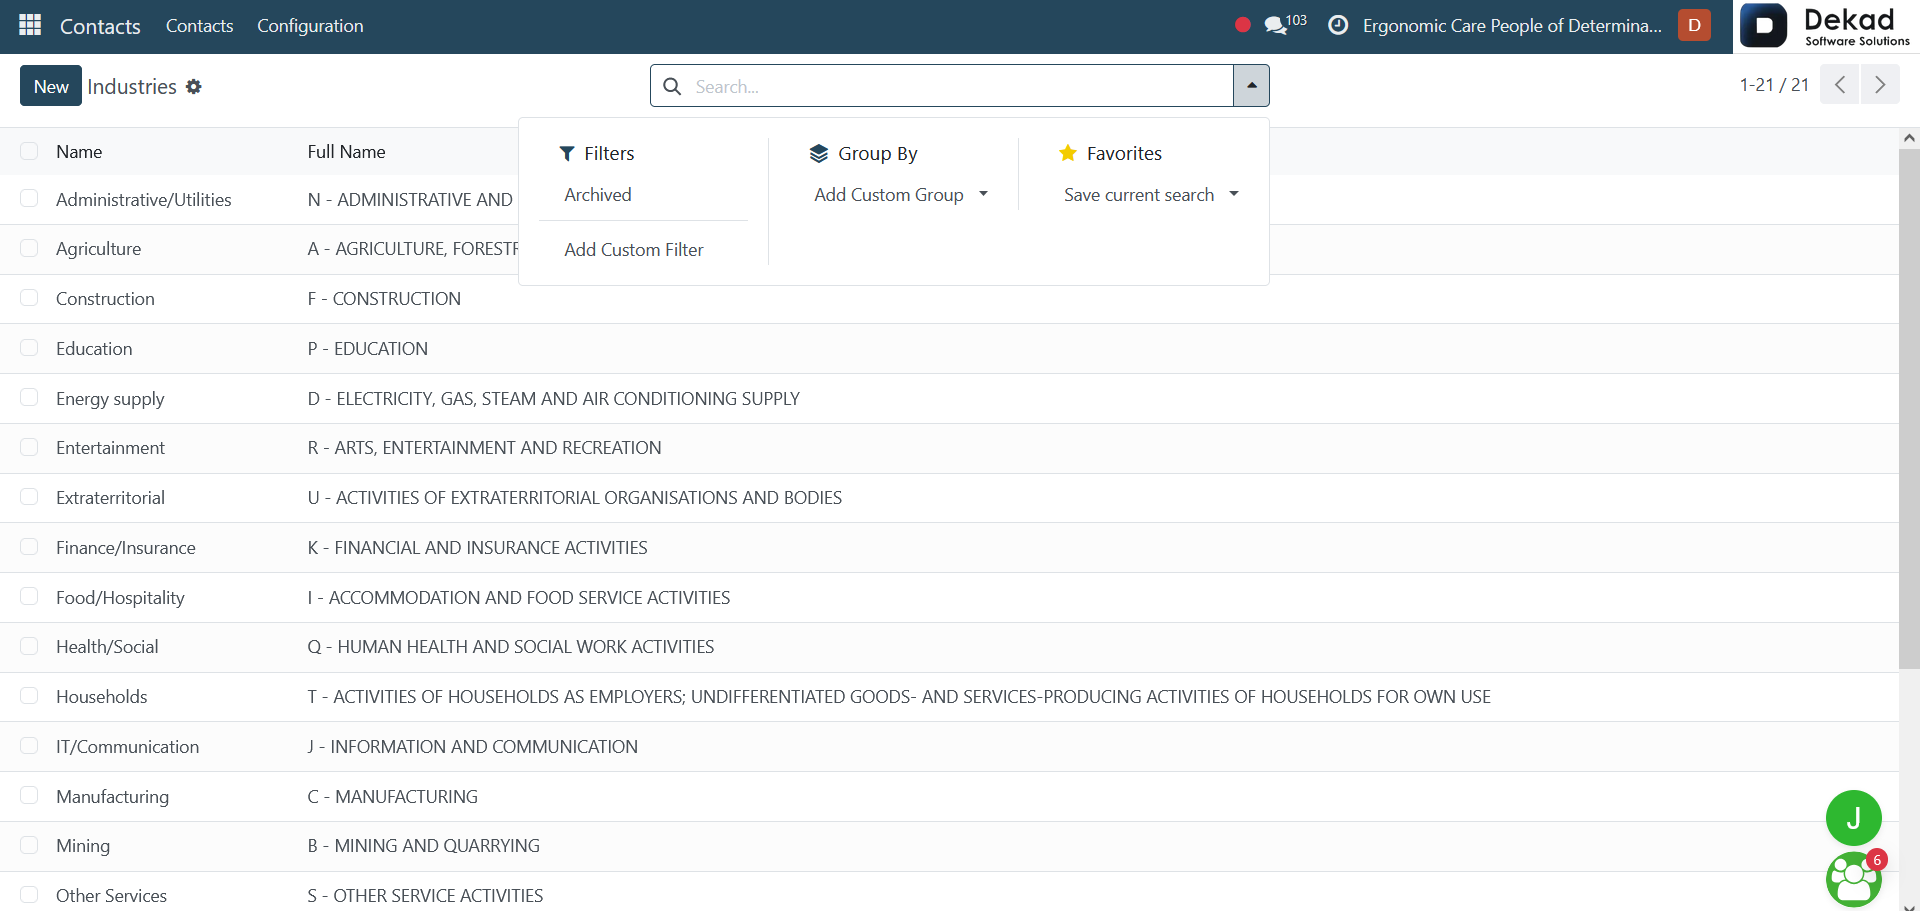
By using the Search bar, users can
apply different filters to refine
the displayed industries based on
their needs. This allows users to
quickly find specific industries and
view only the relevant records.
New Industry
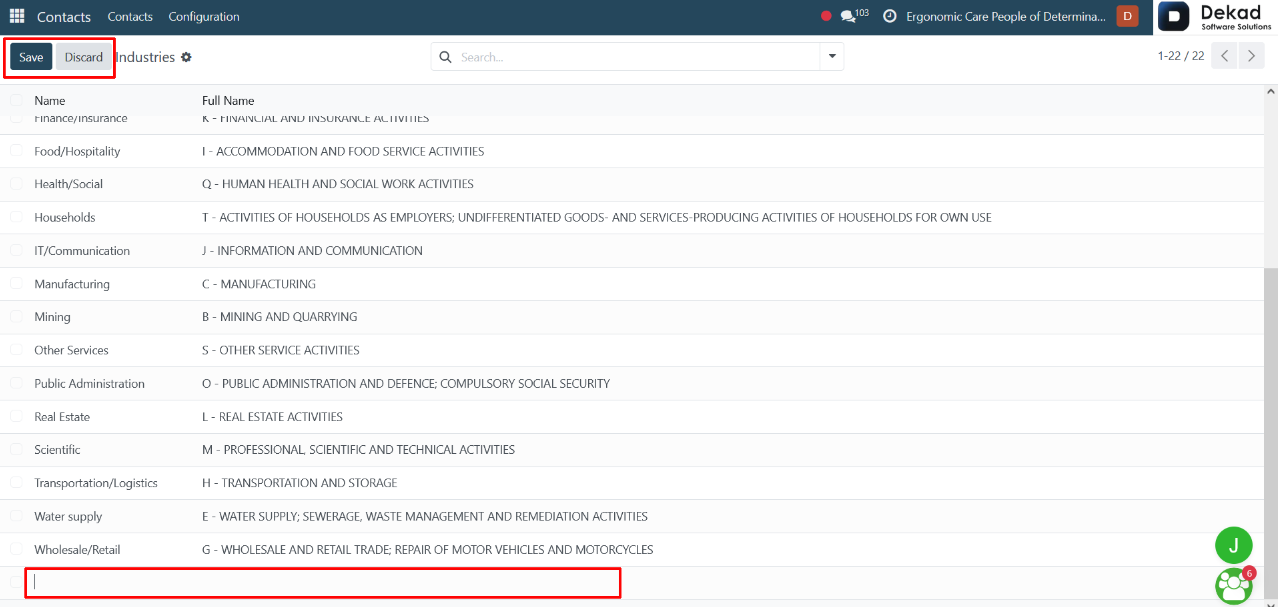
By clicking on the New button, users
can create a new industry by entering
the required information such as the
Name and Full Name. After filling in
the details, the user can either Save
to store the new industry and add it
to the list, or Discard to cancel the
process without saving any changes. The
new industry will then appear in the
list of industries.
2.4 Countries
The Countries page is used to manage
and define the list of countries
available in the system. It helps
organize geographic information that
can be used when assigning addresses
to contacts.
Users can view and manage country records
to ensure accurate location data and
consistent address formatting across
the system.
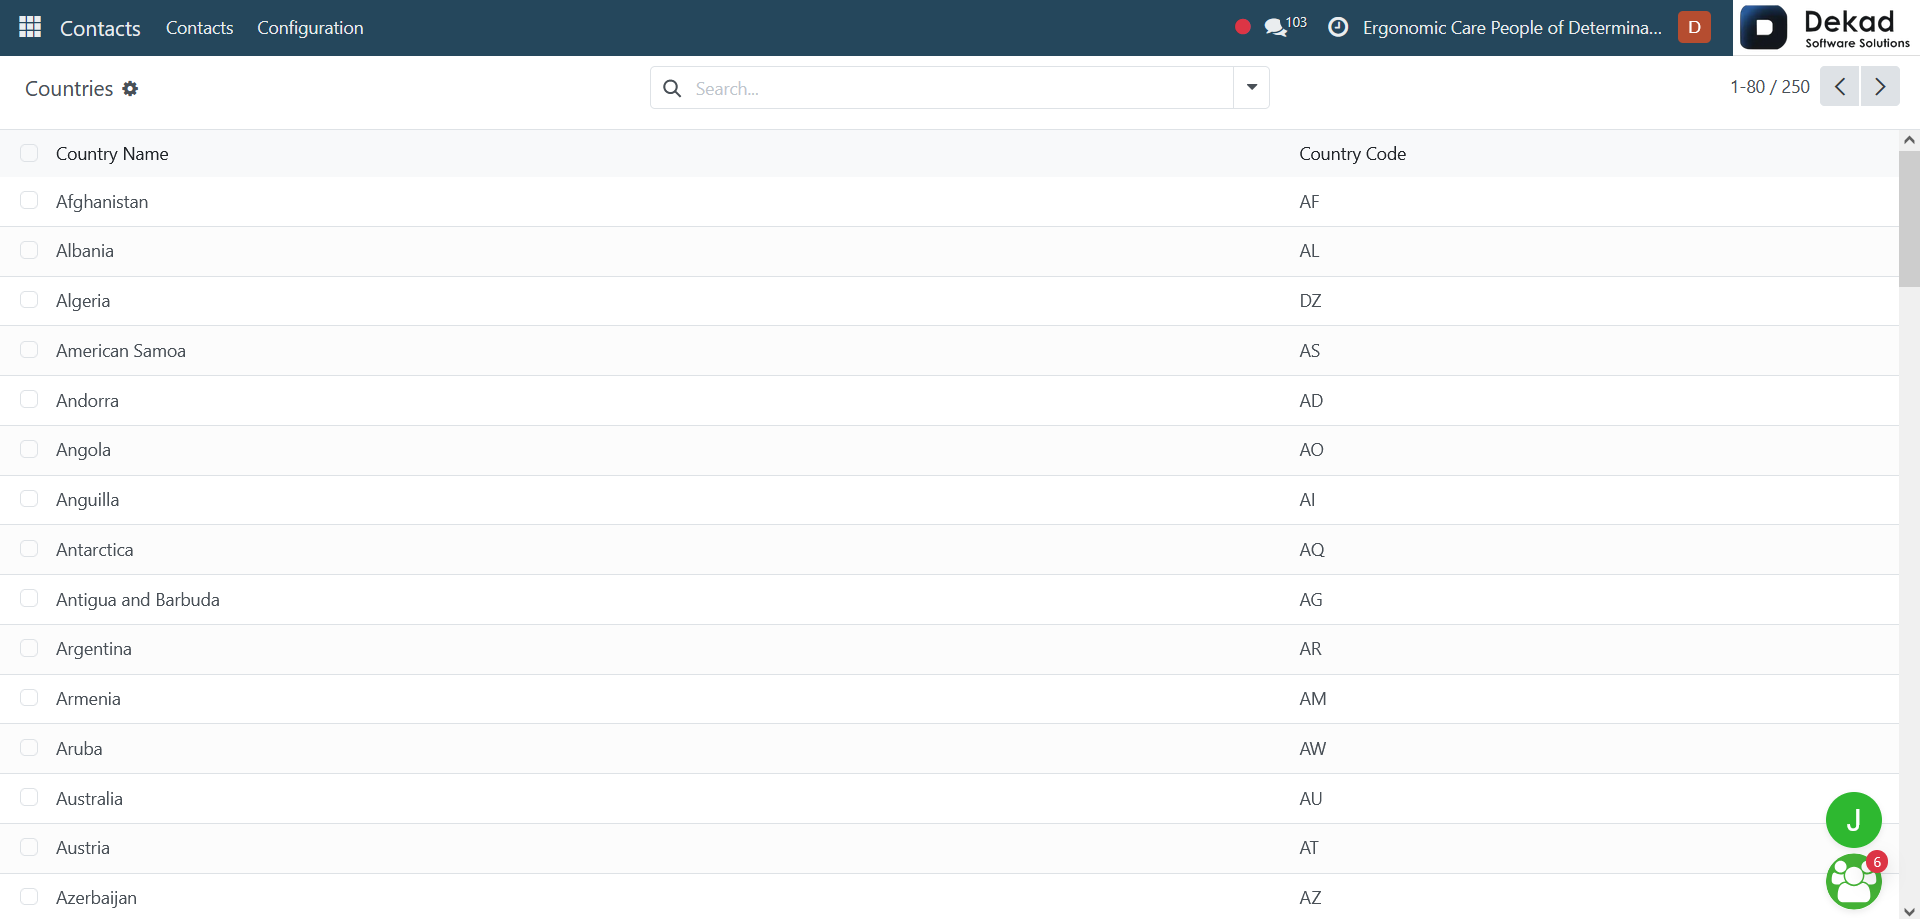
Countries Overview
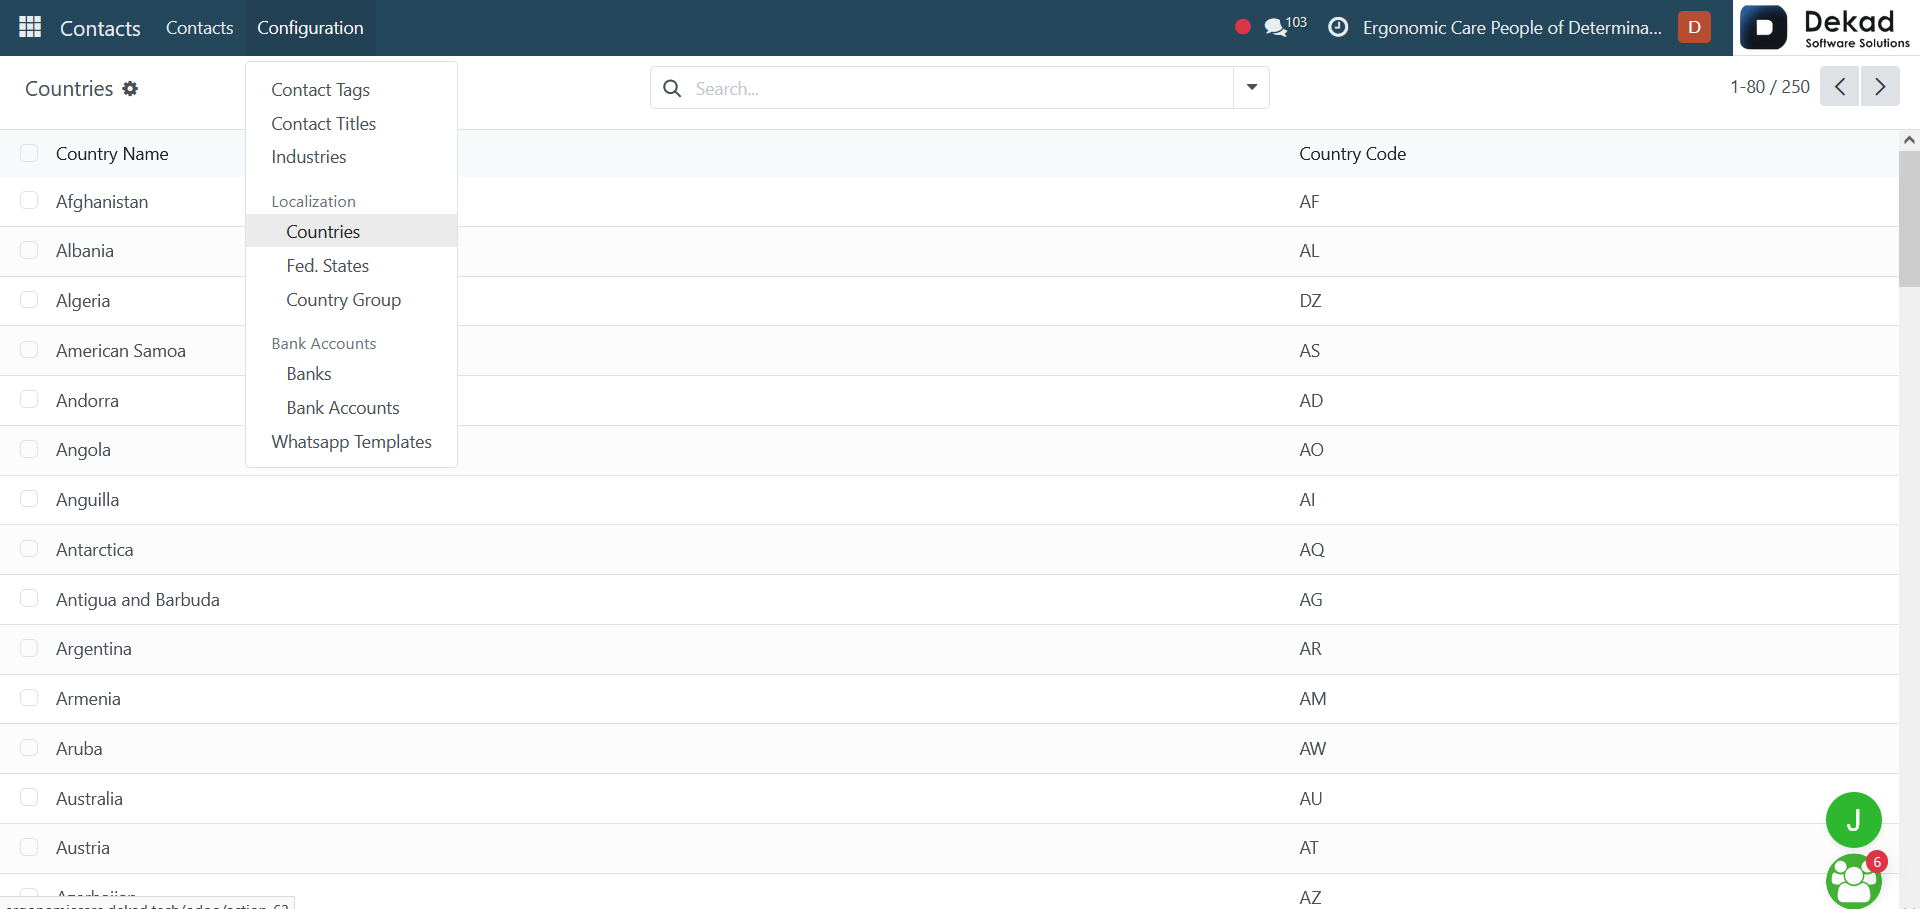
When opening the Countries page, users
can view a list of countries along with
their Country Name and Country Code.
This helps clearly identify each country
and ensures consistent use of
location data within the system.
Search and Filtering
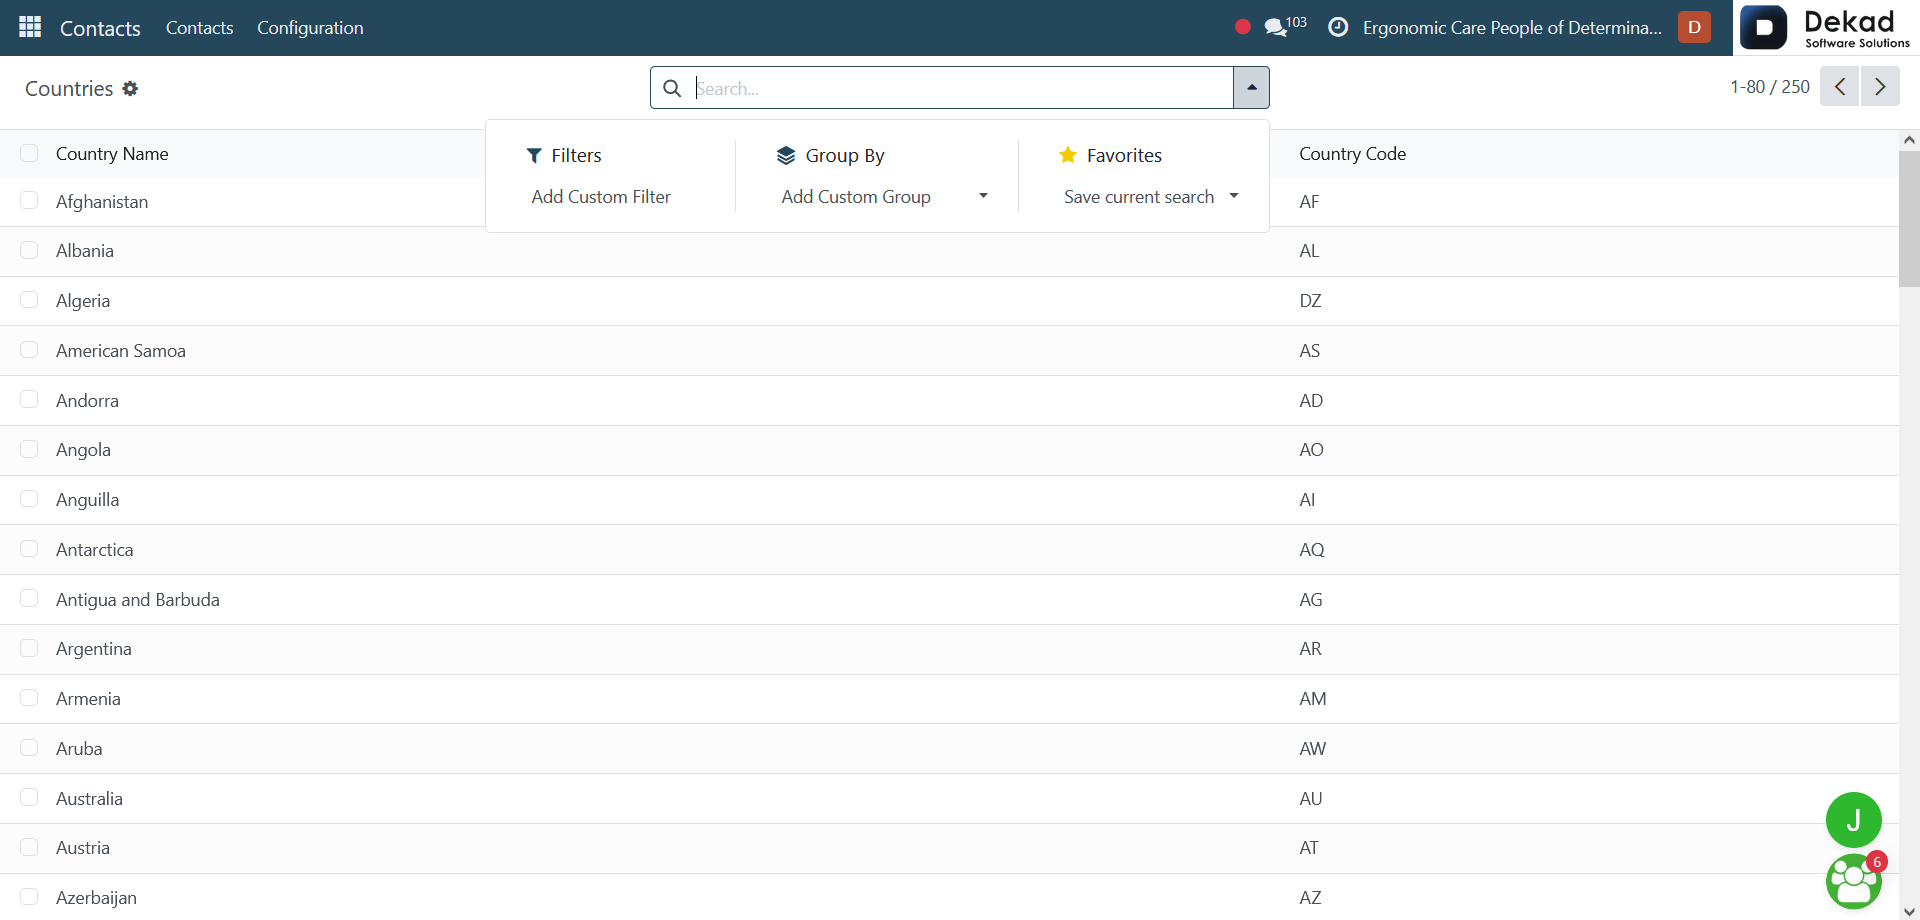
By using the Search bar, users can
apply different filters to refine
the displayed countries based on
their needs. This helps quickly locate
specific countries and view only
the relevant records.
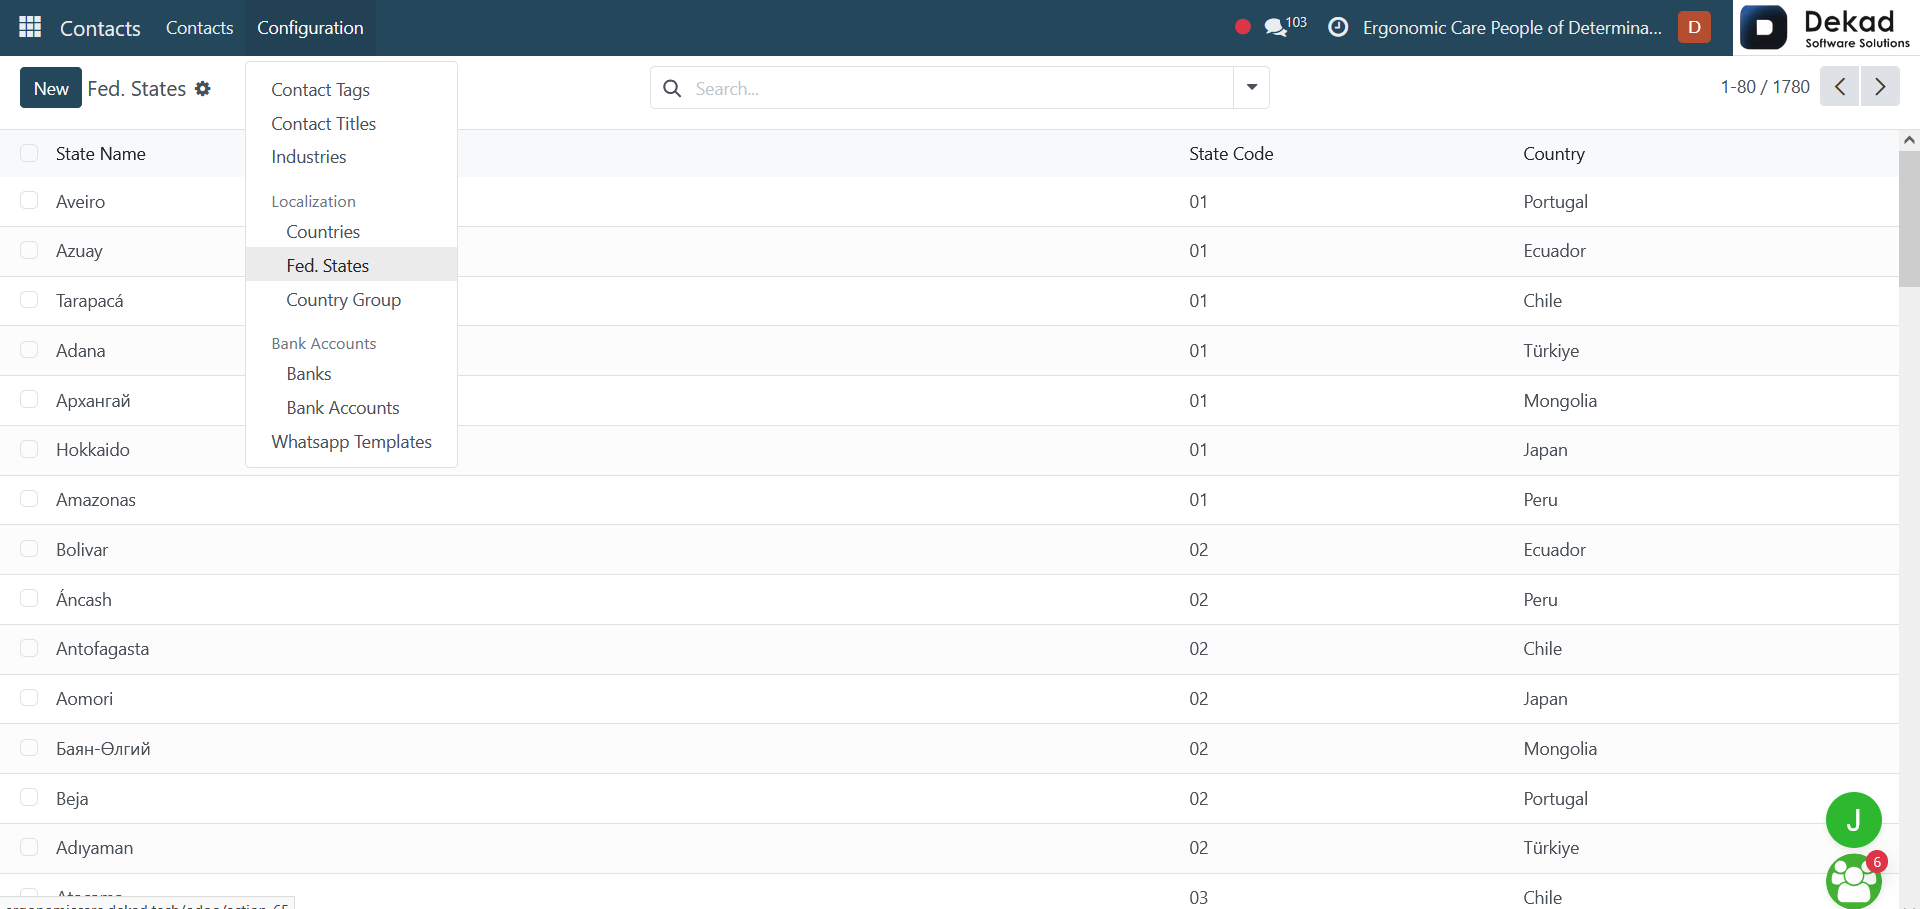
2.5 Federal States
The Federal States page is used to
manage and define states or regions
within countries. It helps organize
geographical subdivisions for more
accurate address and location management
in the system.
Users can view and maintain a list of states
linked to their corresponding countries to
ensure consistent and structured geographic data.
Federal States Overview
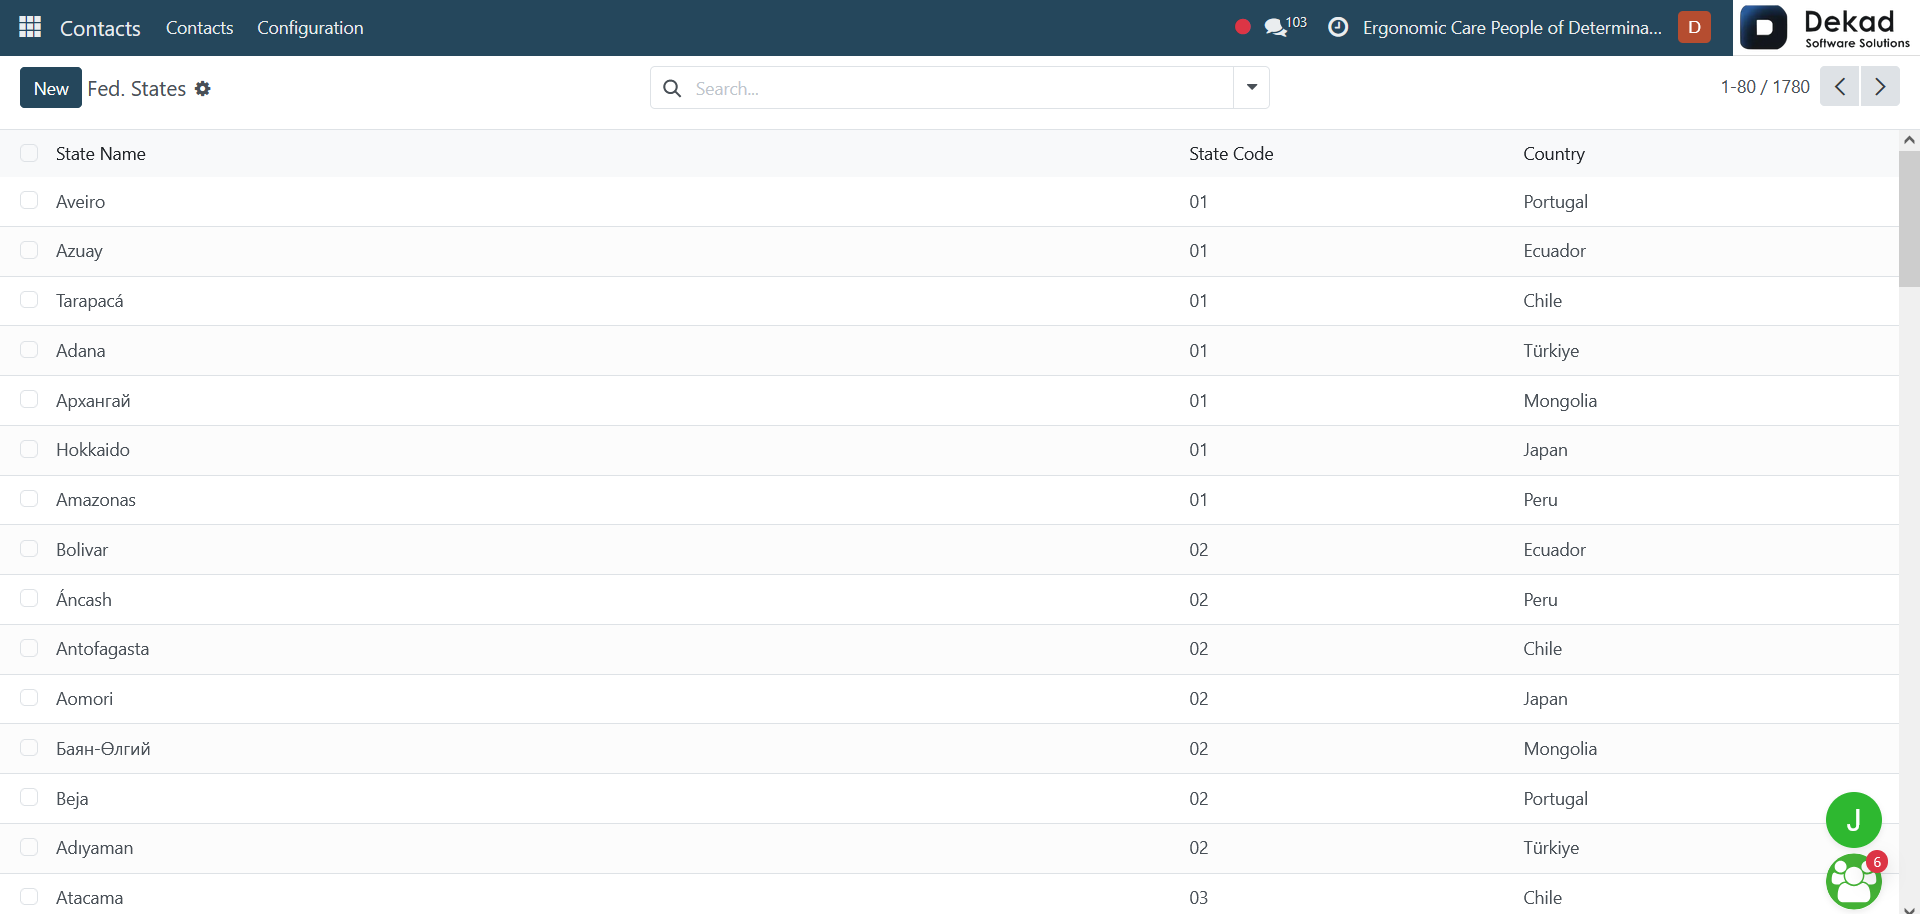
When opening the Federal States page,
users can view a list of states along
with the State Name, State Code, and
the related Country. This helps clearly
identify each state and its location
within a specific country.
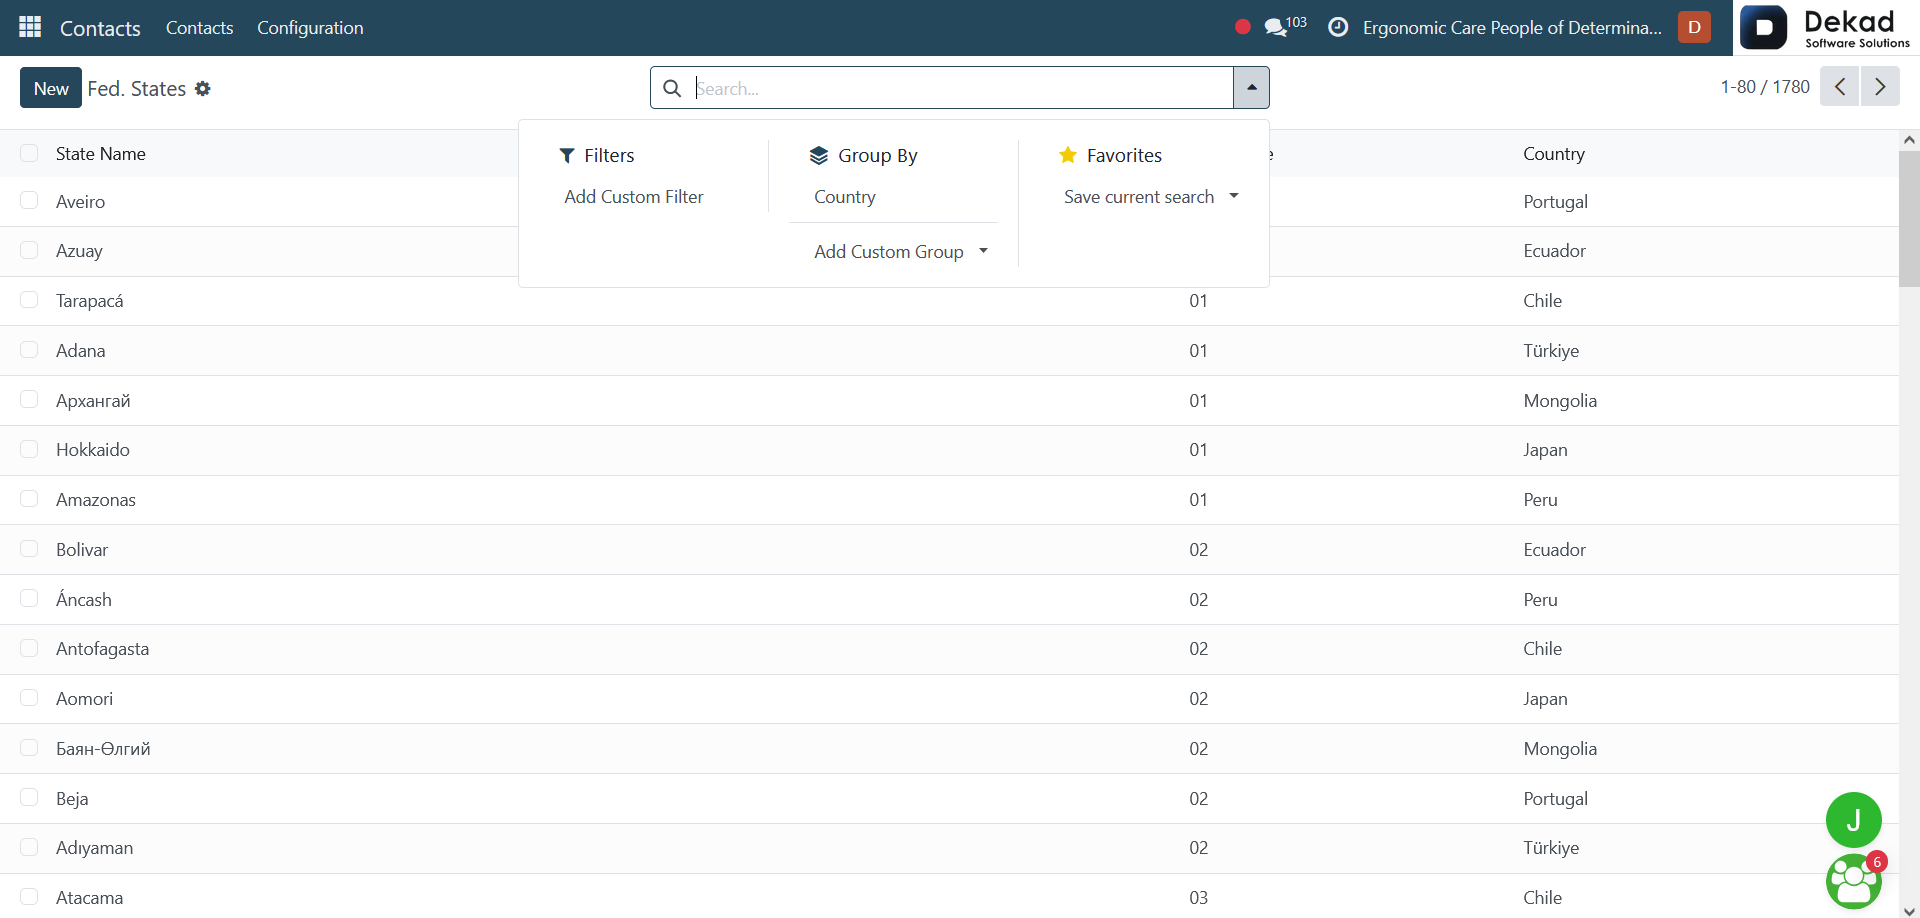
Search and Filtering
By using the Search bar, users can apply
different filters to refine the displayed
states based on their needs. This allows
users to quickly find specific states
and view only the relevant records.
New Federal State
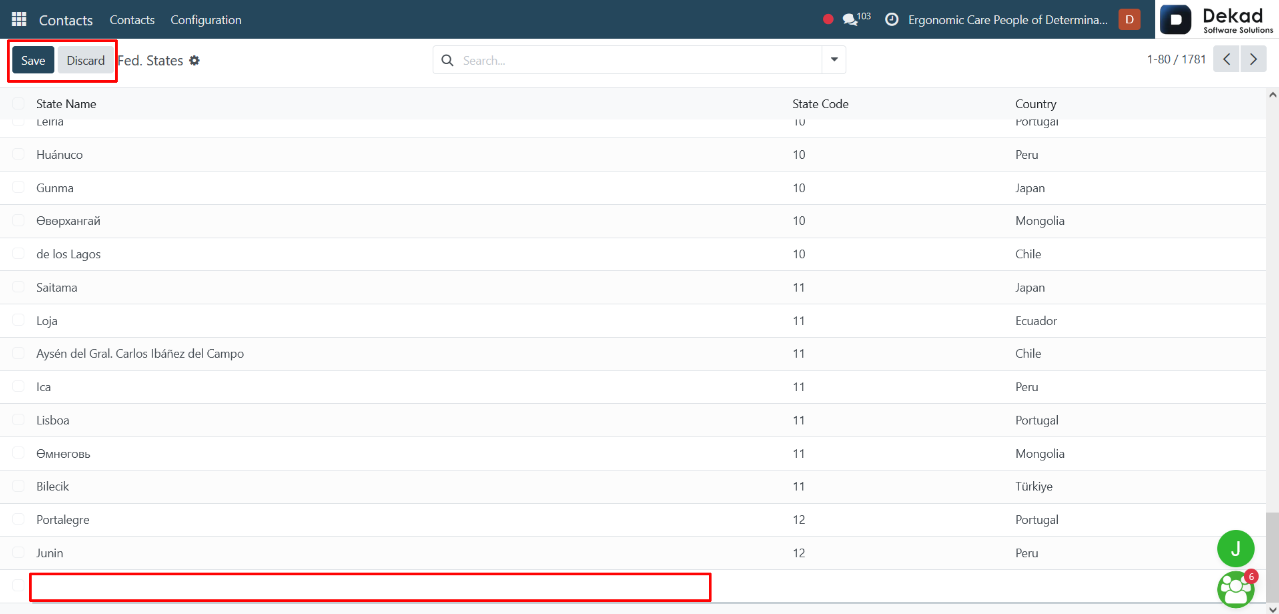
By clicking on the New button, users
can create a new state by entering
the required information such as the
State Name, State Code, and selecting
the related Country. After filling in
the details, the user can either Save to
store the new state and add it to the
list, or Discard to cancel the process
without saving any changes. The new
state will then appear in the list of
federal states.
2.6 Country Groups
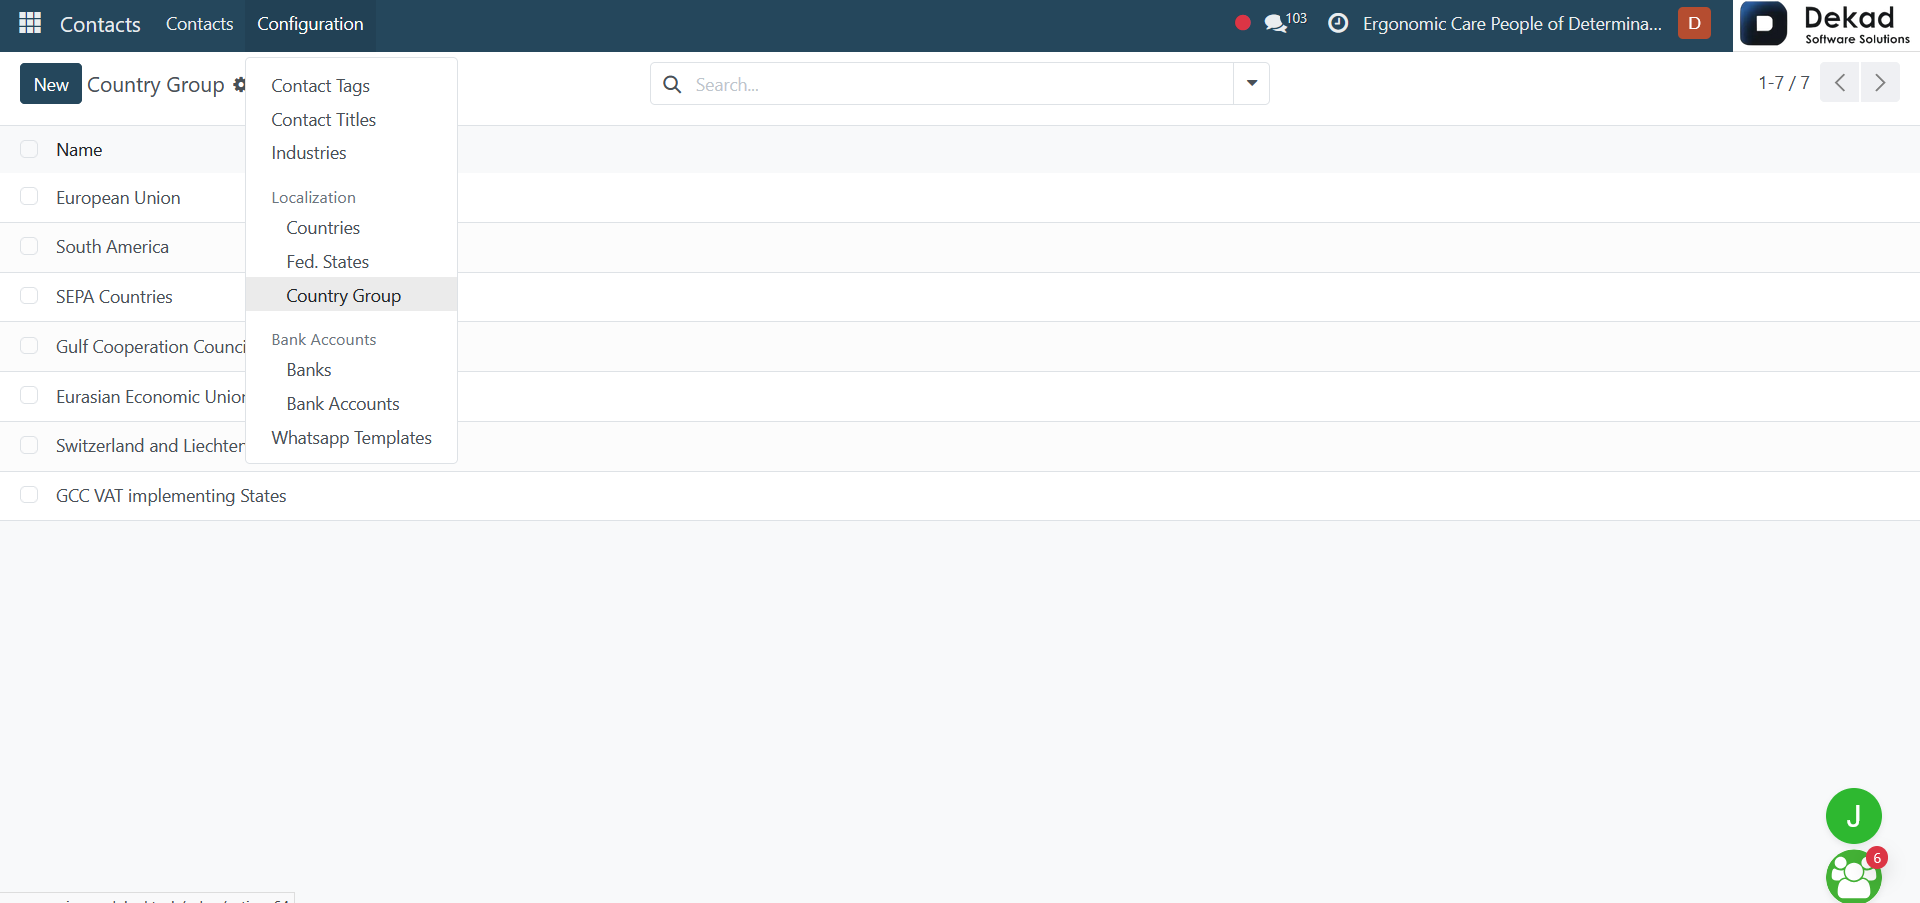
The Country Groups page is used to organize
countries into specific groups for better
management and classification. This helps
in applying rules or settings to multiple
countries at once instead of handling
each country individually.
Users can use country groups to simplify
configuration and manage geographic-based
operations more efficiently.
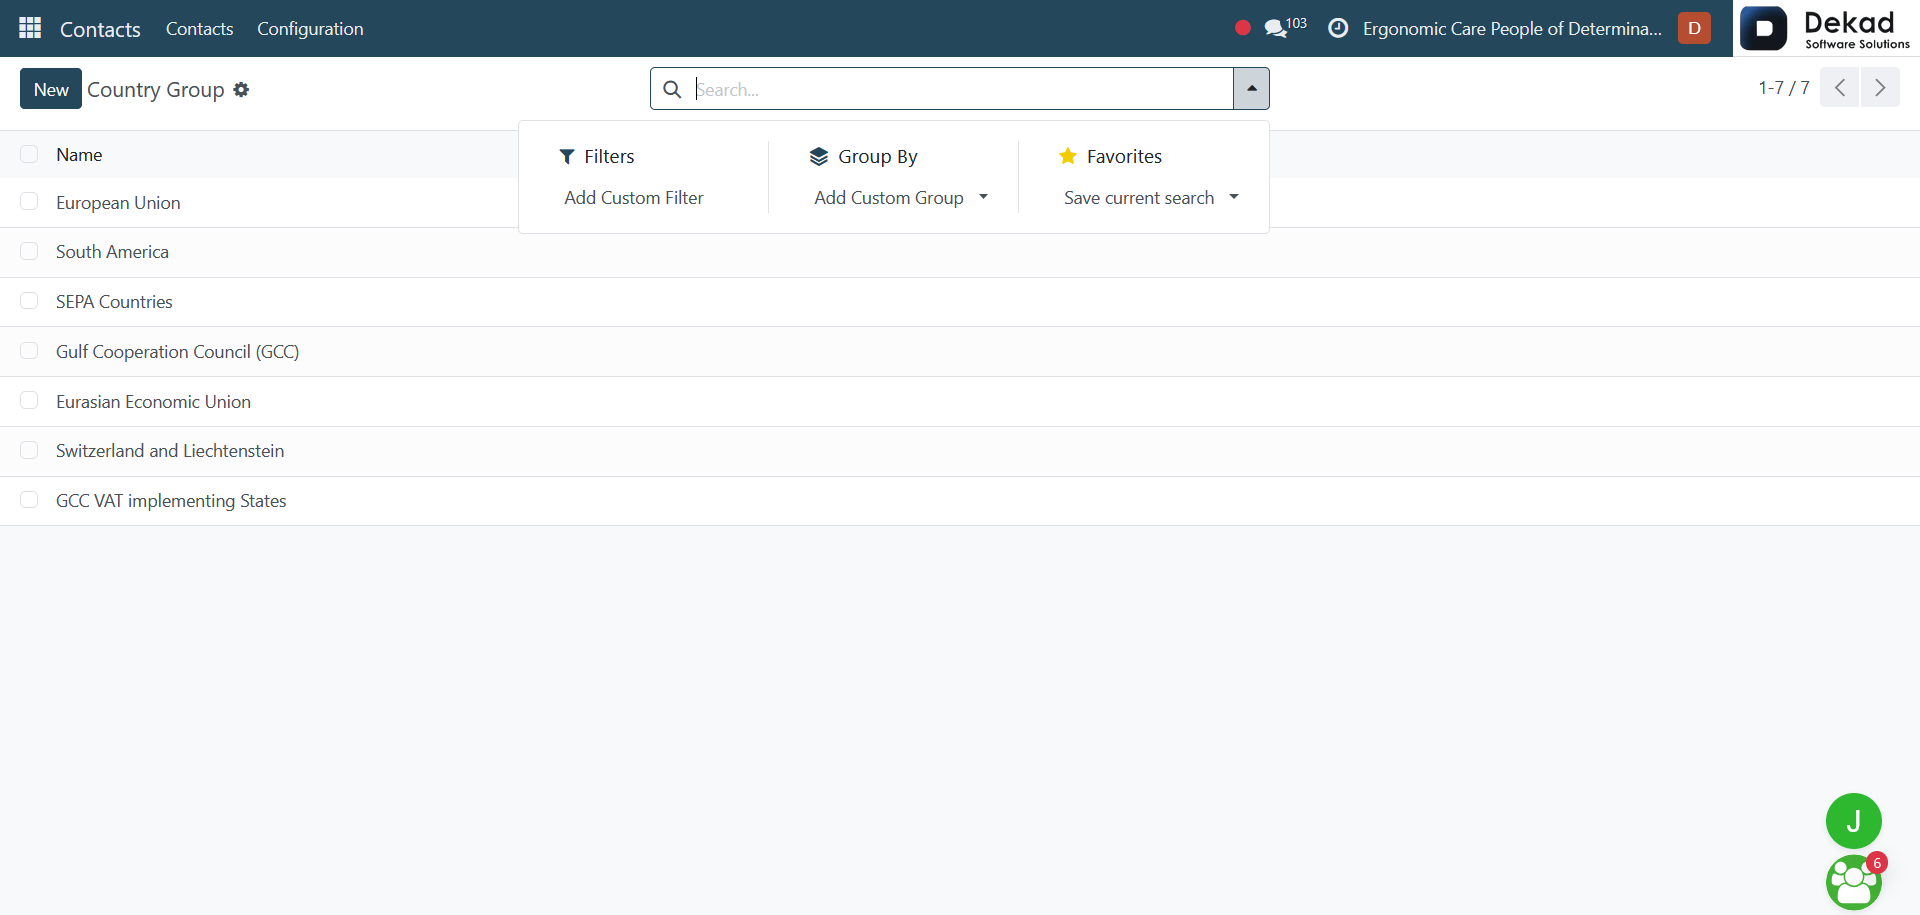
Country Groups Overview
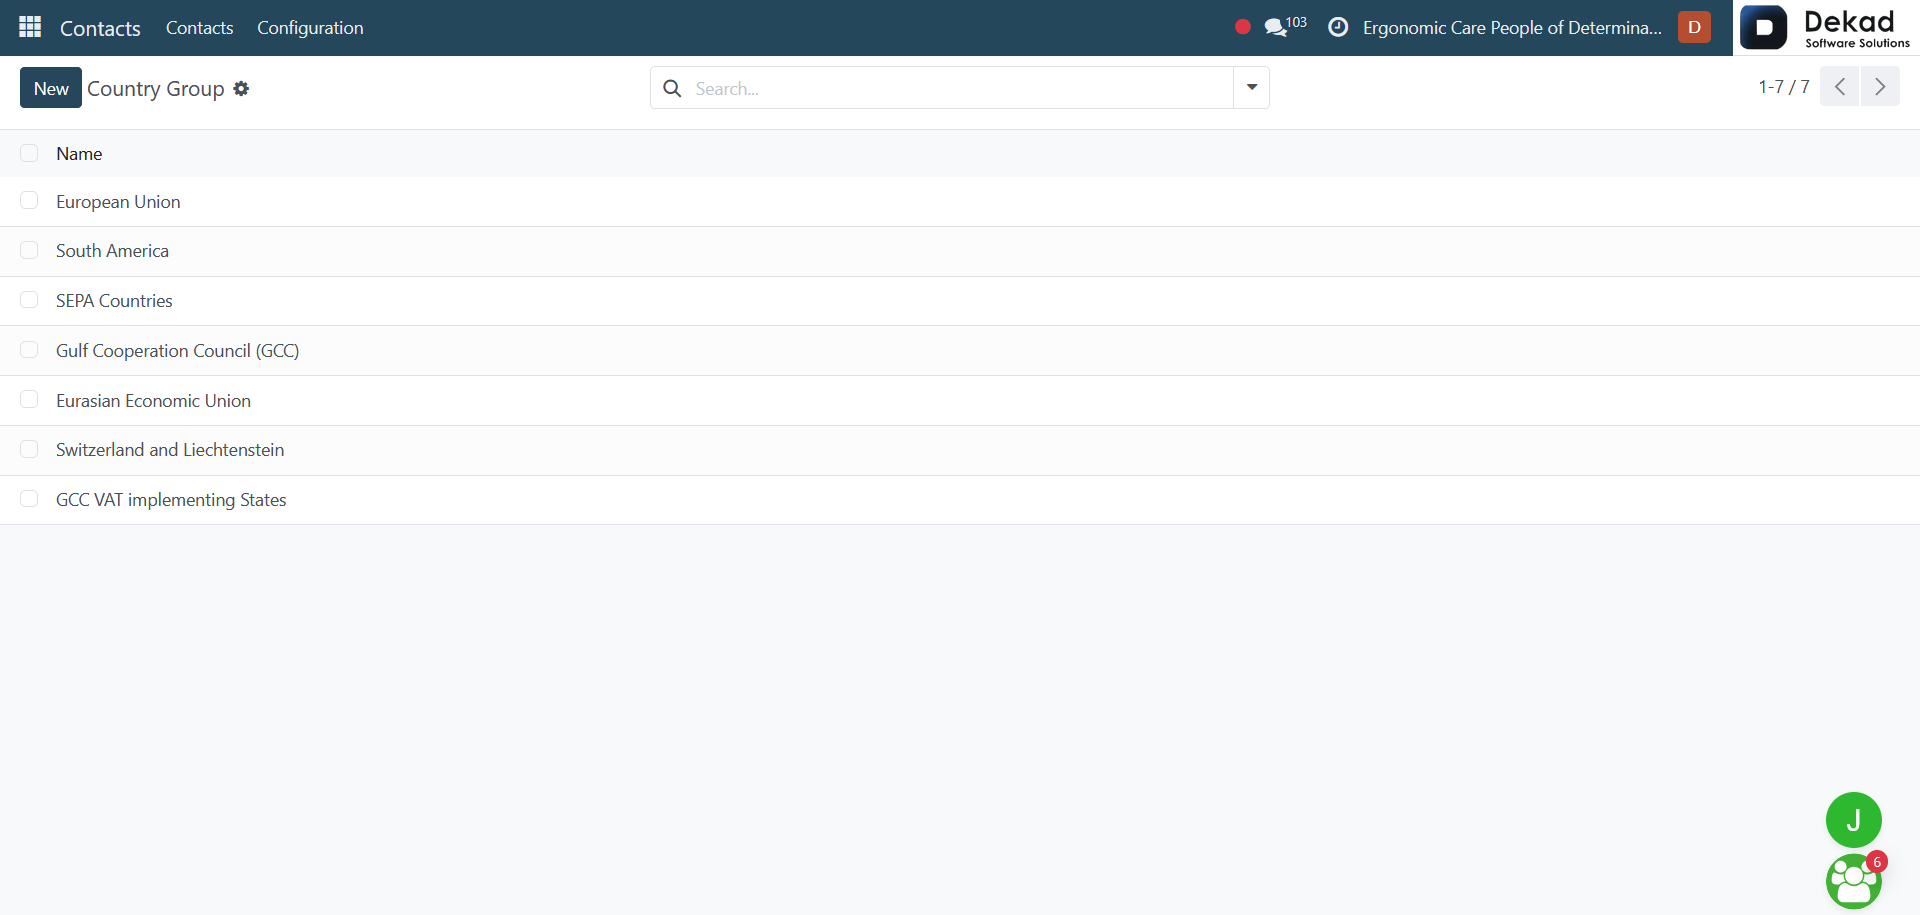
When opening the Country Groups page,
users can view a list that displays
the Name of each country group. This
helps identify and manage different
groups used for organizing countries
within the system.
Search and Filtering
By using the Search bar, users can
apply different filters to refine
the displayed country groups based
on their needs. This allows users
to quickly find specific groups and
view only the relevant records.
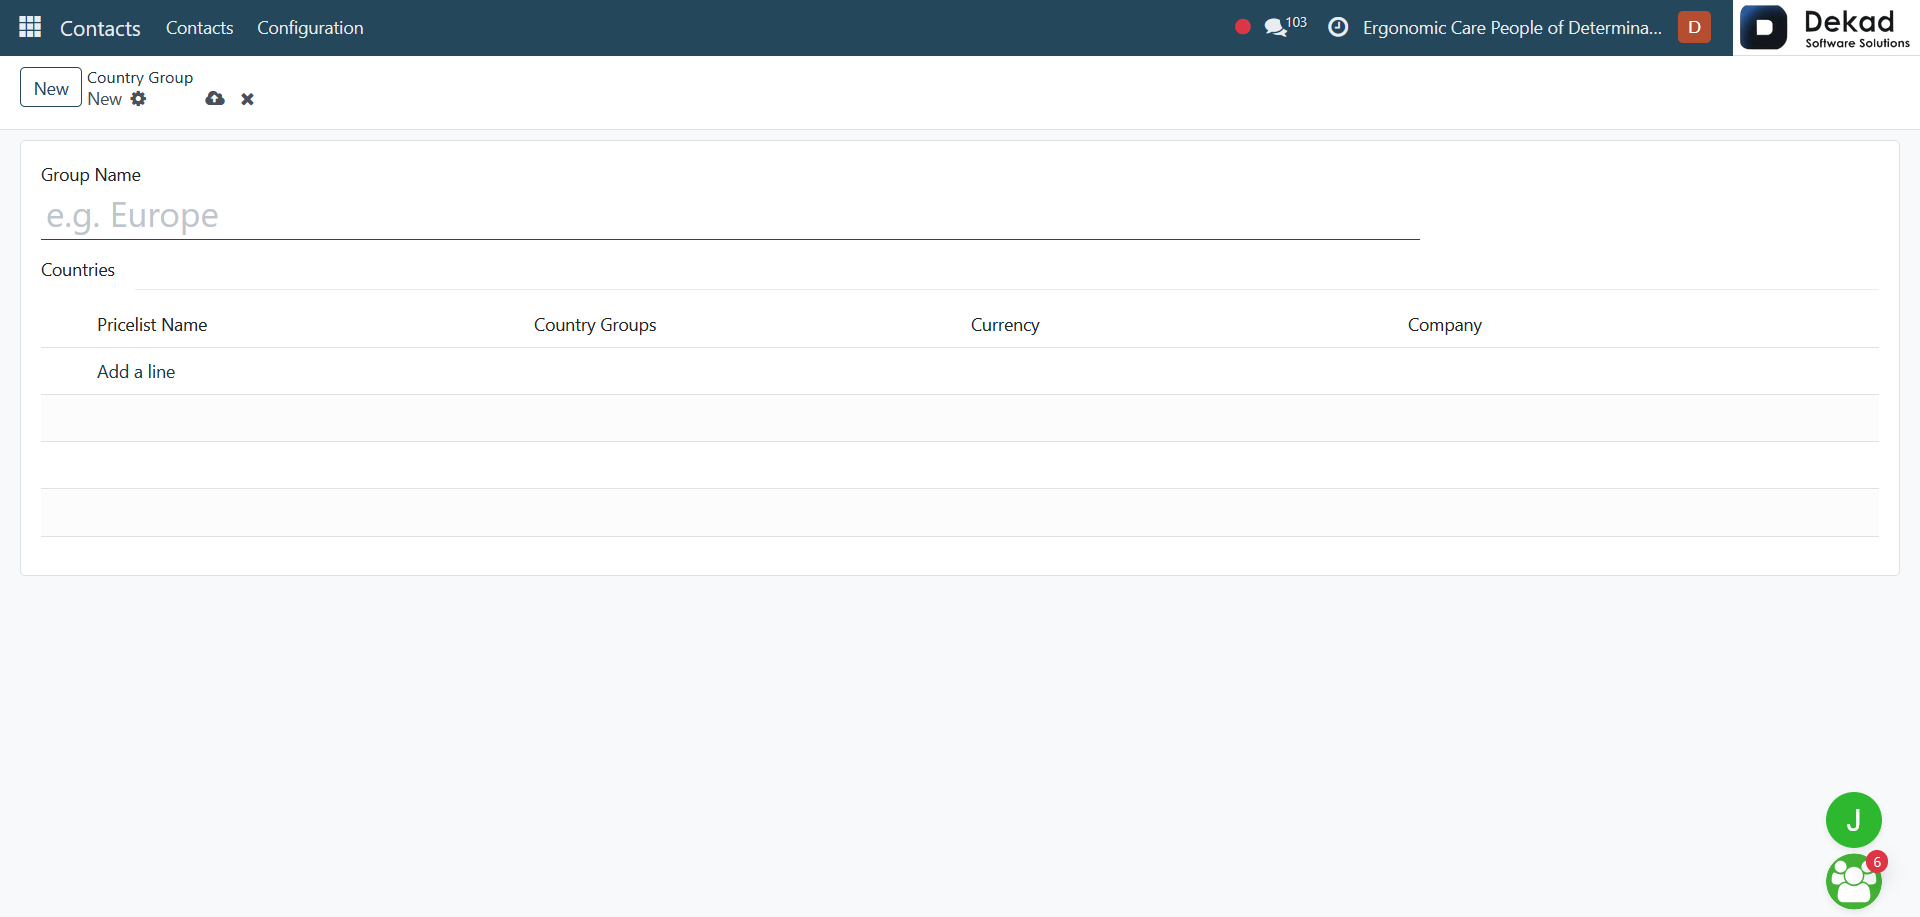
New Country Group
When clicking the New button, a form
appears where users can create a new
country group by first entering the
Group Name and selecting the Countries.
After that, additional fields appear
such as Pricelist Name, Currency, and
Company, which help define how the group
is used within the system and how pricing
rules are applied.
2.7 Banks
The Banks page is used to manage and
store information about different banks
used within the system. It helps
organize bank details that are linked
to financial transactions such as payments
and accounting operations.
This allows users to keep all banking
information centralized and easily
accessible when handling customer or
company payments.
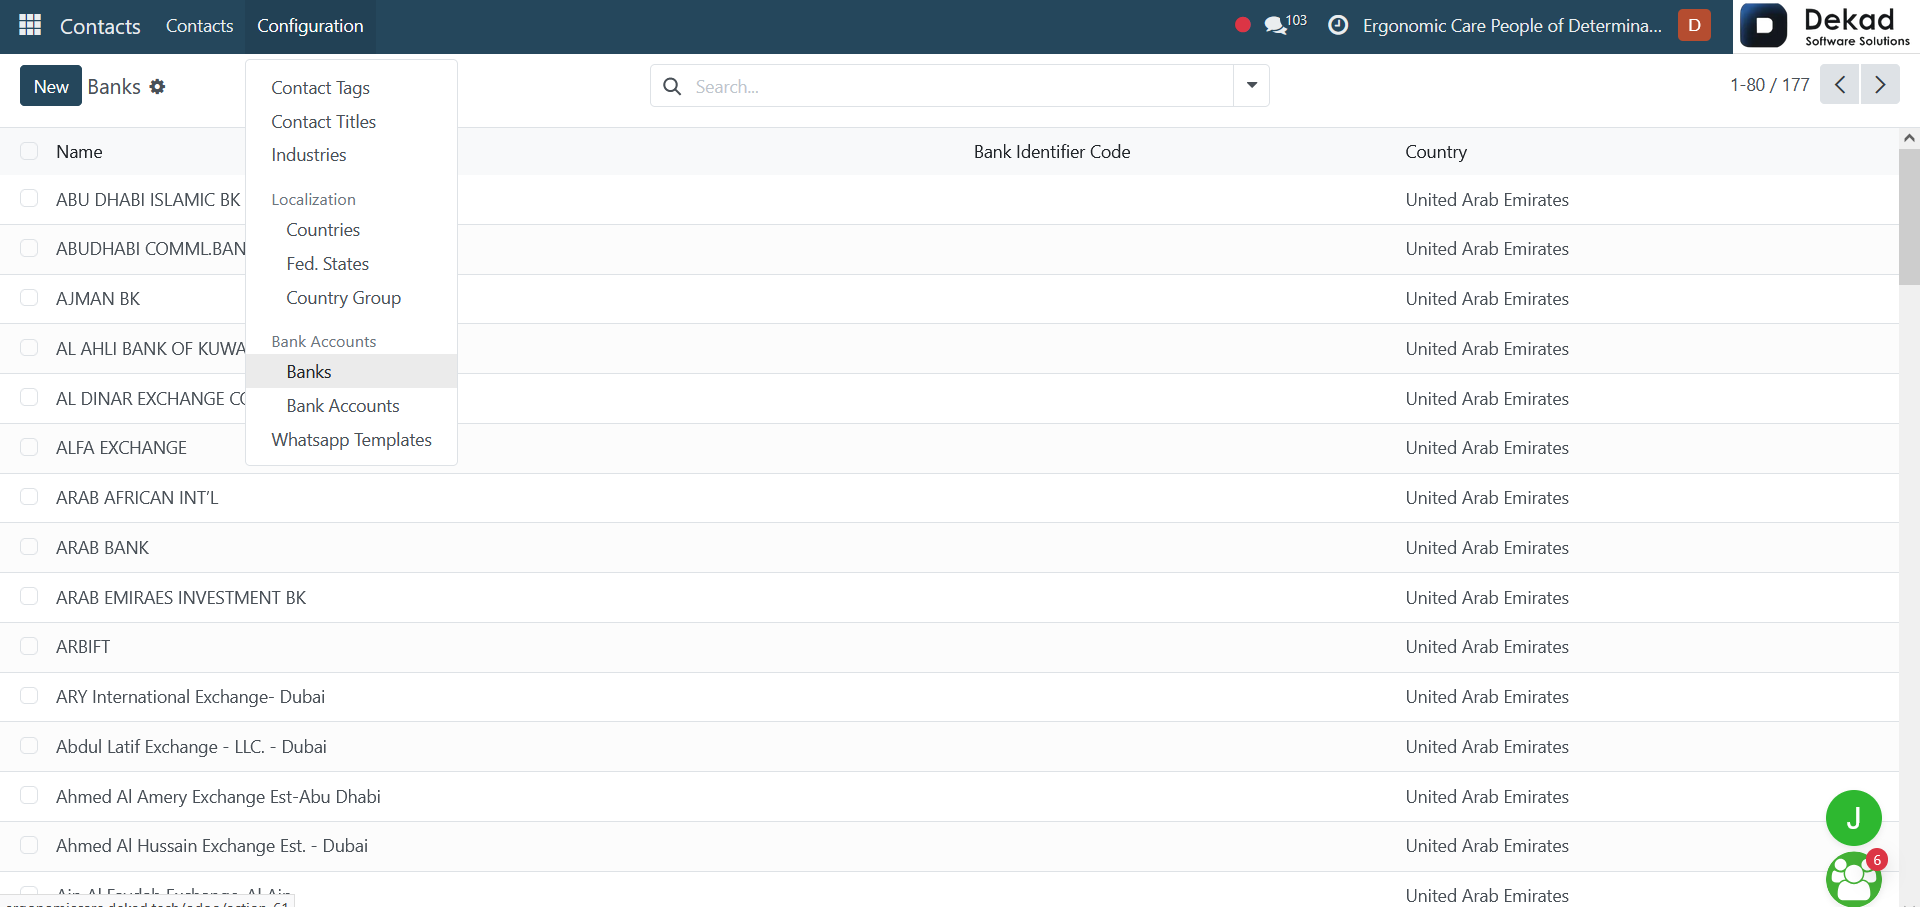
Banks Overview
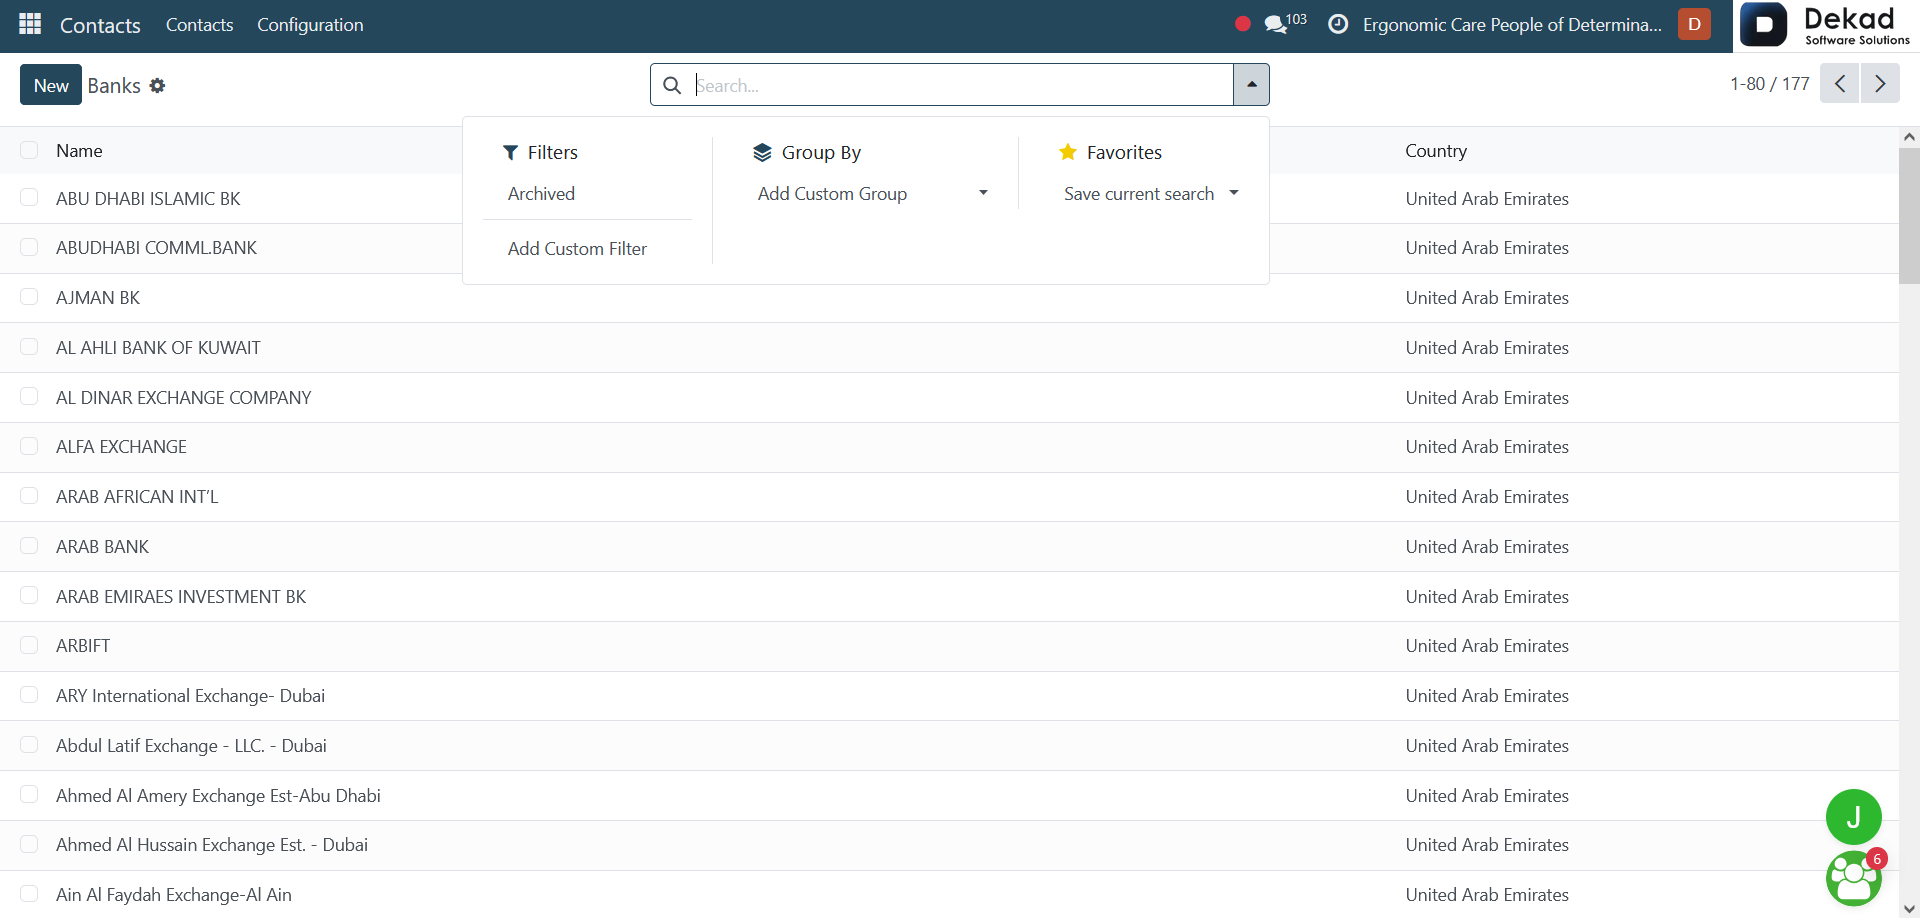
When opening the Banks page, users can
view a list of banks along with the
Name, Bank Identifier Code (BIC), and
Country. This helps clearly identify
each bank and organize banking information
used in financial transactions.
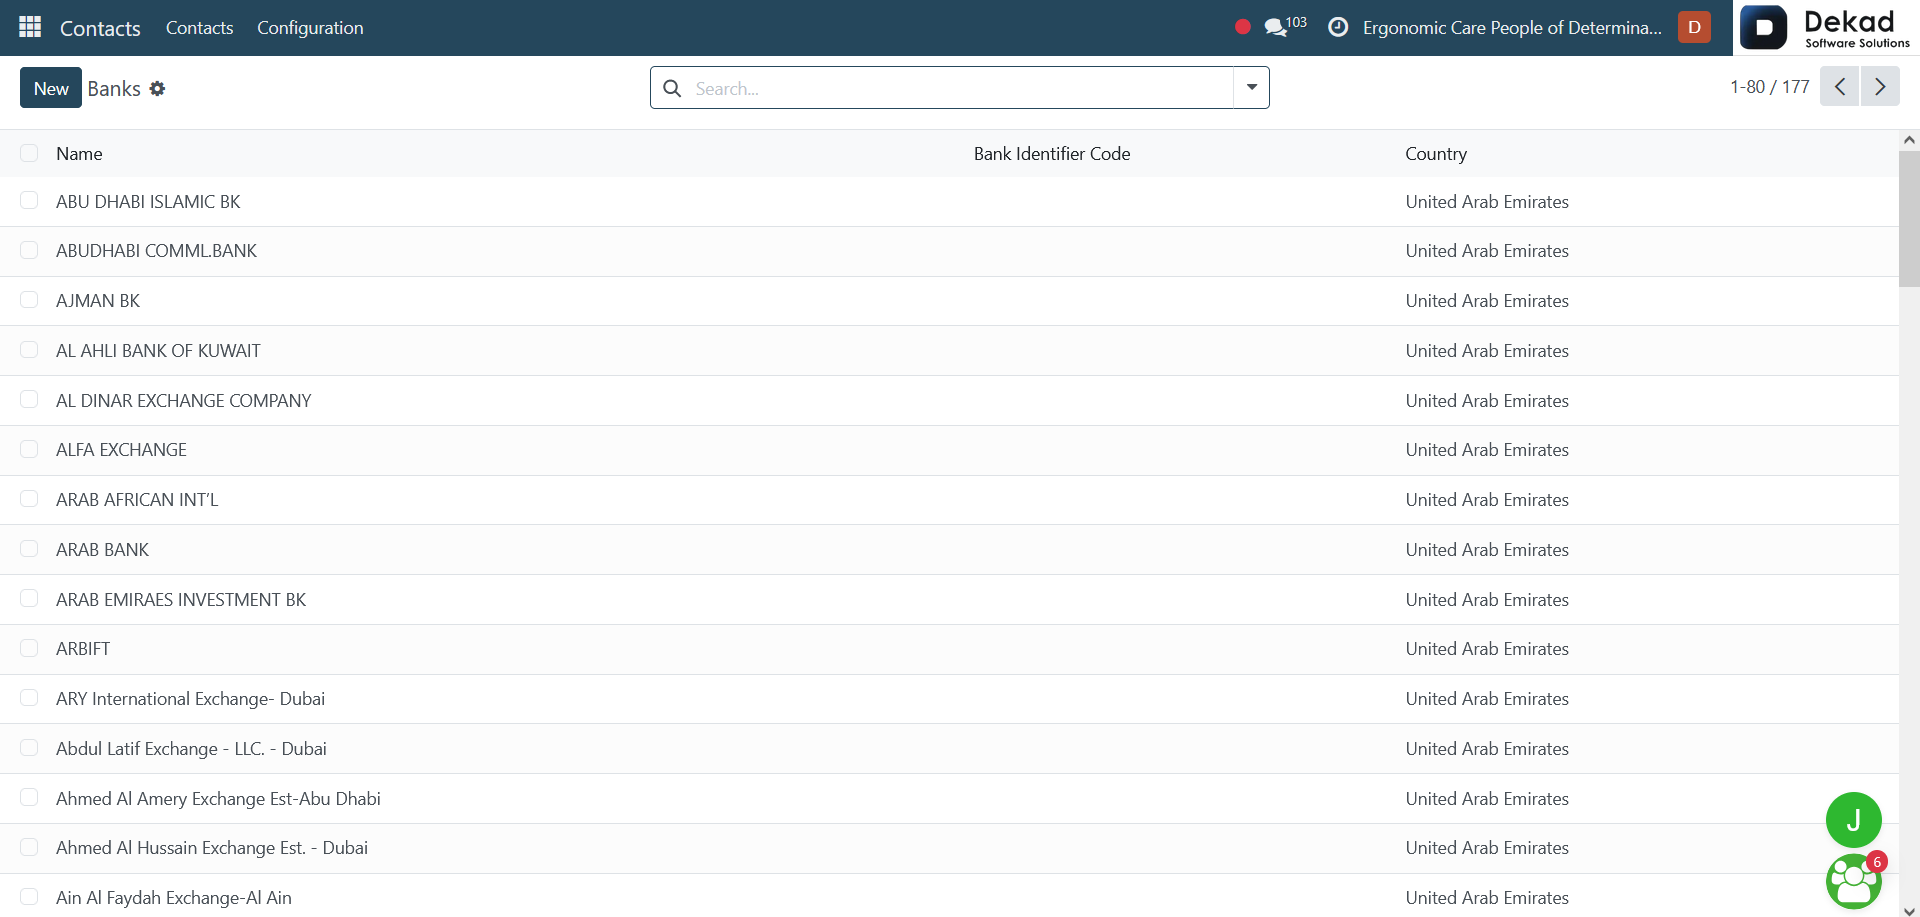
Search and Filtering
By using the Search bar, users can
apply different filters to refine
the displayed banks based on their
needs. This allows users to quickly
find specific banks and view only the
relevant records.
New Bank
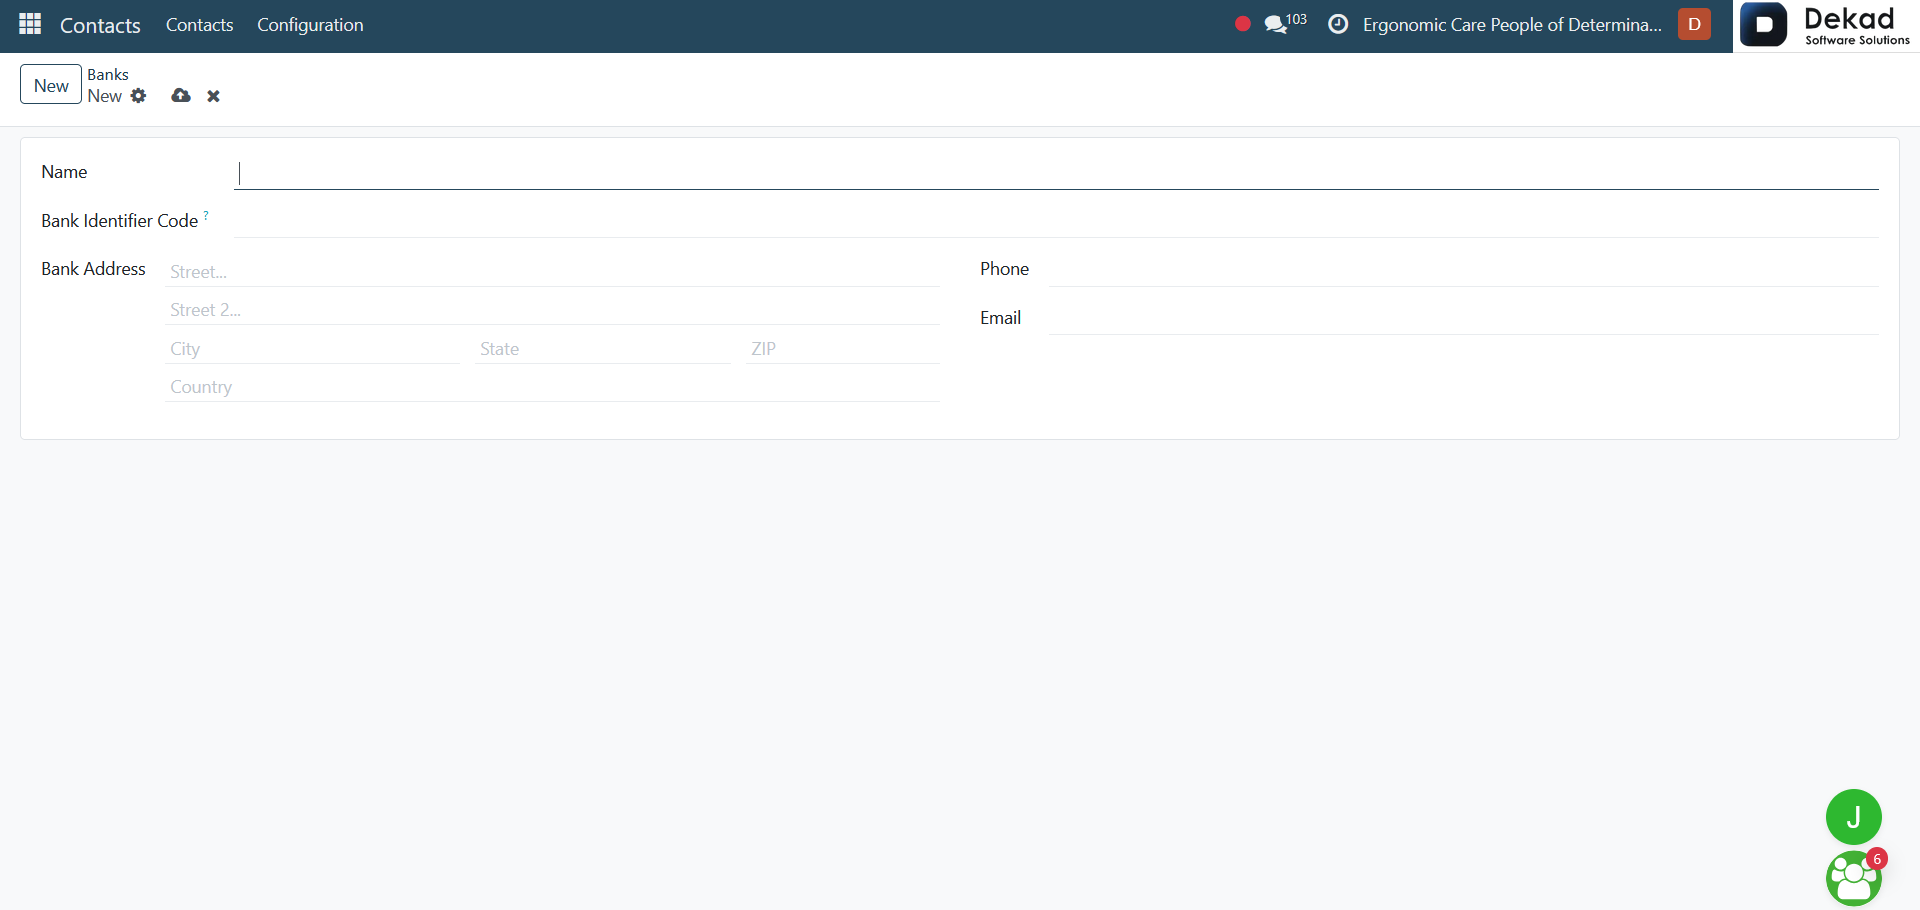
By clicking on the New button, users
can create a new bank record by entering
information such as the Name, Bank Identifier
Code (BIC), Bank Address, Phone, and Email.
These details help accurately identify the
bank and maintain complete banking information
within the system.
2.8 Bank Accounts
The Bank Accounts page is used to manage
and store bank account information
associated with contacts or organizations.
It helps maintain accurate banking details
required for financial transactions and
payment processing.
Users can manage bank account records to
ensure that payment and banking information
is organized and easily accessible
within the system.
Bank Accounts Overview
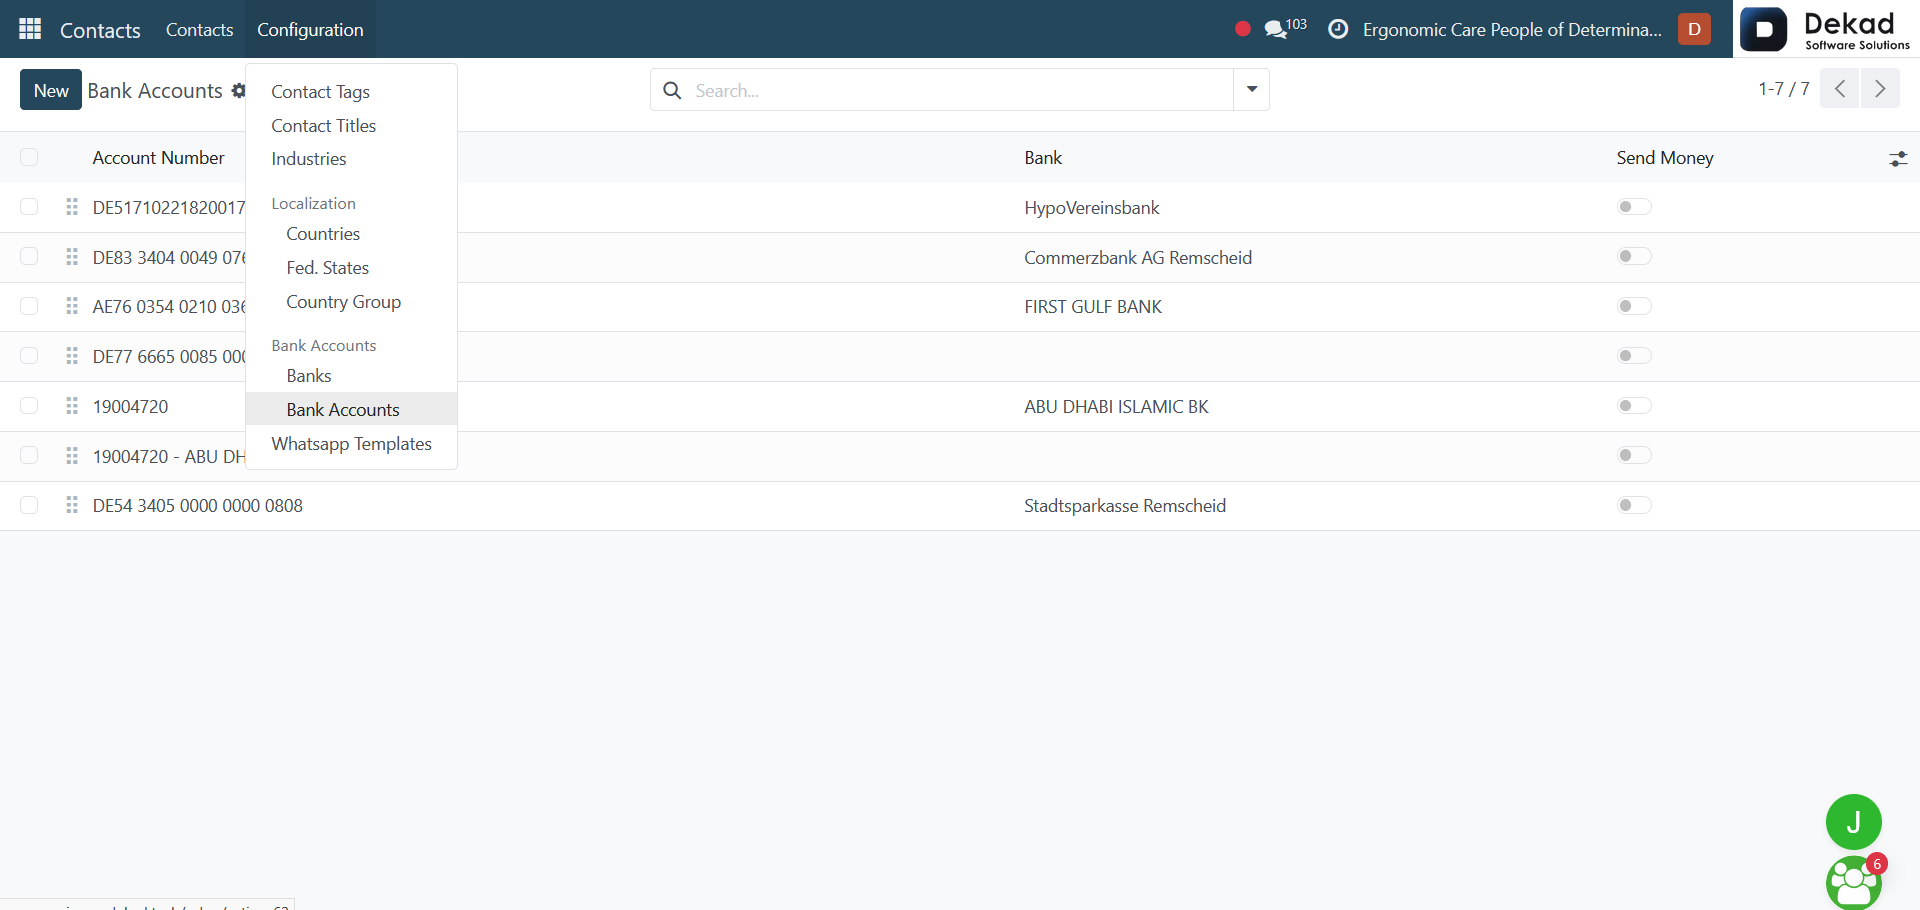
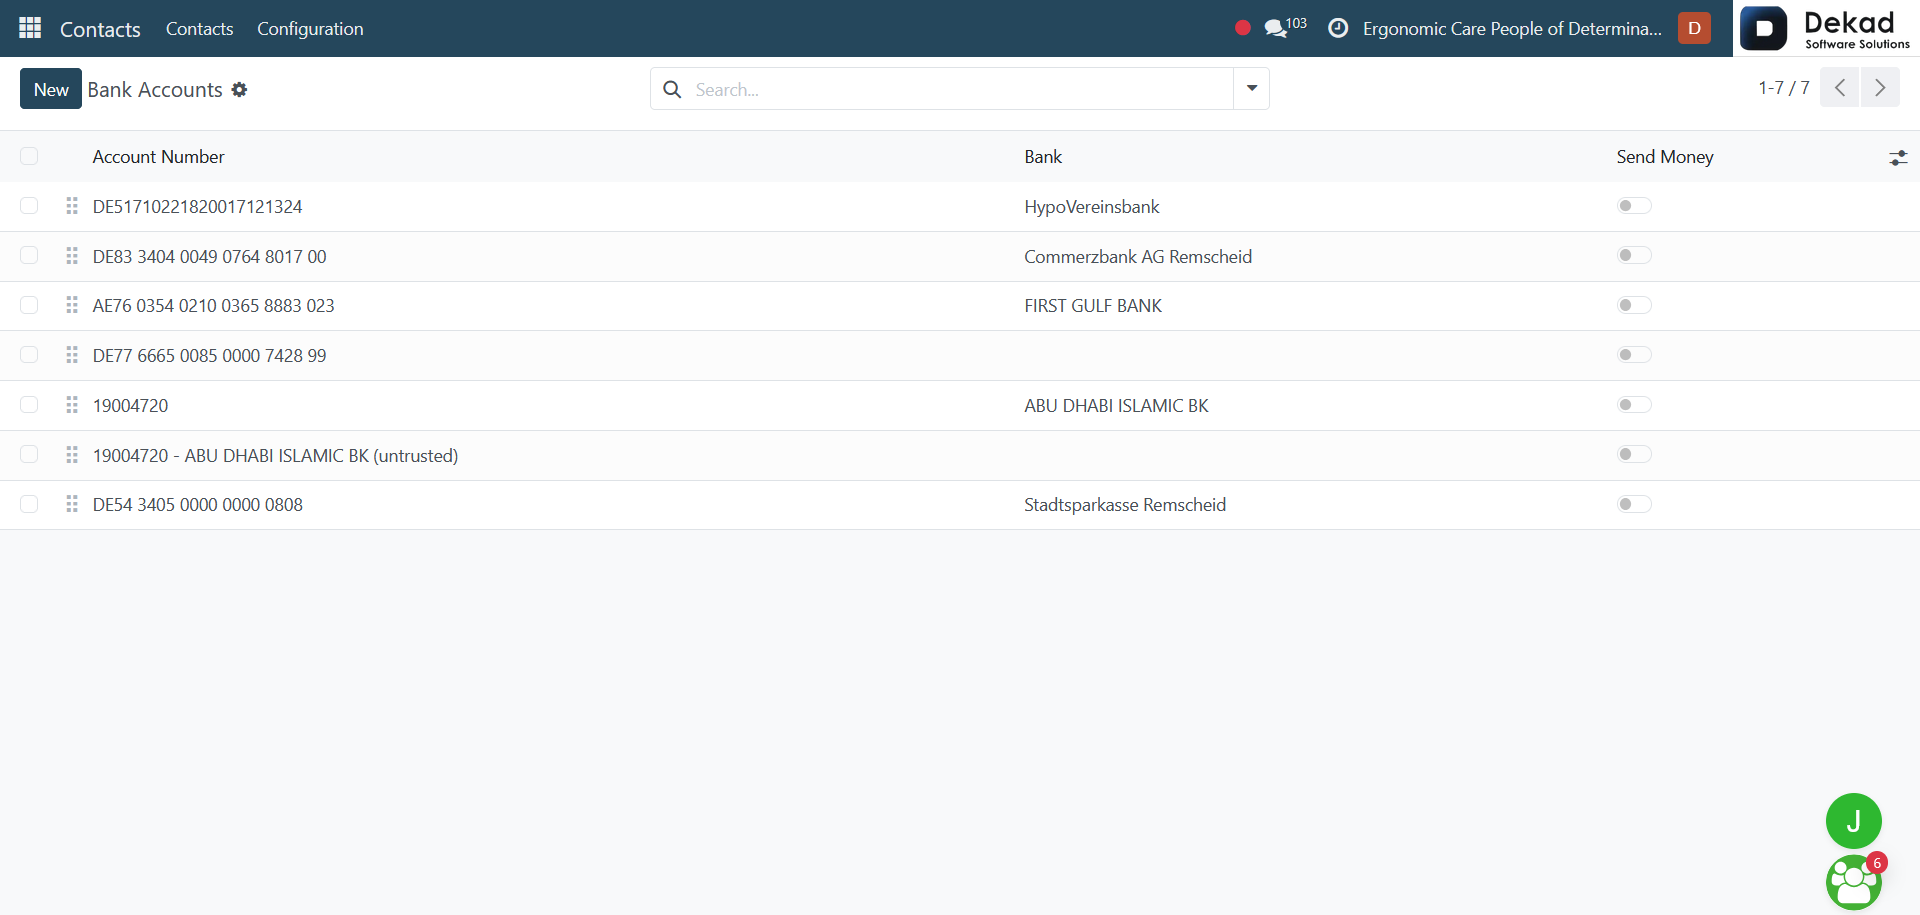
When opening the Bank Accounts page,
users can view a list of bank accounts
along with the Account Number, associated
Bank, and the Send Money option. This
information helps users identify available
bank accounts and manage payment-related
transactions efficiently.
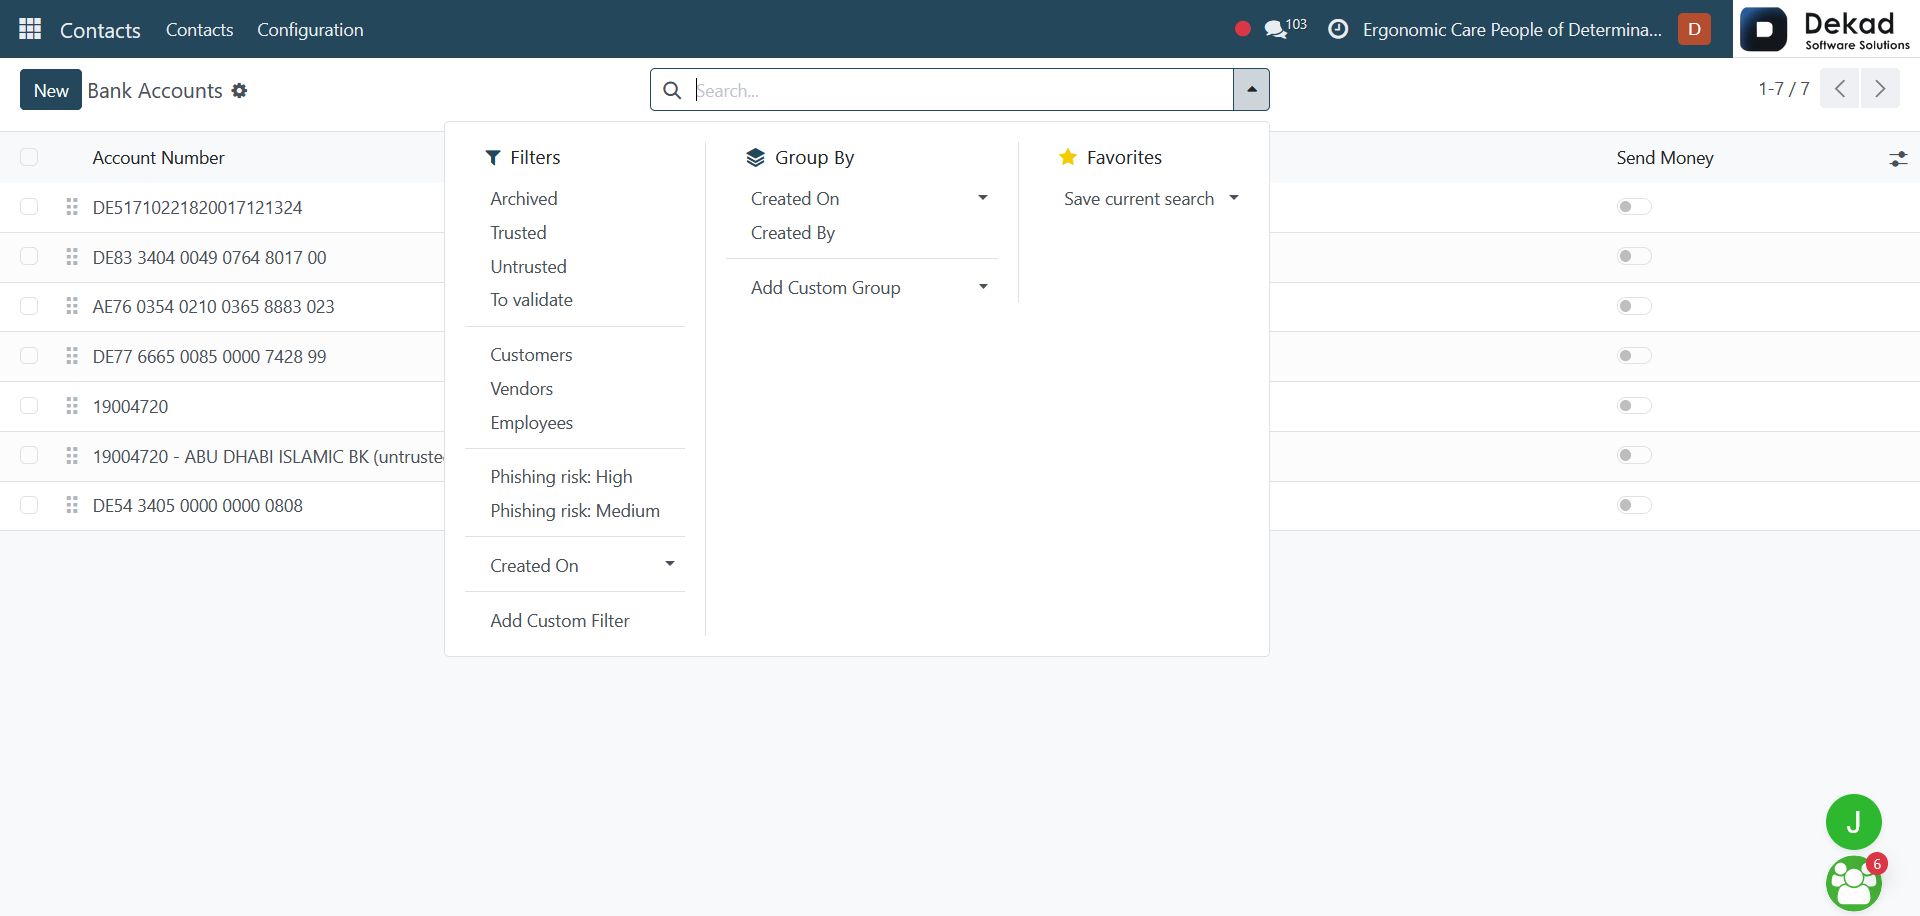
Search and Filtering
By using the Search bar, users can
apply different filters to refine the
displayed bank accounts based on their
needs. This allows users to quickly find
specific bank accounts and view only the
relevant records.
New Bank Account
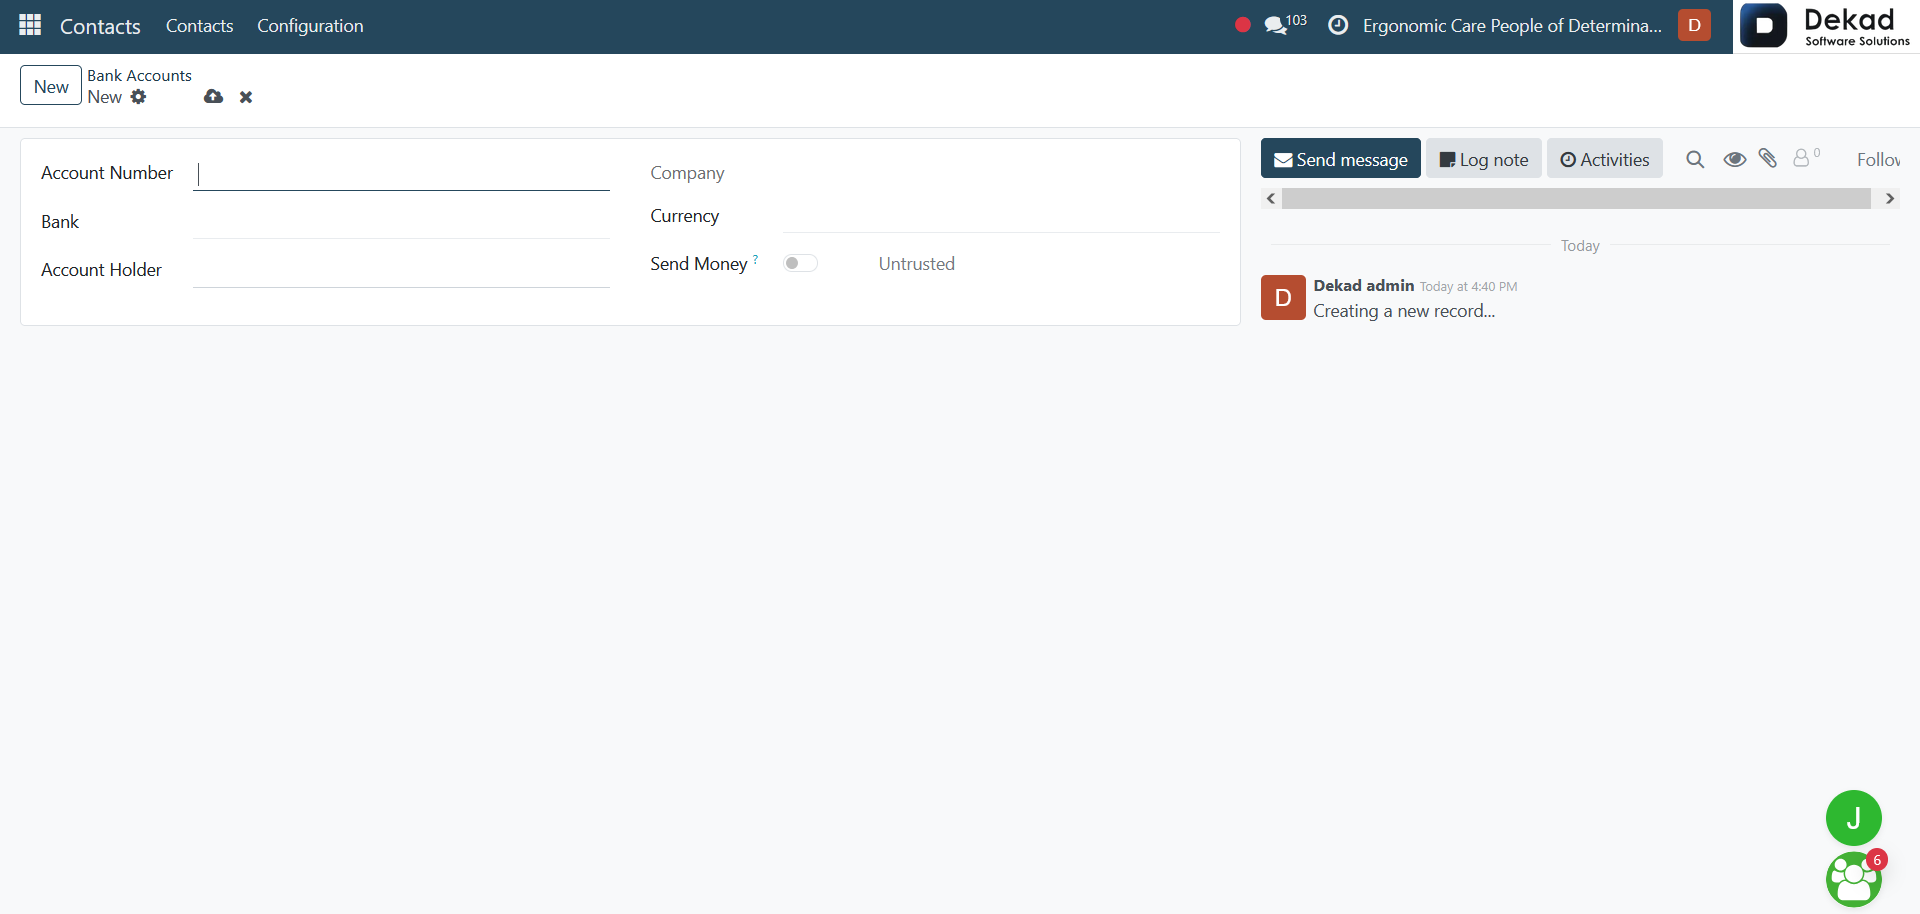
By clicking on the New button, users
can create a new bank account by entering
details such as the Account Number,
selecting the related Bank, specifying
the Account Holder, Company, and Currency,
and configuring the Send Money option. The
Untrusted status can also be used to indicate
whether the bank account is not verified or
should be treated with caution.
The Chatter Panel allows users to track
activities related to the bank account,
view communication history, add internal
notes, and manage scheduled activities.
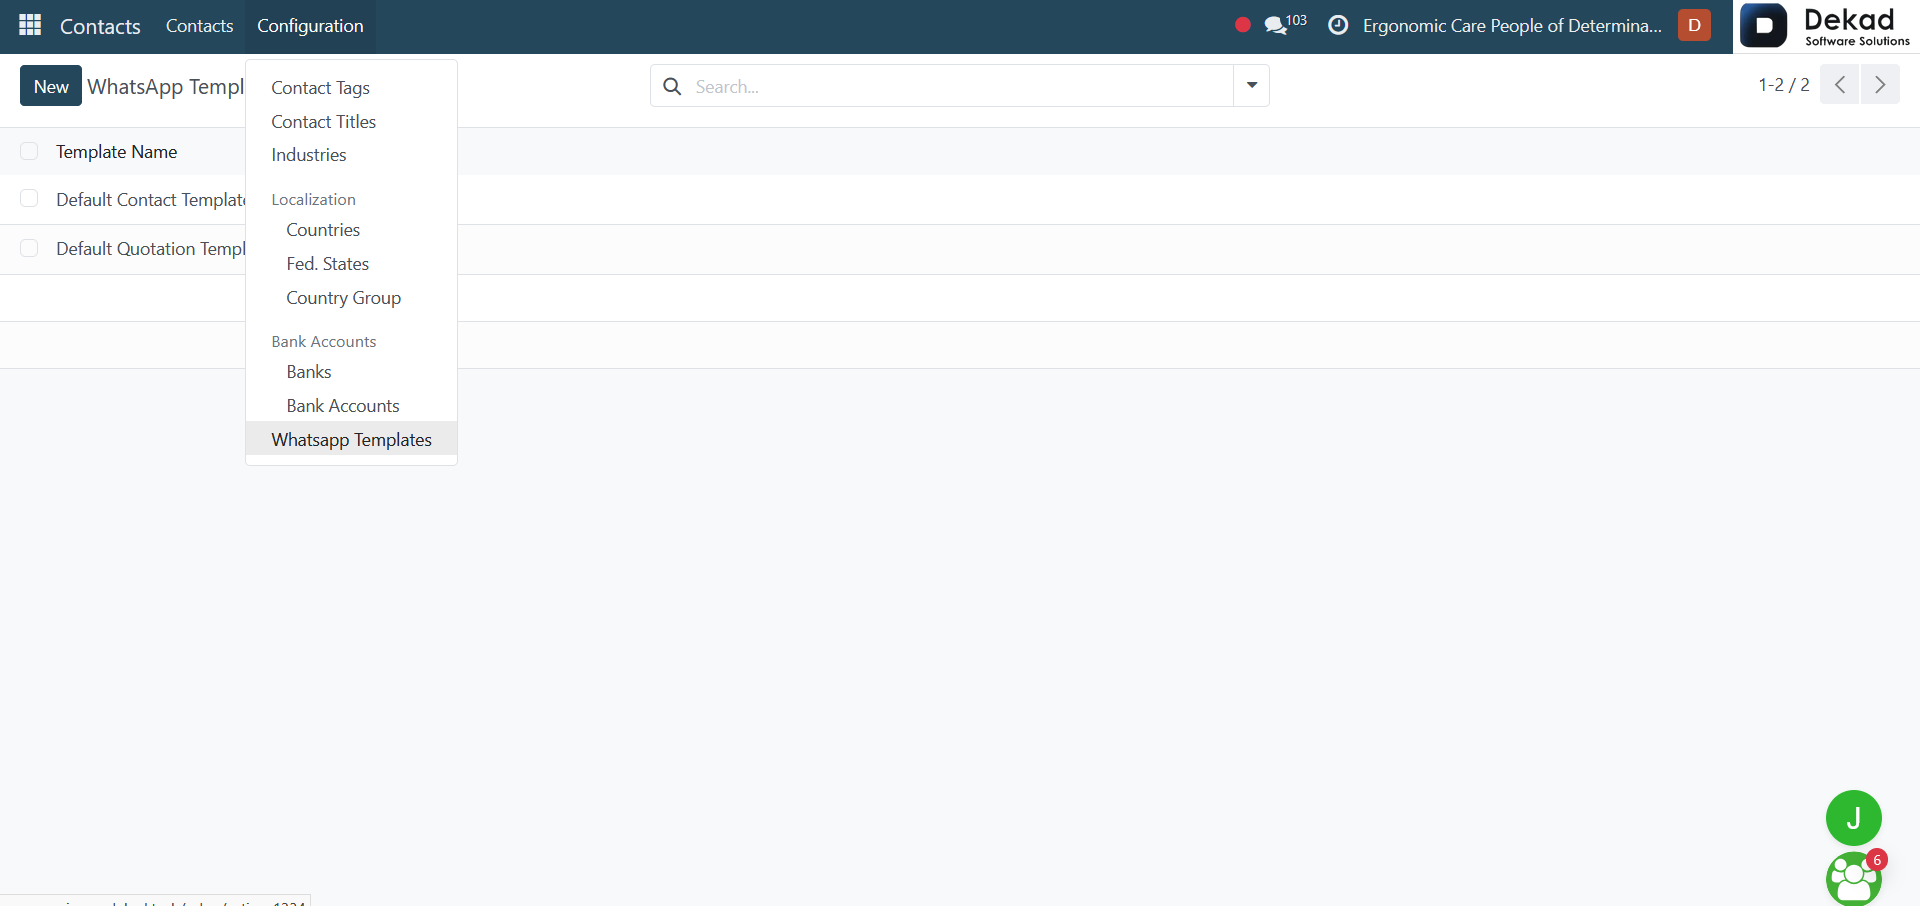
2.9 WhatsApp Templates
The WhatsApp Templates page is used to create
and manage predefined WhatsApp message
templates. These templates help users send
consistent and standardized messages to
contacts, improving communication efficiency.
Users can manage different templates for
various purposes, such as notifications,
confirmations, and customer communications.
WhatsApp Templates Overview
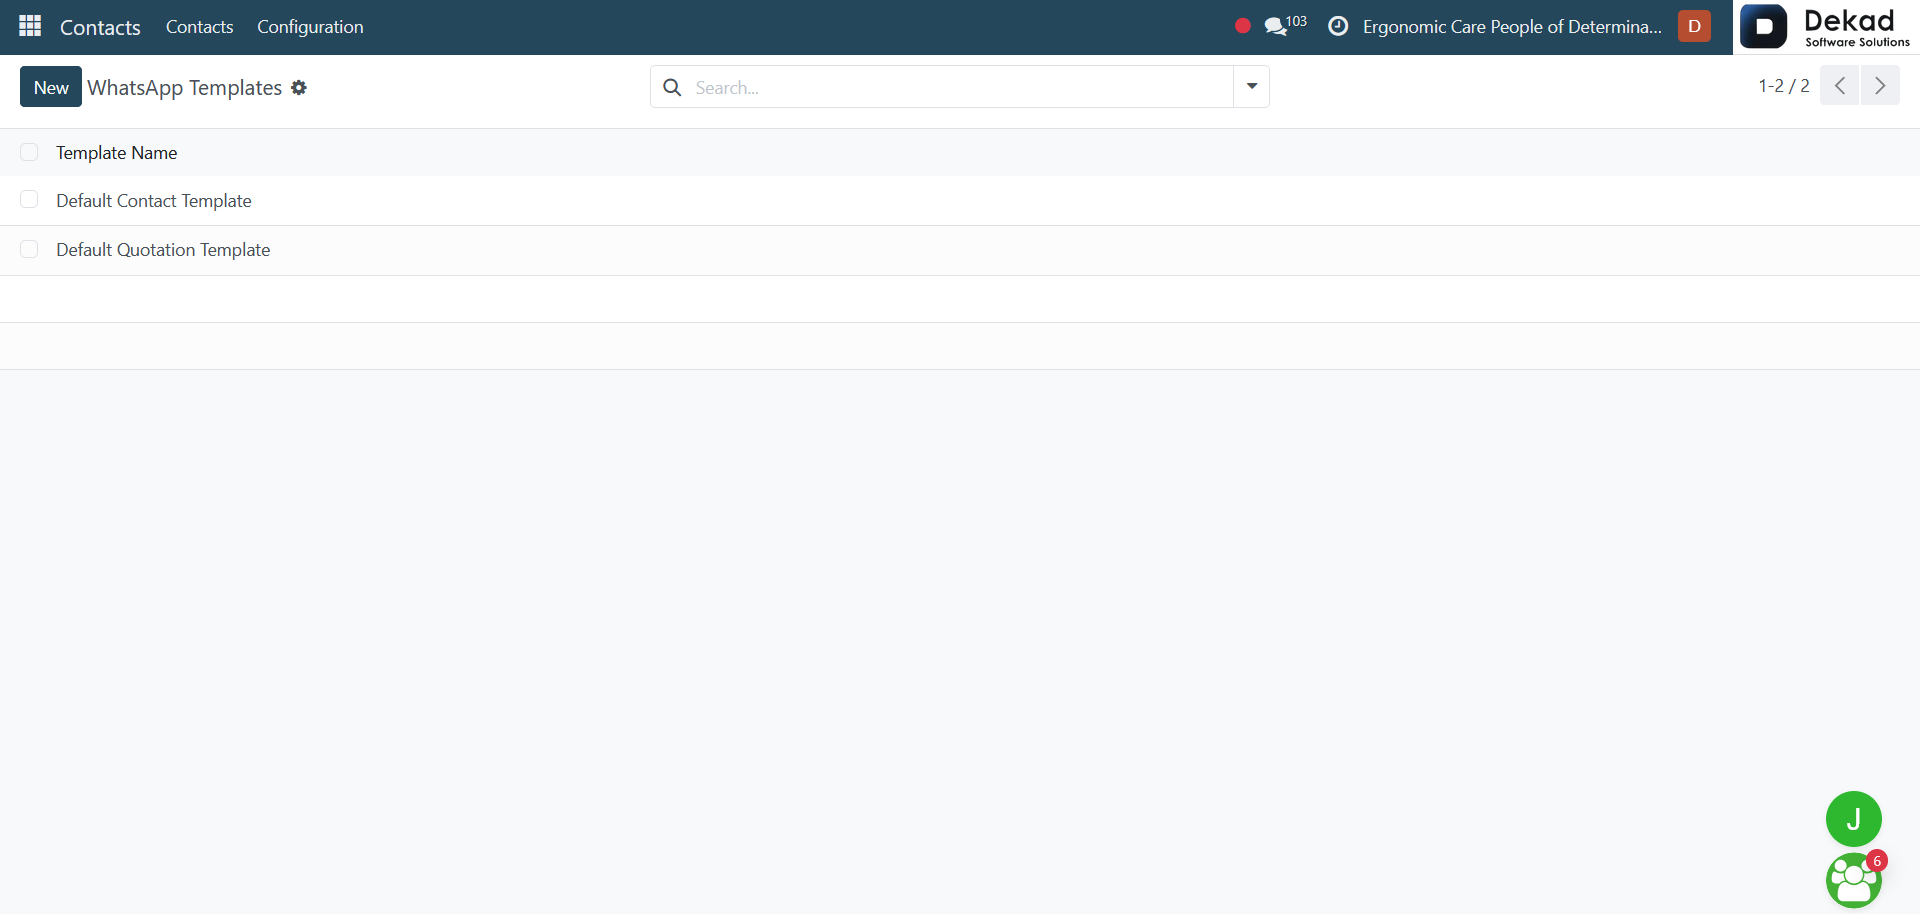
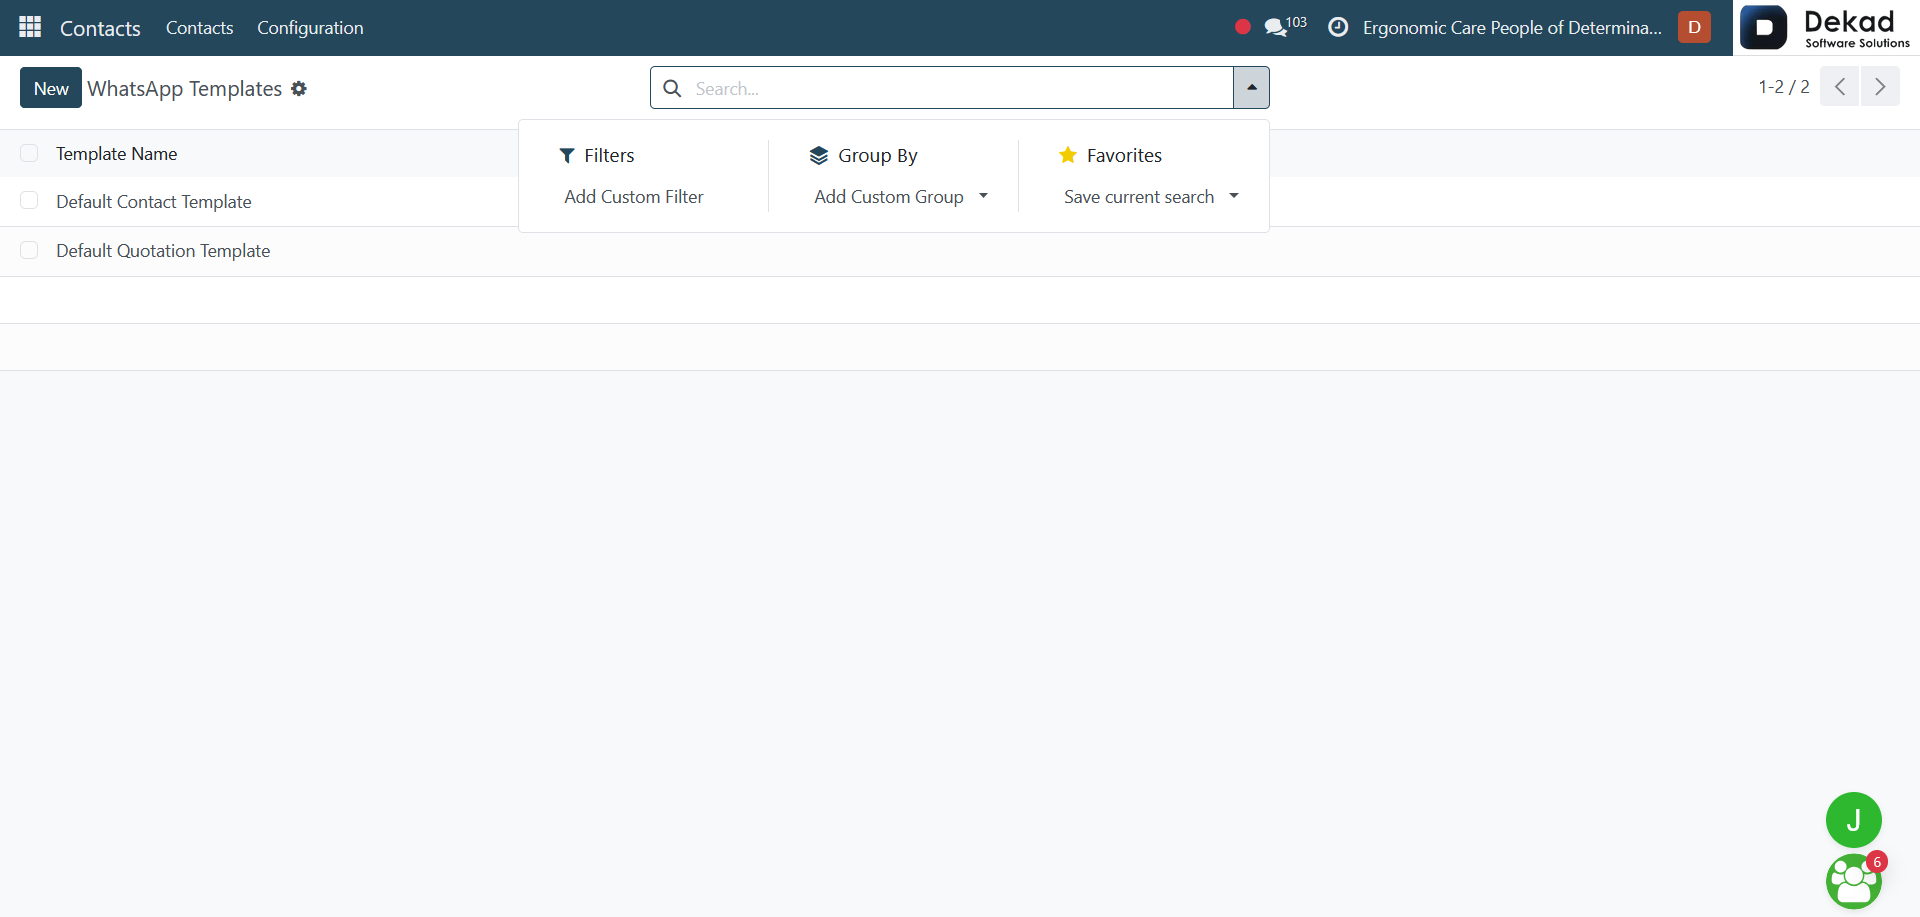
When opening the WhatsApp Templates page,
users can view a list of available templates
along with their Template Name. This helps
users identify and manage different predefined
WhatsApp messages within the system.
Search and Filtering
By using the Search bar, users can
apply different filters to refine the
displayed WhatsApp templates based on
their needs. This allows users to quickly
find specific templates and view only
the relevant records.
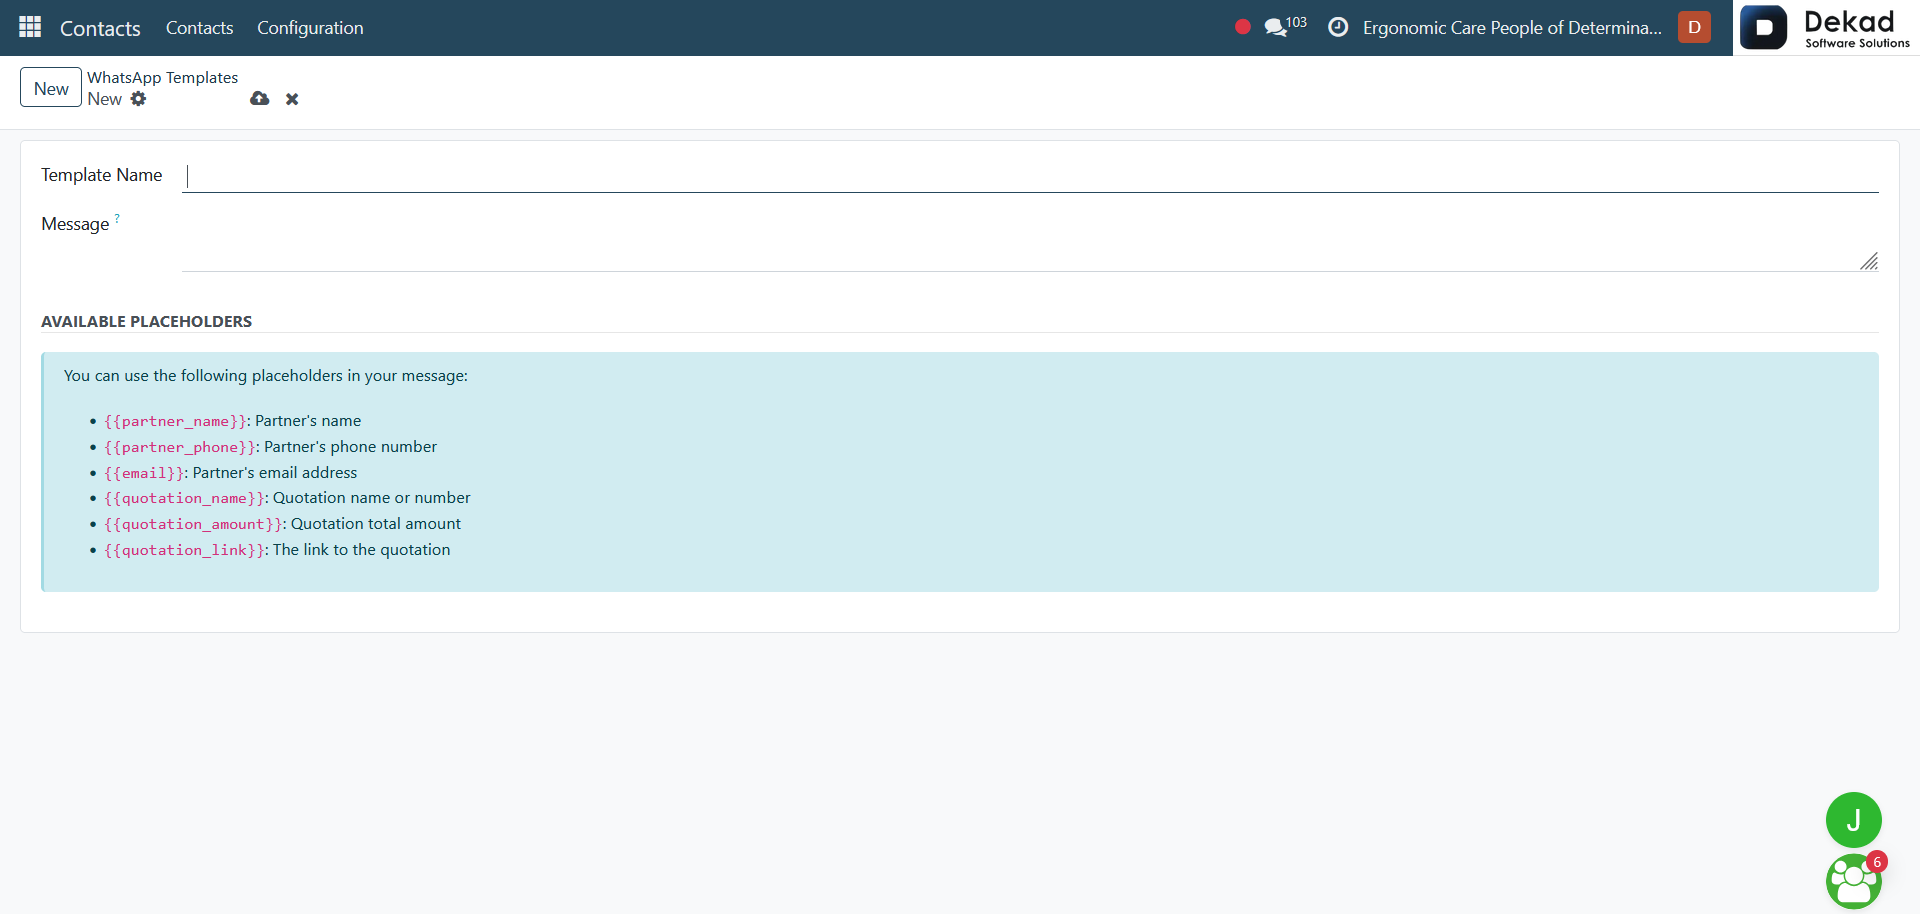
New WhatsApp Template
By clicking on the New button, users
can create a new WhatsApp template
by entering the Template Name and
writing the Message content.
Users can also use the available Placeholders
to automatically insert specific information
into the message, such as the partner’s name,
phone number, email address, quotation name
or number, quotation total amount, and the
quotation link. These placeholders allow
messages to be personalized automatically
for each recipient.